DIY: Palm Springs Caftan

We’re in the thick of summer and all I want is a weekend away at a pool with my BFFs. Palm Springs, here we come! To fit in with the desert vibes, I’m thinking vintage patterns, bright colors, and something super retro. A DIY caftan is the just the thing I’m going to make and bring with to lounge poolside in!

I went to JOANN to find the perfect pattern and fabric combo to get my piece started!

Here's what you'll need:
Pattern (Simplicity has SO many cool reissue patterns from the 60s/70s! It took me a while to settle on my pick!)

Fabric (I wanted something bright and desert-y and went with this cotton pattern. I got four yards just to make sure there was enough and to have the option of crafting a belt or head scarf with the remnants.)

August - Fabric Option

Thread (Find something that matches your fabric)

**Depending on pattern, you might also need the following: (Just check out the back of your pattern package where additional supplies will be listed.) Fusable interfacing, zippers, hook & eye closures

August post - supplies

I found the perfect pattern while browsing - I wanted to make all three of the options but decided on the top left. (Stripes FTW!) I mean we’re going to Palm Springs, so let’s keep it short!

I checked out the step by step instructions on the back of the pattern and started planning. For any sewing newbie, these steps are super helpful in understanding the best way to piece together your garment!

I began with the pattern and cut out the pieces that were needed to make my caftan option and then pressed the pattern pieces with an iron to remove any wrinkles.

August - Process Shots

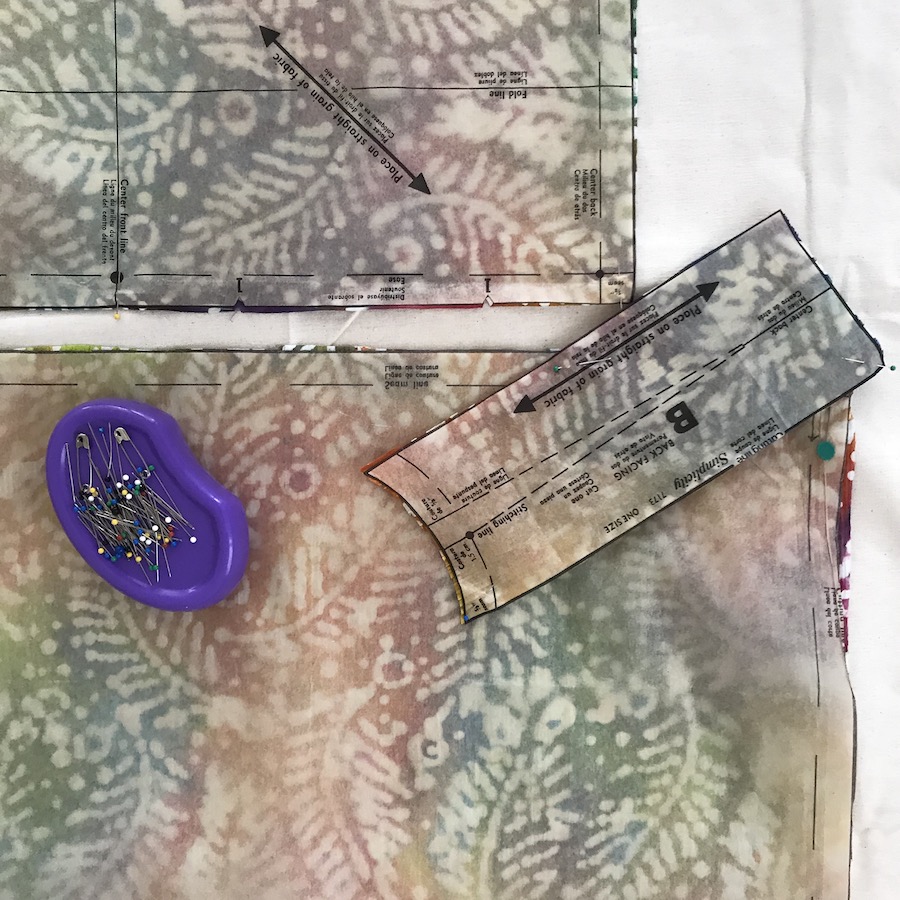
I did a quick press of the fabric as well, pinned the pattern to my fabric, and cut the three pieces out. There’s such a sense of accomplishment once you have all your pieces ready to go!

August - Patterns

Following the directions on the pattern package, I cut out fusible interfacing for the collar pattern and ironed it to the fabric.

August - Fusible interfacing

Now it was time to sew all the pattern pieces together! I began with the collar - following the directions I pinned my piece in place…

August - Pinned Collar

...stitched the ends together and then turned the collar inside out.

August - Fused Collar

Next was the rest of the caftan! I attached my collar to the neckline...

August - Sewing Machine

...stitched the sides of the piece leaving room for the sleeves and then created a hem.

August - Fabric

And just like that, I’m ready for Palm Springs! 🌴 

August - After Caftan

Colorful and outfitted in a vintage straw had, because that’s how you do in the desert :)

August - Hat & Caftan

This is perfect for over a swimsuit, or to cover shoulders if you’re prone to burns like I am!

I also had the perfect clutch to pair with my caftan! Yellow straw clutch, FTW!

August - straw clutch

This is making me want to sew caftans to wear each day of the week!

August - Caftan DIY

I’m totally going to become that girl! :) Caftan Party, USA!

August - Side by Side

DIY: Lace Embellished Dress

It’s warm outside and the summer soirees and (bridal/baby) showers are in full effect! Even though I have plenty to wear, I was excited to craft a dress for a girlfriend’s baby shower! She’s having a boy, so I went with something blue to tie into the theme. I hopped over to JOANN to grab all the accoutrements to craft my dress! 
I was inspired by a blue Dolce & Gabbana lace dress from 2012 and knew this was the piece I wanted to recreate. I started with a cotton dress base. (I had this one in my closet and it needed a refresh! Go with something you own or pop into a thrift store to score the perfect piece)

White Cotton Dress - Before

You'll also need:

Beads (Mix it up! They’re for the center of the flowers and I went with some shinier black ones.)
Fabric Dye (I picked two shades of RIT - Evening Blue and Royal Blue.)
Thread (Something that matches the beads or dress shade.)
Appliqués or Ribbon (Flower shaped lace or appliqués are perfect for this piece!)

Dress Supplies

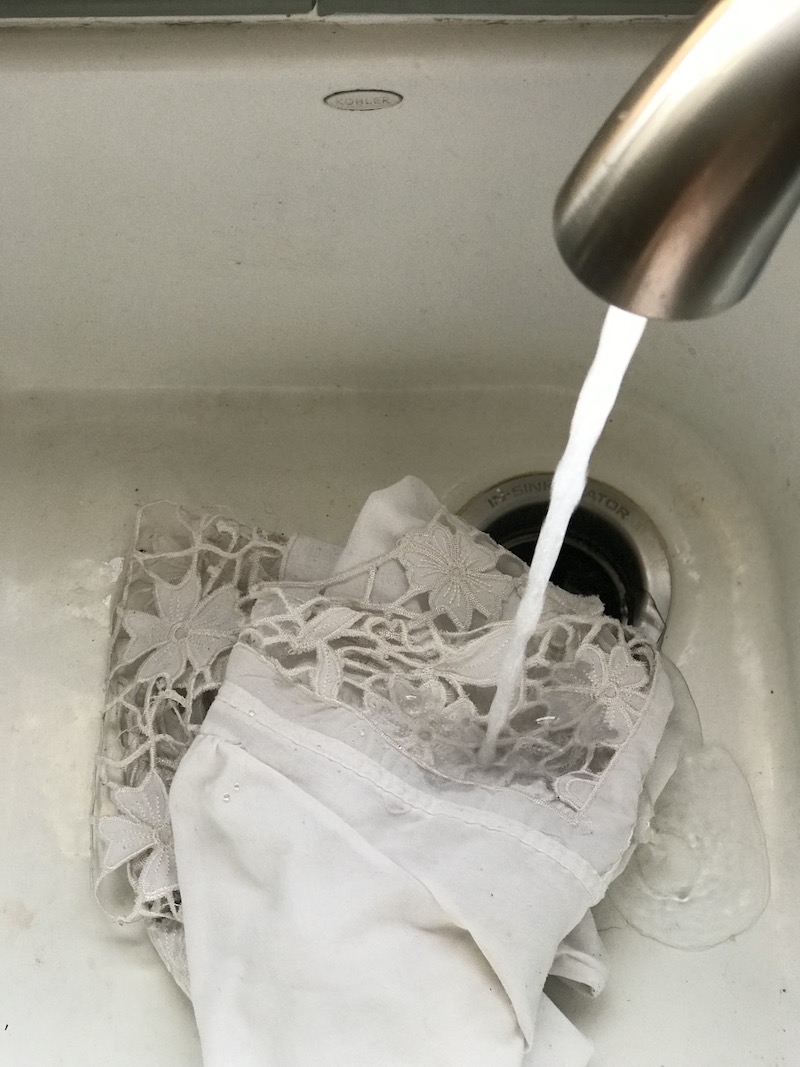
It’s dye time! Begin by rinsing your dress and appliqués in water to fully saturate before adding into your dye bath or washing machine.

Soak Dress in Water - Dye Process

Next add them into your dye bath. You can do this on the stove top in a pot or use your washing machine and the amount of dye used is dependent on how dark or light you want your piece to be. I wanted a light blue shade, so I put in two capfuls of Evening Blue with a few drops of Royal Blue in hopes for something lightish blue.

Dye Choices


I always get so excited to see how the color turns out post-wash

I was especially excited to see the appliqués because they’re made of all different kinds of materials (polyesters, cottons, linens, oh my!

Dyed Appliqués

Now that the dress and appliqués are dyed, it’s time to stitch the beads to the center of the floral appliques. String a bead onto a piece of thread attached to a needle and weave through the center of the floral appliques and out the bottom. Tie a knot to hold into place. (I went with 1-3 for each flower depending on size.) Continue until all flowers have center beads.

Create beaded centers on appliqués

Now place the beaded appliqués onto the dress!

Garden of beaded flowers

Scatter them around or place them in groups - totally up to you! With the dress covered in flowers, it’s time to put it on!

After Look - 1

I really loved how the different shades of blue complimented the dress!

After Look 2

Nothing like florals to make me smile!

After Look 3

Fabric dye has a way of giving an old garment a whole new look!

After Look 4

It’s more fun, more flirty, and the just the thing to wear to the baby shower!

After Look 5

Bye old dress! Hello new look!

Before / After Look - Blue Flower Appliqués

DIY Starry Summer Scarf

School’s out for summer!! OK, that doesn’t apply to me anymore, but I am still getting into the summertime mood! You know when weekend BBQs, pool parties, and outdoor concert invites start popping up, summer is officially here!

We still have chilly nights here in Los Angeles, so I thought that a summer scarf would be the perfect DIY to celebrate independence next month while also feeling super chic as the sun goes down. (Because you know I’m already planning my 4th of July outfits! 😆) The beauty of this scarf is that it’ll feel super festive on the 4th, but it’ll work any other time of year as well!

You can snag everything at JOANN and here's what you'll need!

2 yards of cotton fabric (I went with white solid gauze, but got lost in the rows trying to make a final decision! Pick something that will feel softest against your skin.)
A star stamp (...or any stamp you feel most excited about.)
Ink pads (I chose red, white, and two blues.)
Thread (...to match fabric)
Shears (My go-to are these Fiskars!)

Summer Scarf Supplies

Start with your fabric and lay it down flat on the ground. I got two yards of gauze and trimmed it in half lengthwise.

Fiskars & Fabric

Next I took my stamp and began to get inky!

I started with the light blue and made diagonal lines down the length of the fabric. This is the fun part! Go rogue and stamp anywhere you please or create your own pattern. I kept to the lines creating my next batch of royal blue stars in another parallel pattern and then finished with some sporadic red stars!

June Post - Fabric Stamping

PS - post stamping, just to help set the ink a bit, I took an iron and did a quick press. No steam, just some heat! (Then when it’s time for a hand wash, the inks will be a bit more stable.) I wanted to make this an infinity scarf, so I pinned the edges of the scarf together, inside out, and prepped for a quick stitching.

June Post - Pinned Fabric

(This part is totally optional! If you want an open ended scarf!) Stitch, stitch, stitch!

June Post - Sewing Machine

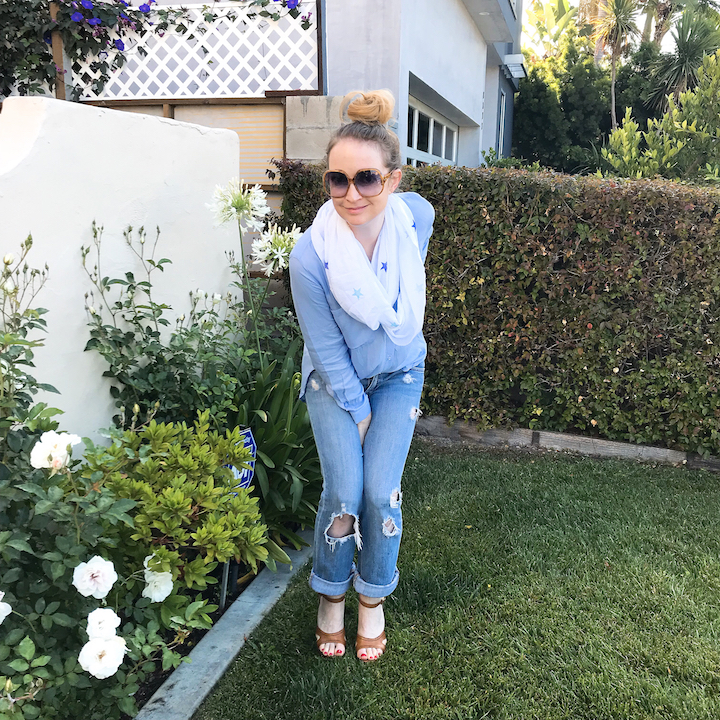
New festive neckwear, ready for action!

June Post - After Scarf

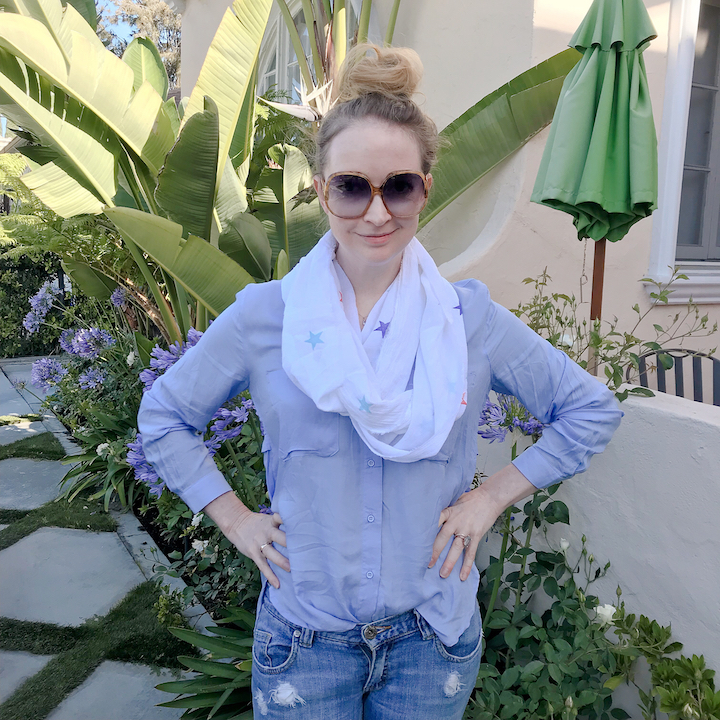
I love the stars and how subtle they are depending on how the scarf is twisted!

June Post - After Scarf 5

Light blue blousin’ to tie all the shades of blue together!

June Post - After Scarf 3

Summer style that’ll work with anything - shorts and a tank, a maxi dress, or with a bathing suit and a sarong!

June Post - Final Scarf

And the perfect thing to wear on the 4th!

June Post - After Scarf 1