
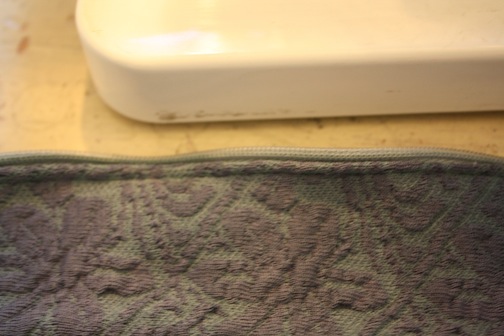
This mauve wonder got a face lift over the weekend!

Remake coming later today, but any thoughts on what it looks like now?? Fill me in!!

This mauve wonder got a face lift over the weekend!
Remake coming later today, but any thoughts on what it looks like now?? Fill me in!!
I'm in a sparkly accessory mode at the moment. I just used Prada's rhinestone clutch as inspiration in making my own bedazzled pouch and today's piece from Michelle is on that same glitz train! The amazing part about her project is how she tackles an issue she deals with (and one that a lot of us deal with too!), allergies, and makes something that didn't work, work like a very sparkly charm! See what she did...
I had purchased a few sparkly necklaces online, but it turns out I have a pretty nasty nickel allergy.
I kept the necklaces hoping I would find something to use them for. I finally came up with an idea using leftover black fabric, crazy glue, and ribbon.
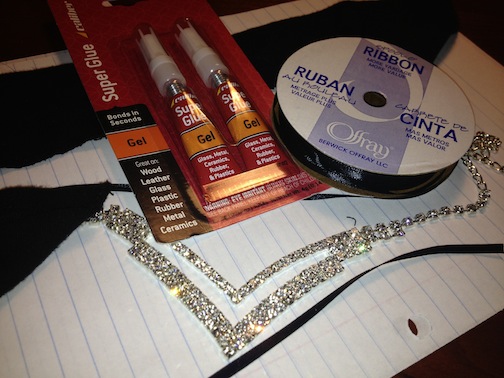
I sketched a rough guideline on the fabric so I'd know where to lay the necklace [the ends were quite loose], applied the glue to the back of the necklace, and placed it along the lines.

I had to touch up a few areas where the glue didn't quite take. I followed this up by trimming around the edges.
Next I removed the chain, leaving one loop on each end for the 1/8 inch black ribbon.

I cut each ribbon to about 24 inches long and doubled them up so the necklace can be any length from a tighter choker to a longer pendant style. Then tied a knot close to the loop and at the tying end.

Some of the metal still comes in contact, but this should severely cut down on the reaction. And it's sparkly!
What an amazing job you did! This is such a great way to turn jewelry that doesn't work into new staple pieces! That necklace is so fab and I love the how it matches the chevron print, with the pointy edges! See what else Michelle has created HERE!
I absolutely fell in love with this Prada clutch when I first laid eyes on it.

I just wasn't as in love with the $2580 price tag. Using this gorg purse as inspiration, I was determined to create my own gemtastic masterpiece!
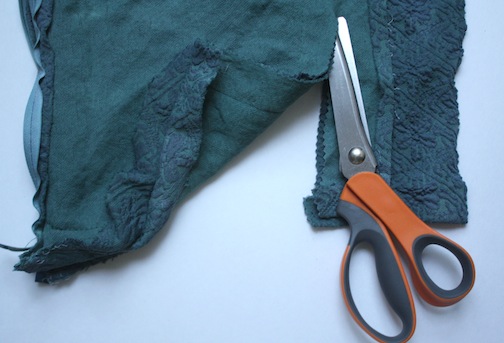
With all the leftovers that I've accumulated from the thousands of dresses I've remade, I knew I could stitch up a pouch in no time. I thought that this lovely piece would make the perfect base because...

...after I trimmed it up...

...and turned it into this...

...I had tons of leftovers to play with! Nothing that a little dyeing can't fix to make this the perfect base!
With my pouch plans in place, Swarovski gems procured in the matching colors on the Prada purse (emeralds, yellows, golds, blues, clear)...

...and backings from EH Ashley in hand...

...it was time to get my bedazzle on!
I started off by putting all the backings on the rhinestones. You place the bottom of the gem into the backing and then pinch down the prongs on top to keep the gem in place. You can use jewelry pliers or just press them down yourself. (I even did a few by pressing them into a magazine I had on my floor - easy way to complete if you're sans pliers!
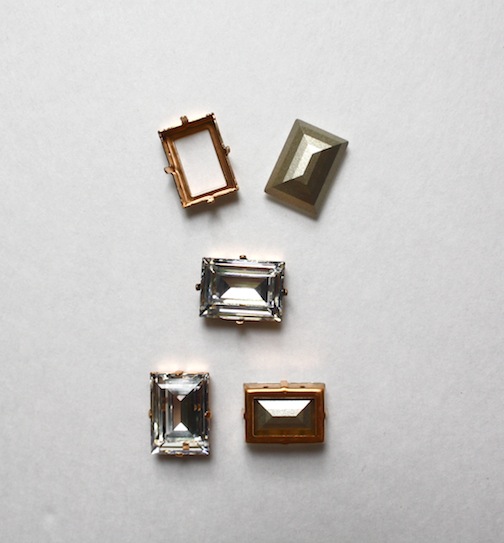
The crystal backing game began! I started little by little until I had my assortment of different Swarovski shapes and sizes complete!
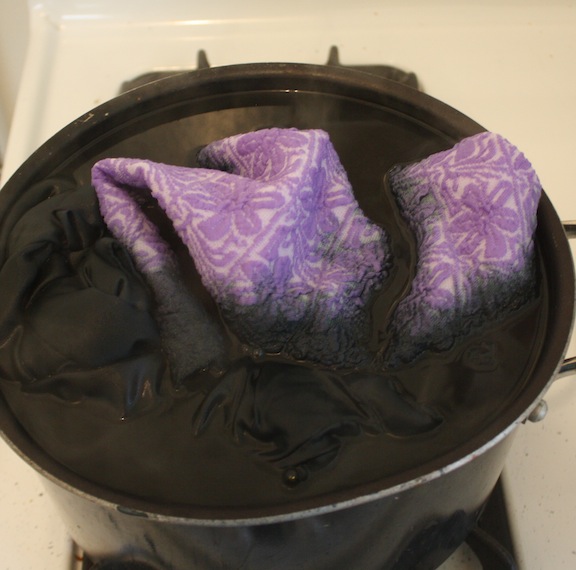
With the gem front handled, it was time to get the purse portion created. Using the excess polyester fabric from that fab upcycled dress above as well as a white zipper...

I dyed both pieces using iDye Poly...

...into a gorgeous shade of emerald.
I measured the fabric to match the size of the zipper, turning it into a lovely little rectangular shape...
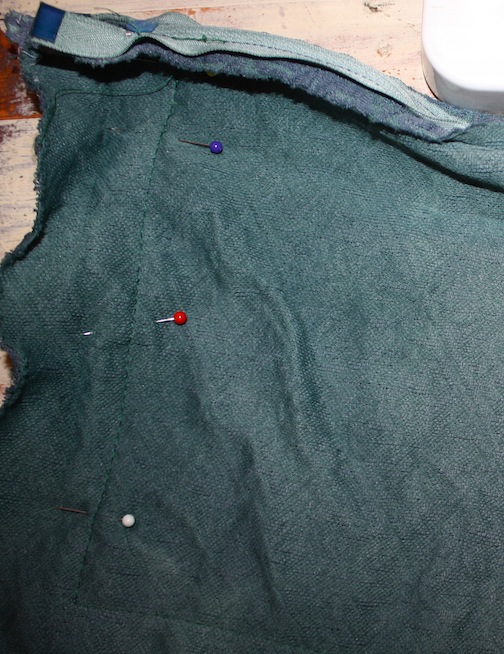
...and stitched everything in place.
I cut the excess material around the edges of where I stitched...
...and turned the pouch inside out to begin my gem affixing!

Look at all the gems!!

I had sew on backings for the rhinestones (see, you can see the holes in them!) to hand stitch to the purse. You can use flat backs and just glue directly to your piece or even just glue the stones themselves. Whatever makes the most sense for you is the most important element!

I started my stitching process and stayed on the slow and steady train until I was finished.

Voila!! My new Prada-inspired purse!!
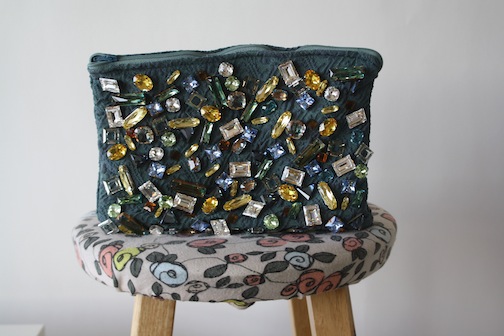
I just love the different shapes of the stones and the color palette works like a gem! (Hey, pun!!)

It's the perfect going out, wedding, or everyday purse to glam up a basic ensemble.

And if you don't want to sew anything, grab a thrifted clutch or old makeup case and use that as your base!

I already started the weekend a bit early with my bag. You know, taking some shots with the sun in the background while sitting in standstill traffic!

Totally obsessed with how this came out!

Nothing like a little bling to kick off the weekend!

Before/After

Let's Dish!

DIY

Vintage Closet


I Do
As Seen On