This project was a first for me! I love dyeing anything and everything, but I hadn't ever played with a resist of sorts (outside of rubber bands while tie dyeing) until today. And who knew...Elmer's Blue Gel was going to be MVP?!
Not sure about you, but most (er, 98%) of my kitchen hand towels are spotty and stained. I thought this would be a practical and cute way to upcycle those old towels into something a little fresher instead of going out and grabbing new ones. The most fun part of this is that you not only get to become creative with your color choices, but you can personalize the towels! You can pick a word, children's initials, the family surname, etc. to be what gets stenciled onto the towel. I worked with Rit Dye on this project, so the color options were going to be on point as well~
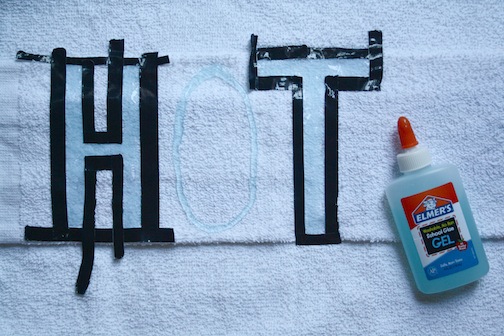
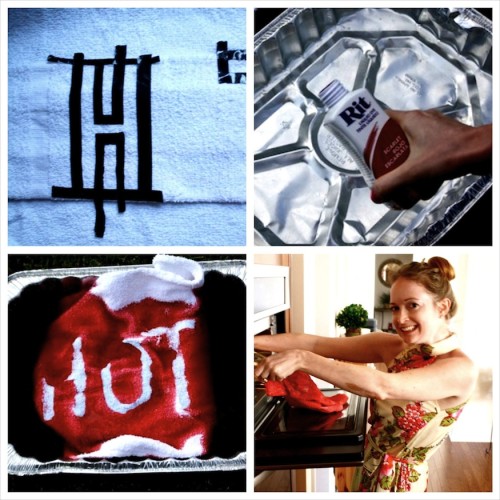
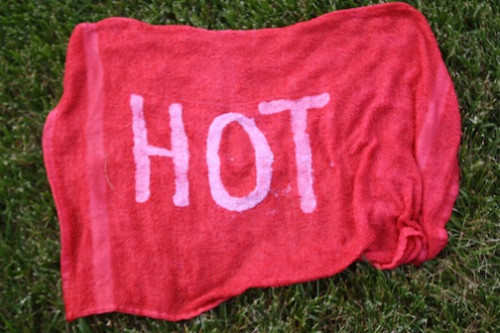
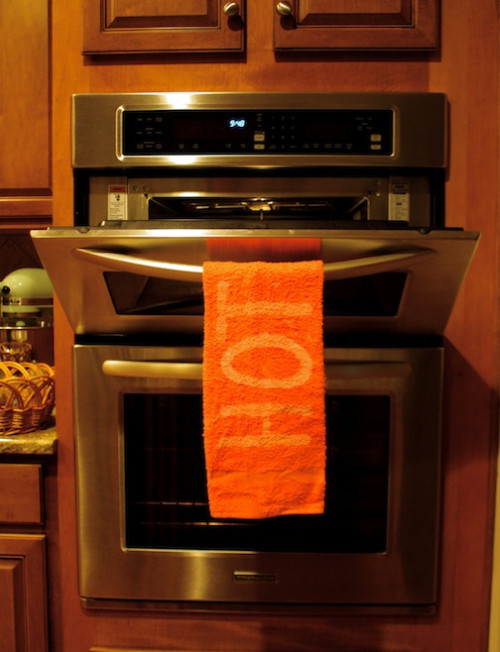
I chose the word "HOT", knowing that this towel would be hanging from the stove. Yeah, just had to go literal on this one!
Using painter's tape or duct tape, create letter stencils (like I did), use ready-made iron-on or adhesive stencils, or even print out on a sheet of paper to put underneath the towel to trace, for alternate stencil options.
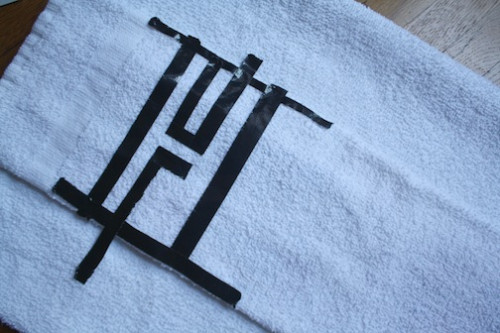
Once the stencils are affixed to the towels...
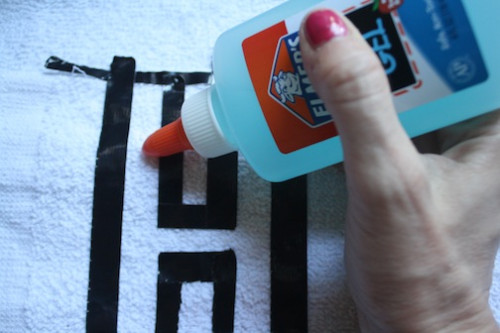
...begin to add the Elmer's Blue Gel to the inner areas. Go wild and squeeze plenty of Blue Gel to fill in the open spaces.
Let the Blue Gel dry. (I let the towel sit overnight to make sure it got completely dry.)

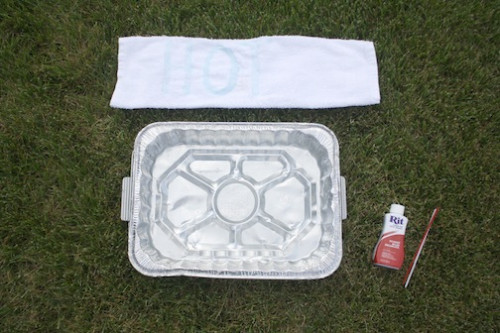
Begin to set up your dye bath. I used an aluminum baking tin, but a bucket or big pot will work wonders as well!
To prevent the Blue Gel from completely melting off, I used non-boiling (yet still hot) water to create my bath...
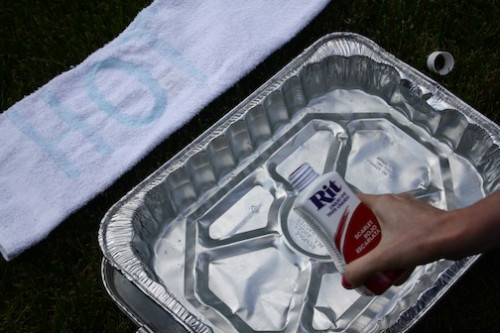
...adding in about half of the bottle of dye along with a tablespoon of salt.
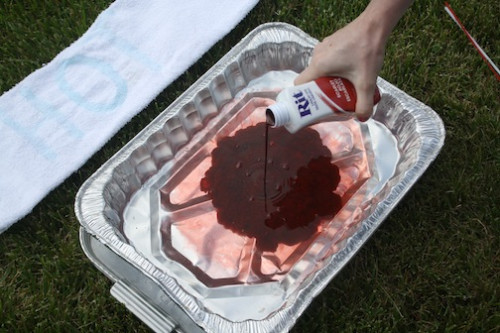
Mix the dye and salt into the water until the salt dissolves - I mixed my ingredients with a popsicle stick - and then add your piece.
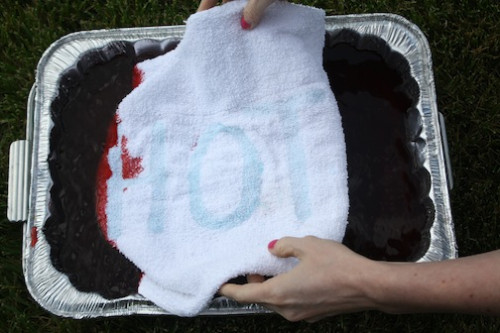
To get a really bold color, let your piece sit in the dye for at least 15-20 minutes.
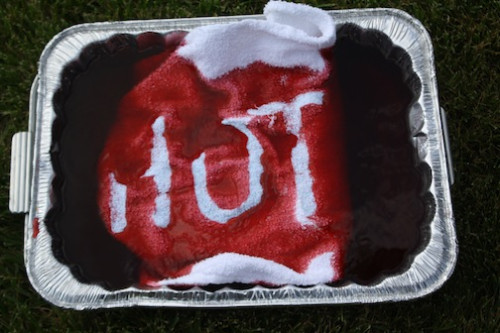
After 20 minutes, remove your piece from the dye bath and rinse it with cold water until the dye runs clear.
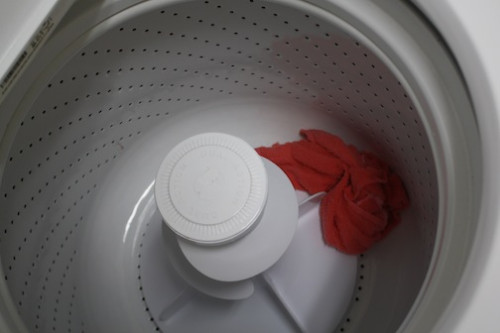
You want to make sure that all the Blue Gel gets removed from the piece, so if hand washing doesn't work, you can add it to the washing machine (solo) and run a warm or hot water wash to get rid of it all. After removing all the Blue Gel, add the piece to the dryer to dry it out. (If you do use your washing machine, make sure to run a wash right after with some bleach and detergent just to make sure it's free and clear from excess dye.)
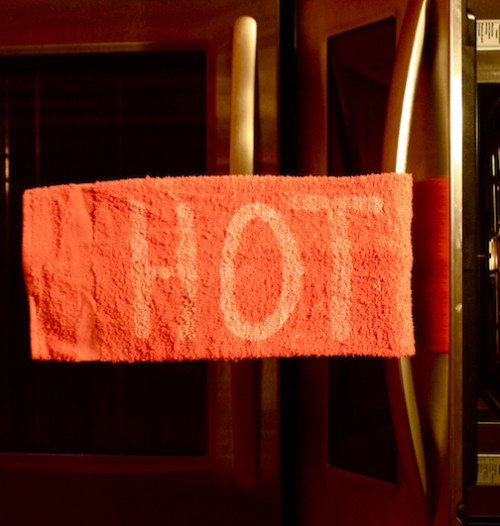
I love that this was a not-so-white-anymore dish towel that was upcycled into a new piece of flair for the kitchen!
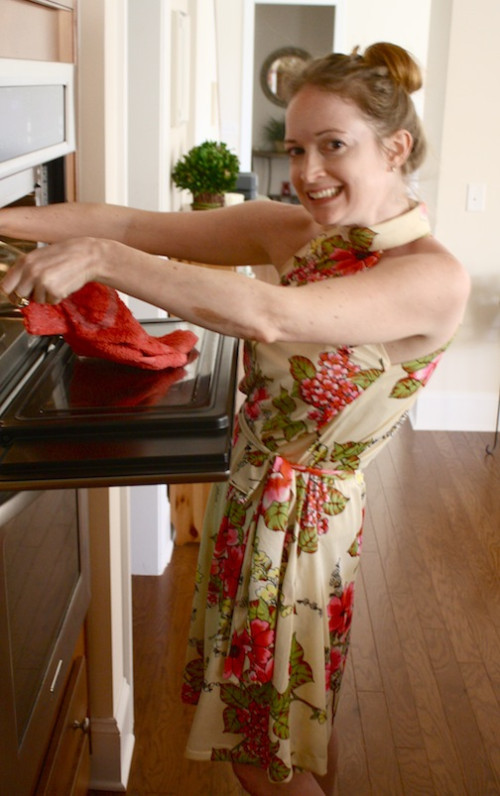
Such a cool way to teach kids words and letters too! My first word was "HOT" however I didn't have a kitchen towel to teach me. (I just hope that it wasn't because I touched something a bit too warm for my little fingers instead...)
I think there will have to be a sister towel with "COLD" stenciled on it to hang from the freezer, next go!
Let's get cookin'!