DIY: Indigo Dyed Shawl

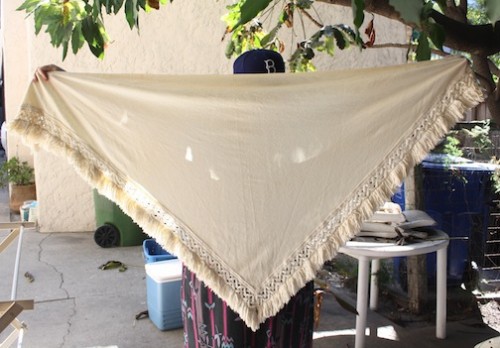
Today's post is a fun one!! I got together with crafty pal KC of Make Shop Live and the co-founder of the Academy of Handmade (for those crafters out there, check it out - it's a super rad community of crafty people with a yearly awards show just like the Oscars! The nominations begin today, so head on over and cast a vote using the code ILoveHandmade) to work on some Indigo dyeing, something I've never done before. KC is a pro, so I got a master class. I started with this vintage shrug that I've held onto for years, just waiting for the perfect project to use it for. I think you're going to like the outcome!

New Dress A Day - DIY - Indigo Dyeing - Vintage Shawl

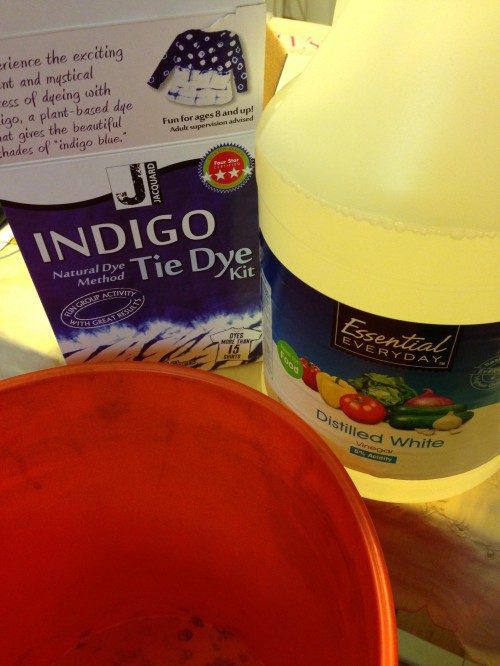
To begin, you'll need a basic Indigo Dye Kit (here are two options - mini & large that can be found on Amazon for $12 and $17 respectively) as well as these supplies:

WHAT YOU'LL NEED:

(2) 5 gallon buckets with lid (The ones we used are from Home Depot.)

Plastic tarp / old shower curtain / some kind of covering for your workspace

Gloves (vinyl or latex)

Vinegar

Rubber bands, string, clothes pins, binder clips and other items that can be use to create resist patterns on the dyed item

Synthropol or phosphate free soap (Here's a cheap batch for $4 on Amazon)

The best pieces to dye will be items made out of natural fibers - 100% cotton, silk, hemp, wool, or rayon and should be pre-washed for optimum dyeing.

New Dress A Day - DIY - Indigo Dyeing - Vintage Shawl - Dye Bath

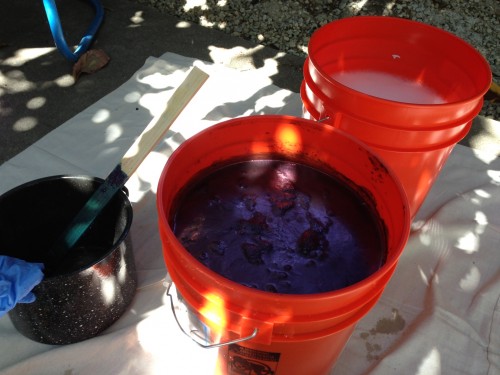
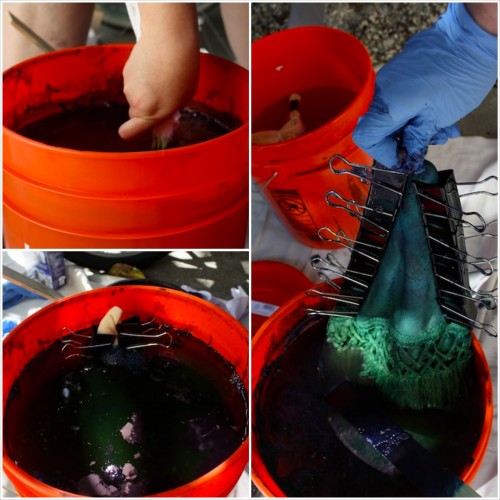
Prepare the Indigo bath following manufactures instructions. The Indigo will take around an hour to be ready for dyeing so in the meantime, set up your rinse bath. Using one of the buckets, get your rinse water started with warm water and a few drops of Synthropol. (The Synthropol bucket is in the back - fill it up about 2/3 full).

New Dress A Day - DIY - Indigo Dyeing - Vintage Shawl - Dye Bath

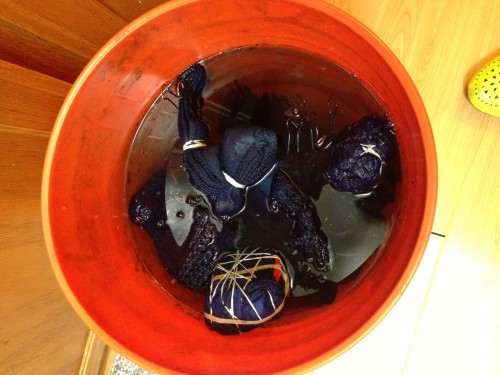
This mix is highly concentrated so use just one or two drops. Soak the items you will be dyeing for 2-3 minutes in this water bath to open up the fibers. This also helps reduce uneven dyeing or spotting. Wring out as much water as possible and then prepare any tie dye techniques using rubber bands or other resist instruments before adding to dye bath.

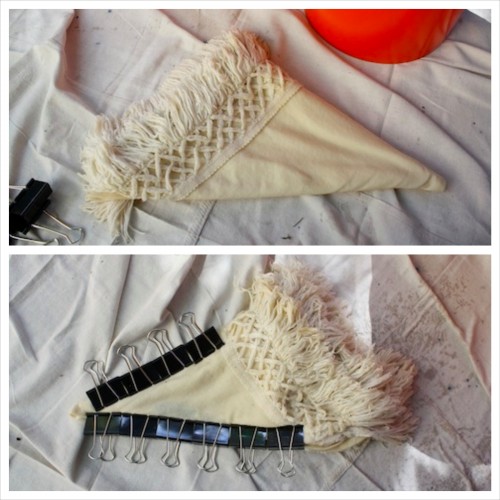
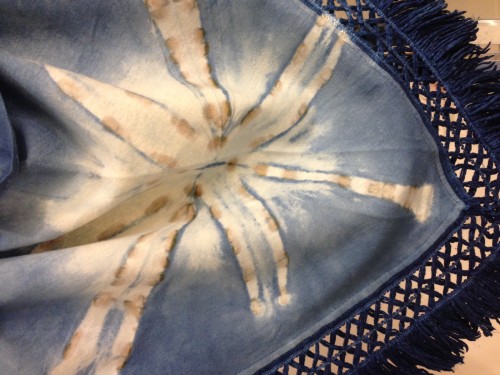
We wet the shawl, folded it up, and used binder clips as our resistant instruments. These happened to work best, but you can get creative and use washers or paper clips to wrap the fabric around.

New Dress A Day - DIY - Indigo Dyeing - Vintage Shawl - Dye Bath

Dye time! When dyeing, there are a few things to keep in mind. You want your fabric to move freely in the bucket without just resting on the bottom. This can cause spotting and uneven color if your item rests for an extended time on the bottom of the bucket. You will also want to be mindful that the Indigo process uses oxygen, so any extra oxygen introduced to the dye lessens the potency. You definitely do not want to over stir the bath and will want to push it around so that it is dyeing evenly without adding extra air instead. We used old wooden spoons and rulers to push the items around.

New Dress A Day - DIY - Indigo Dyeing - Vintage Shawl - Dye Bath

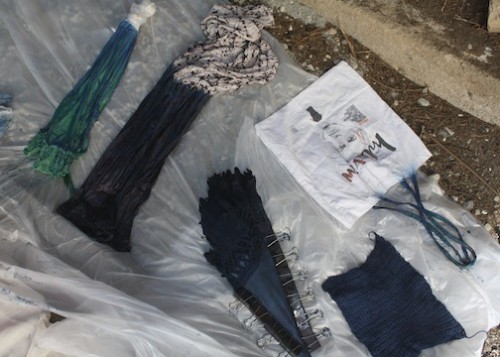
When the items leave the dye bath you will be able to see the oxygen process at work. The fabric changes color like magic! Indigo looks like a fluorescent yellow/green shade on the fabric once it comes out of the bath and then once it is exposed to air, you can see the process continue. The Indigo slowly changes the fabric from this green shade to a deep blue, the final color the piece will turn. This is one of the coolest parts of the whole process!

New Dress A Day - DIY - Indigo Dyeing - Vintage Shawl - Dye Bath

Your item may appear darker than the end result while drying. You can deepen the blue by introducing the item back into the dye bath and repeating the process as many times as you'd like to achieve a deeper color.

It's best to air dry the project completely before rinsing the color, usually overnight (24 hours is ideal). This really bonds the color as much as possible. Another trick to keep the color rich and deep, as well as prolonging fading, is to rinse with a mixture of water and vinegar. This 50/50 ratio of water to vinegar works really well in maintaining the color

(Note on Indigo: Indigo dye fades with wear and time. This is natural and one of the beautiful properties of this dye, so for this reason you may want to choose items that do not need heavy laundering to preserve color.)

New Dress A Day - DIY - Indigo Dyeing - Vintage Shawl - Dye Bath

Soak the fabric briefly in the vinegar water, then rinse in cold water until the water is clear. Follow up with a wash in Synthropol and you are good to go.

New Dress A Day - DIY - Indigo Dyeing - Vintage Shawl - Dye Bath

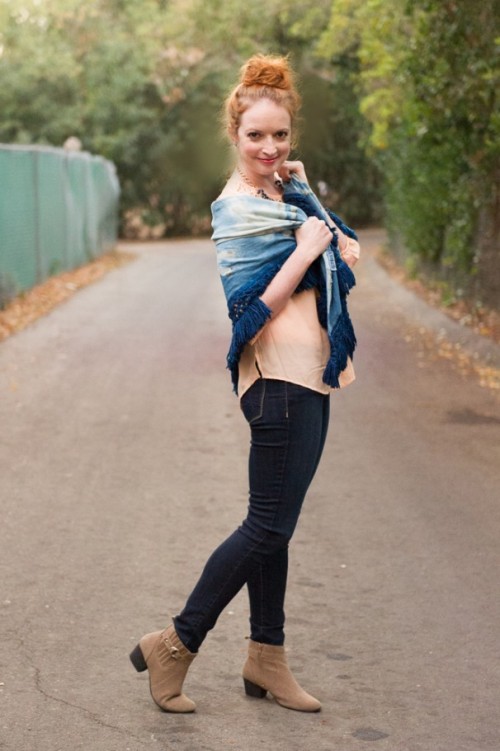
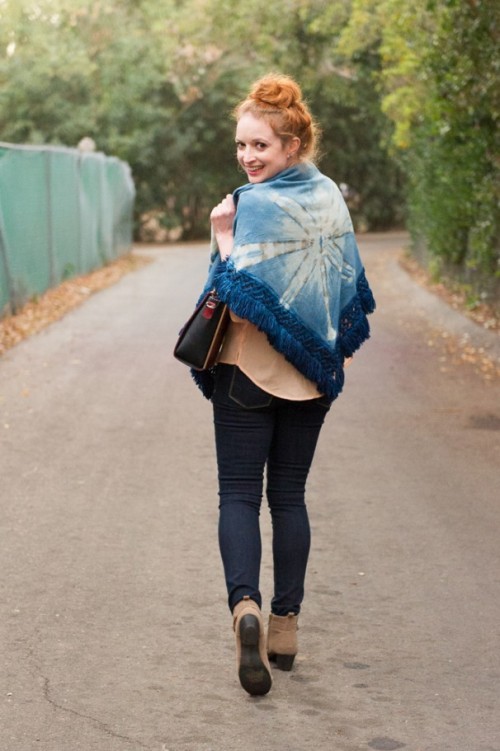
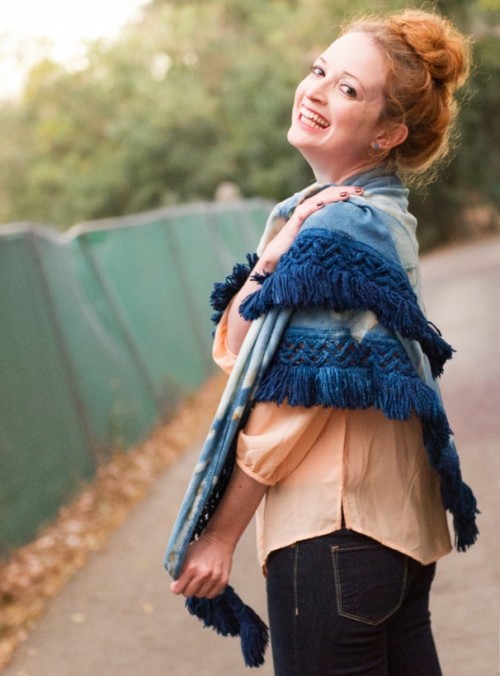
With my newly dyed shawl complete, I had a fun photo shoot with the lovely Shauna over at Penny Chic! (Head on over to Penny Chic to see more pics from the day!)

New Dress A Day - DIY - Indigo Dyeing - Vintage Shawl - Dye Bath

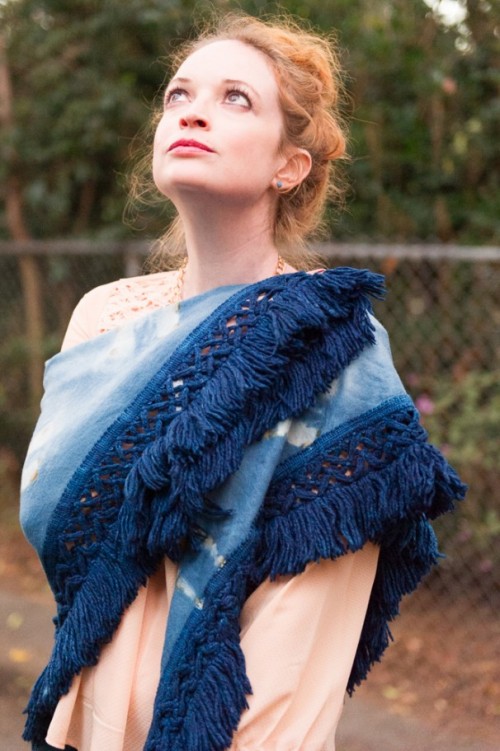
I love how bold the color turned out.

New Dress A Day - DIY - Indigo Dyeing - Vintage Shawl - Dye Bath

It's the best new cover-up to toss on top of a blouse when it's not super cold, but chilly enough to need an extra layer. Or, the perfect layer or big scarf to add on top of a thick jacket (I'm talkin' to you East Coasters/Mid-Westerners/other colder spots outside of the US that don't have these Southern California temperatures at the moment!)

New Dress A Day - DIY - Indigo Dyeing - Vintage Shawl - Dye Bath

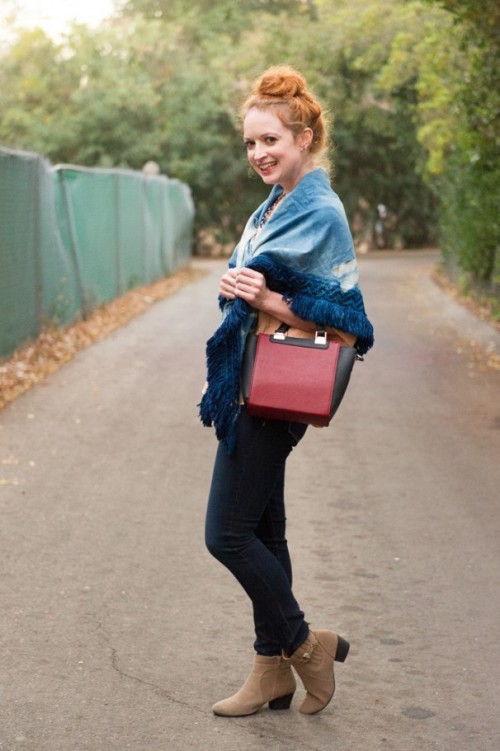
We paired the shawl with a gorge Boho top, statement necklace, and Denizen by Levi's jeans all from Target, a pair of ankle boots by Cotton On, and the most fun Sole Society purse.

New Dress A Day - DIY - Indigo Dyeing - Vintage Shawl - Dye Bath

It's the cutest date night ensemble!!

New Dress A Day - DIY - Indigo Dyeing - Vintage Shawl - Dye Bath

Thank you to the fabulous Penny Chic team and Shideh Miller for photographing this chic and cozy ensemble!

Any of you guys have experience with Indigo dyeing? I'd love to hear your stories!

Remake: Floral Pleated Dress Part II

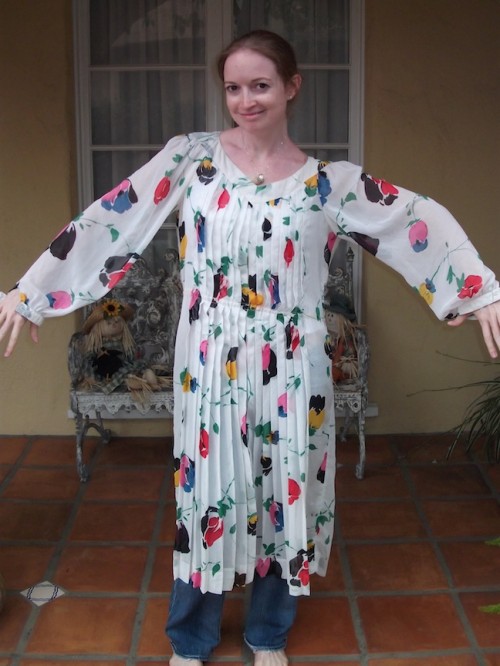
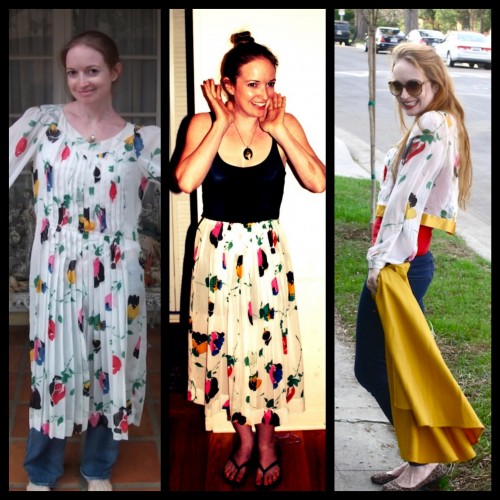
Today's piece is one that I've used already!!  Back on July 12, 2012, I made this sheer-ish crepe dress... New Dress A Day - DIY - Floral Sheer Dress - Vintage
...into this lovely skirt!  (For a full post refresher, click HERE!)

New Dress A Day - DIY - Floral Sheer Dress - Vintage

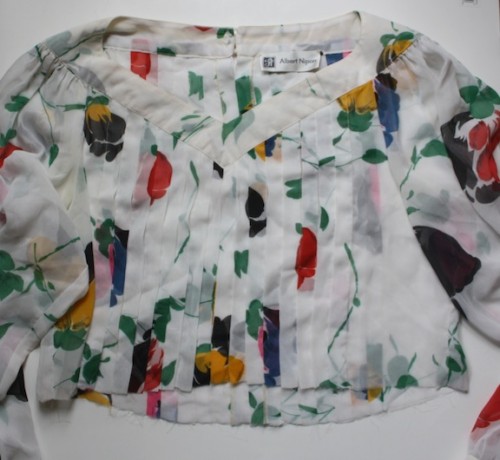
I was left with this top portion...

New Dress A Day - DIY - Floral Sheer Dress - Vintage

...that I finally got around to working on today!  I love playing around with the leftovers and this piece is finally seeing its sequel today, a full year and a half later!  I mean, totally typical for sequels.  The Hunger Games and I were on a similar release track :)

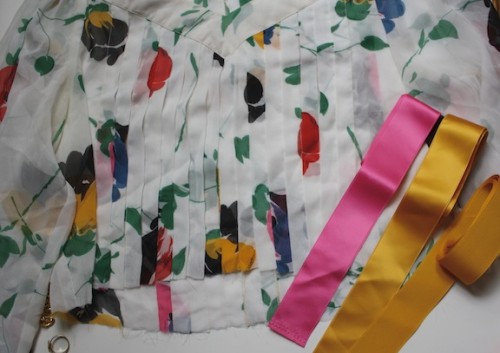
I'm actually keeping it as a crop top. I know, I know (SHOCKER), who knew I'd be into crop tops again post-1995??  Not a big fan of midriff showing, but I had plans.  I pulled a few options out of my ribbon stash in colors that matched the flowers on the piece...

New Dress A Day - DIY - Floral Sheer Dress - Vintage

...and decided that I would line the edge of the top with one of them.  Not only will the ribbon hide the frayed edging, it'll bring out more of the color.  I went with the satin mustard shade...

New Dress A Day - DIY - Floral Sheer Dress - Vintage

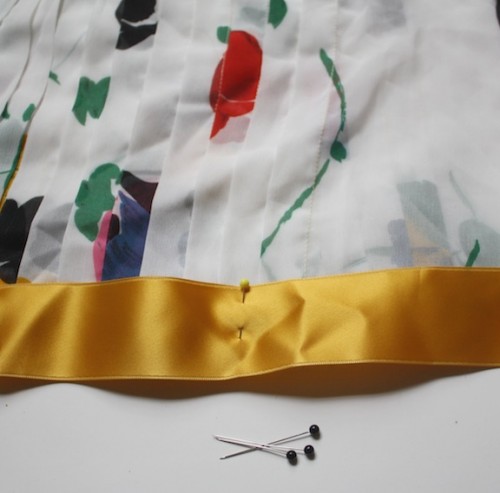
...and pinned the trim around the bottom of the shirt.

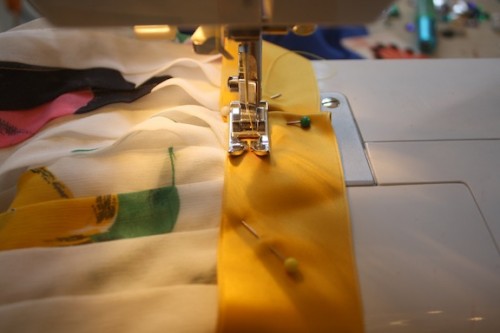
I stitched it in place...

New Dress A Day - DIY - Floral Sheer Dress - Vintage

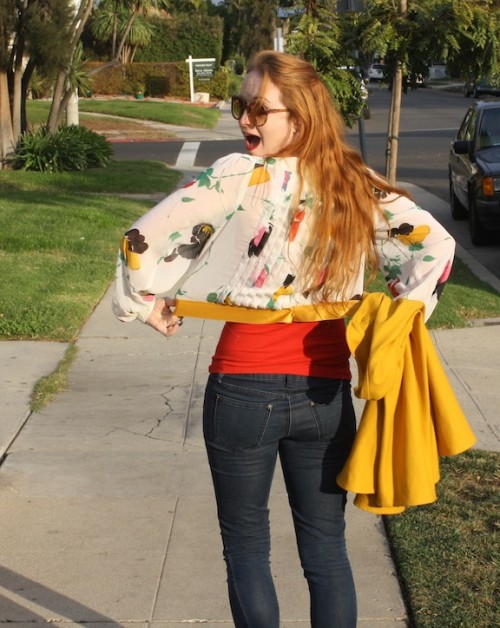
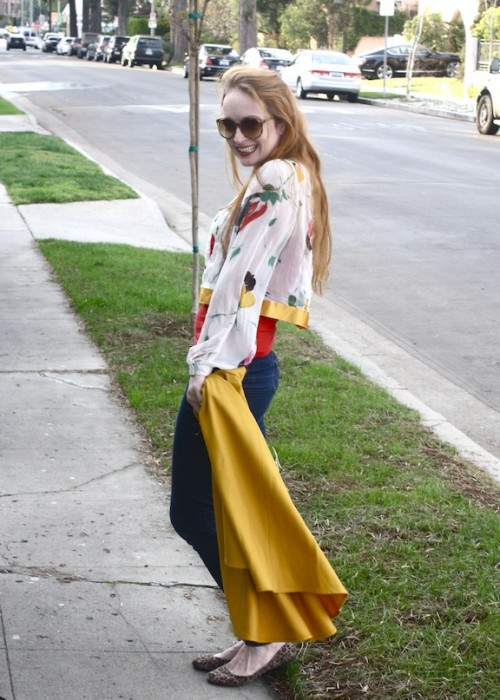
...and had a chic new top to wear!!

New Dress A Day - DIY - Floral Sheer Dress - Vintage

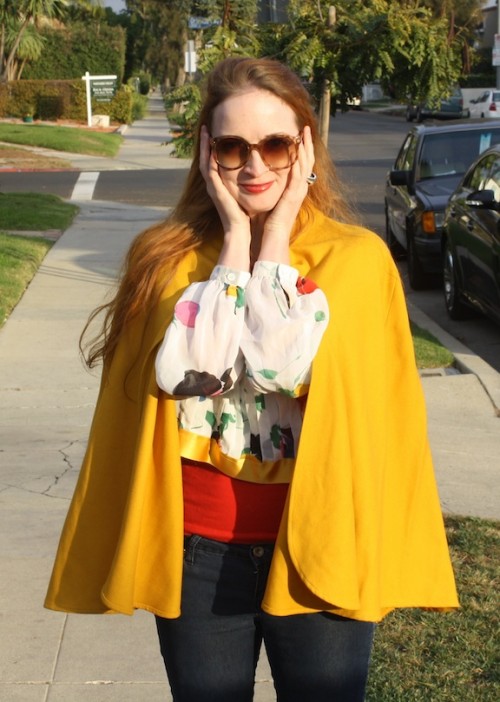
I paired it with a red camisole underneath to A, make me less self-conscious about the cropped nature and B, to help with the sheerness.

New Dress A Day - DIY - Floral Sheer Dress - Vintage

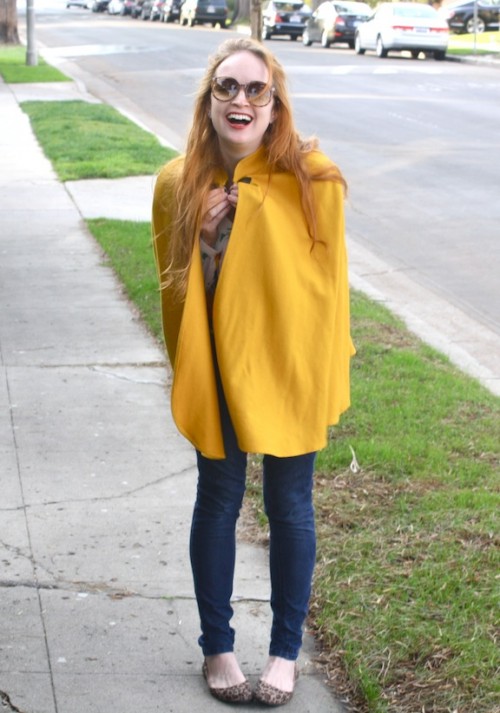
A pair of dark Forever 21 skinnies, my Target leopard flats (PS - they're on sale here for $12 now!! I think I might grab a backup pair to wear when these are totally worn out) and a vintage Harve Bernard mustard cape (best purchase ever) rounded out the ensemble.

New Dress A Day - DIY - Floral Sheer Dress - Vintage

I love how light and floaty the top is - it's really such a cute piece to toss on top of anything.  Hey gym tank...guess what's going on top of you to hide those not so cute spots??

New Dress A Day - DIY - Floral Sheer Dress - Vintage

I finally just saw The Incredibles (I mean, how did I miss it for 10 years??) and have only been pretending to be a super hero for the past few days.

New Dress A Day - DIY - Floral Sheer Dress - Vintage

I know I'm in a cape which is a no-no...

...however it made me feel like a chic tough cookie.

New Dress A Day - DIY - Floral Sheer Dress - Vintage

One who's ready to join the live action remake of Clue.  Looks like Colonel Mustard just got cast as a female.

New Dress A Day - DIY - Floral Sheer Dress - Vintage

Remake: Red & White Striped Jumpsuit

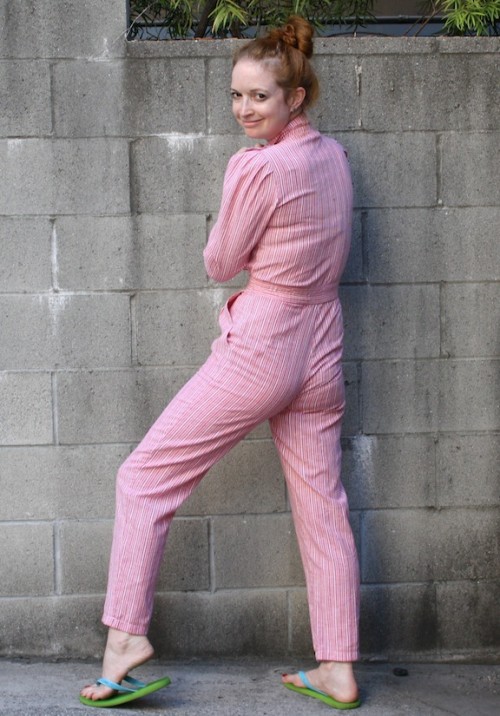
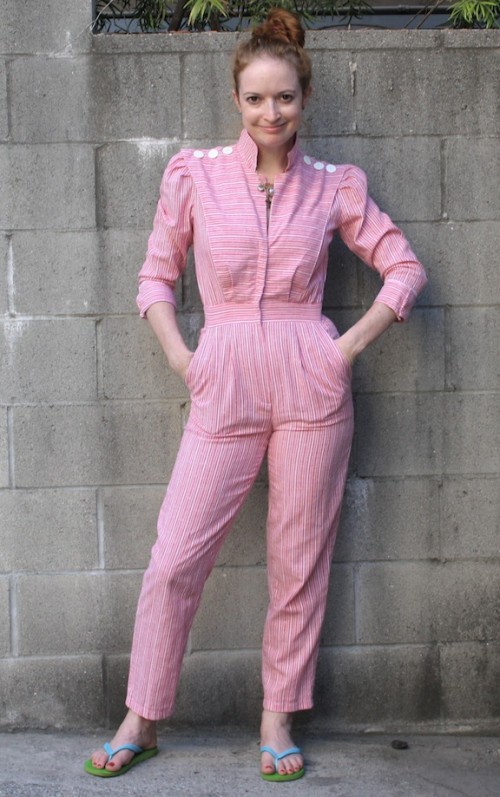
One word: JUMPSUIT!!! New Dress A Day - DIY - Vintage 80s pantsuit - Goodwill

I was beyond in love with this piece and honestly, if it wasn't so tight in the crotch-al area (you gals know what I mean) I would have made this work. Unfortunately circulation was being cut off and it just wasn't meant to be.

New Dress A Day - DIY - Vintage 80s pantsuit - Goodwill

There was a lot of fab going on in a Michael J. Fox/Back to the Future kinda way (look at those shoulders!!)...

New Dress A Day - DIY - Vintage 80s pantsuit - Goodwill

...but the bottom portion had to get loosened up a bit. And by a bit, I mean completely!

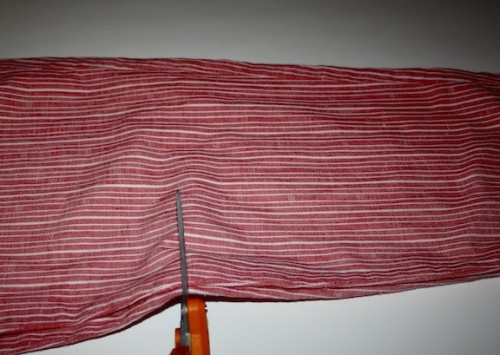
To begin, I trimmed the pant legs to right above the knees.

New Dress A Day - DIY - Vintage 80s pantsuit - Goodwill

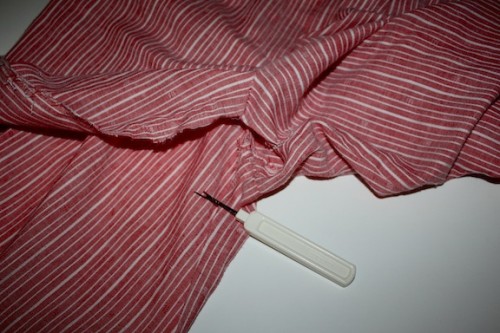
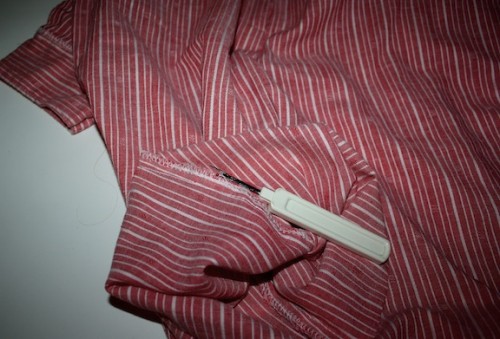
Post trim, I needed to open up that crotch-al area!! I'm turning this into a skirt, so I began to remove all the stitches on the inseam.

New Dress A Day - DIY - Vintage 80s pantsuit - Goodwill

Almost done!!

New Dress A Day - DIY - Vintage 80s pantsuit - Goodwill

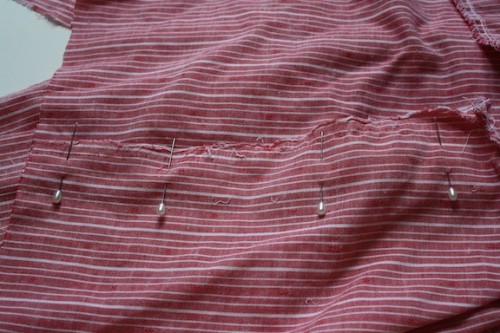
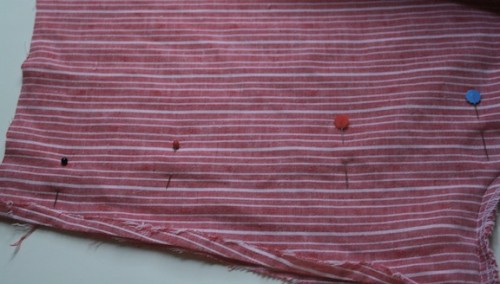
Once the bottom portion was completely opened I re-pieced together the front and the back, pinning a new seam down the front center...

New Dress A Day - DIY - Vintage 80s pantsuit - Goodwill

...and one down the back. I went on a slight diagonal just to give a little more wiggle room :)

New Dress A Day - DIY - Vintage 80s pantsuit - Goodwill

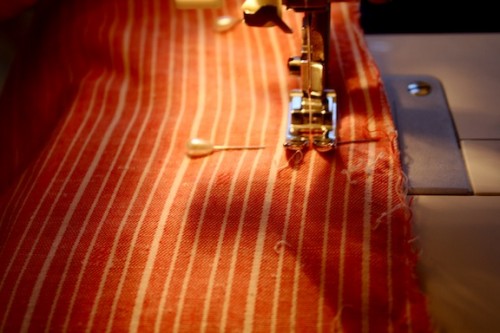
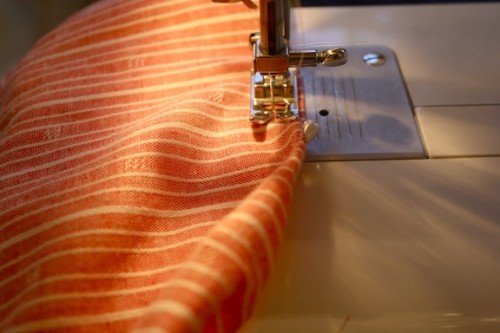
I stitched up my seams on the front and back of the piece...

New Dress A Day - DIY - Vintage 80s pantsuit - Goodwill

...and then stitched a new hem.

New Dress A Day - DIY - Vintage 80s pantsuit - Goodwill

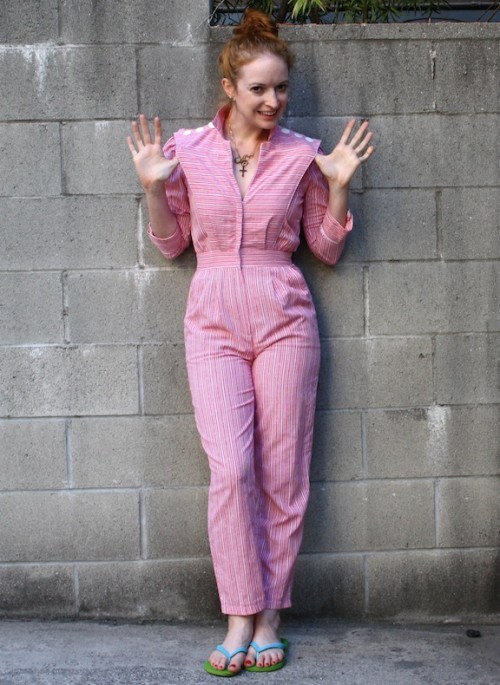
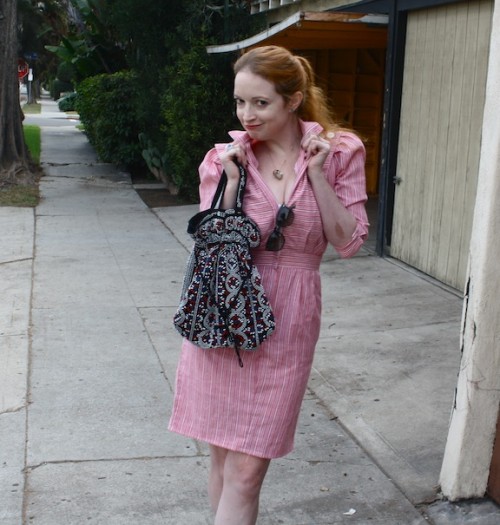
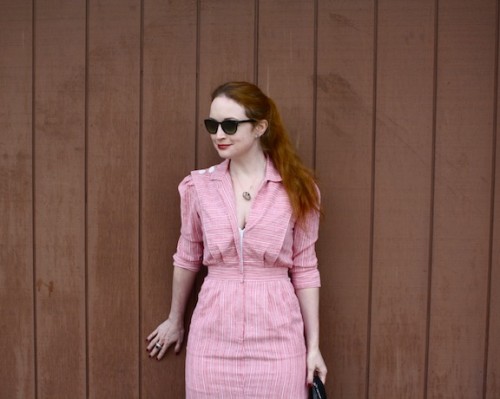
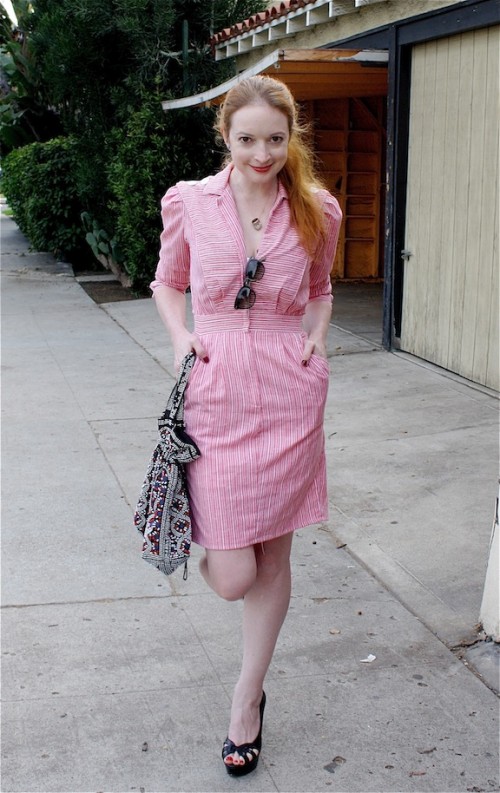
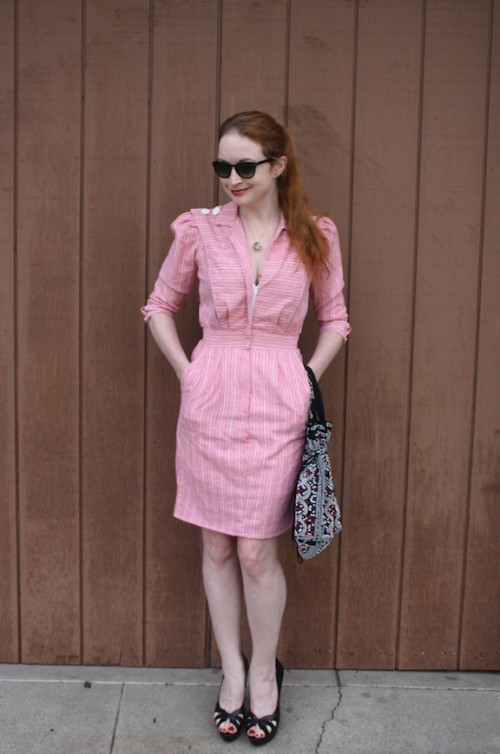
My brand new piece is looking good!!!

New Dress A Day - DIY - Vintage 80s pantsuit - Goodwill

I must say that by making that one major tweak, I'm highly in love with how the former jumpsuit looks now! I'm poppin' collars like a boss!!

New Dress A Day - DIY - Vintage 80s pantsuit - Goodwill

I paired my new dress with some black BCBG heels and a vintage beaded purse to break up the red/white palette.

New Dress A Day - DIY - Vintage 80s pantsuit - Goodwill

And even though the top portion still feels a bit retro, the pockets and cleaned up feel of the bottom give it a totally current look.

New Dress A Day - DIY - Vintage 80s pantsuit - Goodwill

It's still warm here in Southern California, so my "winter" wardrobe has been a bit modified this season! This is a piece that I can't get enough of, so I'll be wearing it again soon. Perhaps when it actually hits 50 degrees I can add some stockings and a sweater?!?

New Dress A Day - DIY - Vintage 80s pantsuit - Goodwill

Also, the zippered area in front makes this piece SO easy to get in and out of! Zipper > buttons, any day!!