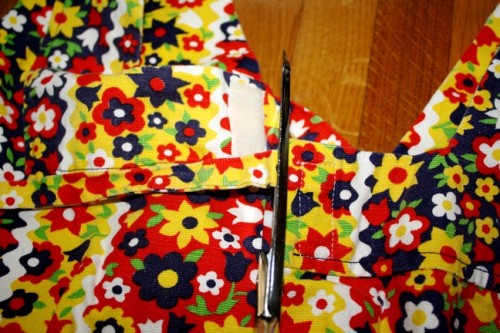
This one was a total winner when I found it for a dollar, complete with Velcro down the center (see it up top?) and fabric ties at the neck and waist. I was drawn into this one because of the floral fabric (which feels like a thick canvas-y cotton).
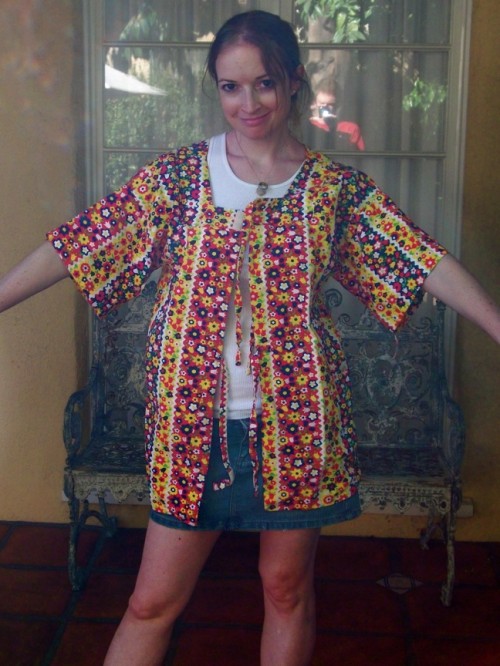
This is gonna make a fun top, but there's a bit of work to get this into tip top shape!
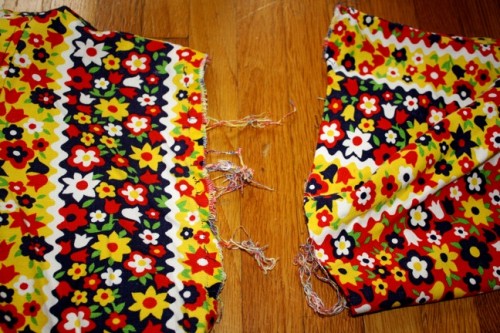
First, I had to trim all the ties down the front center and remove the Velcro. (I just took seam rippers to unhinge those Velcro rectangles down the middle)
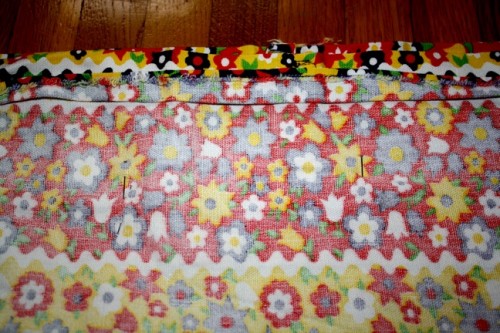
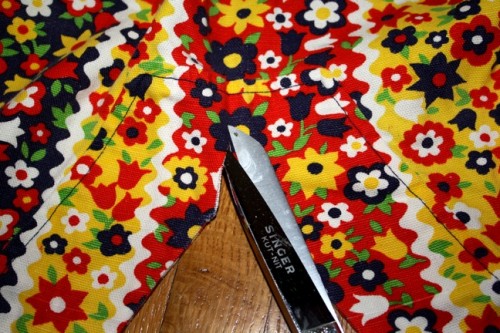
Next I pieced the open center together. I'm making this a top, so I turned the jacket-y garment inside out, and pinned the right sides of the fabric together. I don't want it to be as big as it currently is, so I measured about five inches from the edge, and placed pins vertically down the garment. This is going to be the new back of the piece!
Once I pinned, I sewed this area down!
Next I targeted the neckline. I turned the piece right side out and got cracking! There was a bit of fabric erosion (why not call it that, right?)...
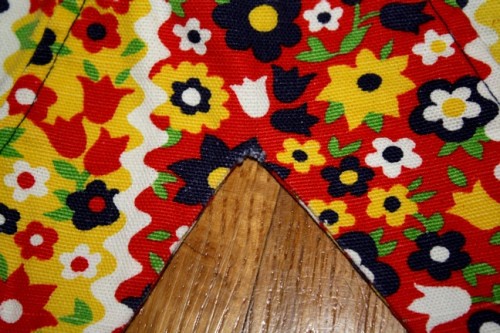
...at the bottom of the V and I wasn't really digging the Greg Brady-esque-ness of the area between the black stitches and the V itself (too thick and too 70s!!), so I decided to trim a little off.
I cut about an inch down the center of the V, and then made little inch snips all the way around my new neckline. I folded these under and pinned them in place to prepare for stitching!
Before heading to the sewing machine, I removed the sleeves...
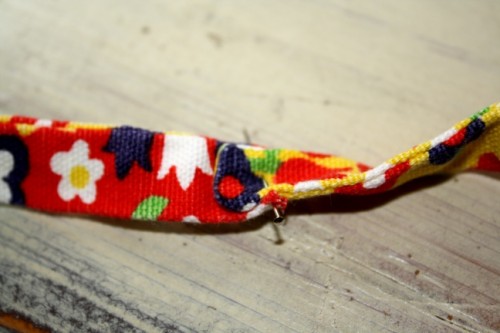
...and pieced together the four ties that were removed earlier. These are going to become one, long, sash to belt at my waist!
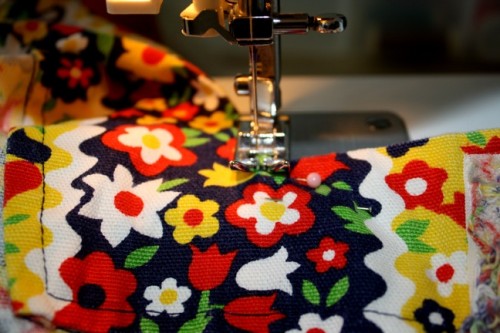
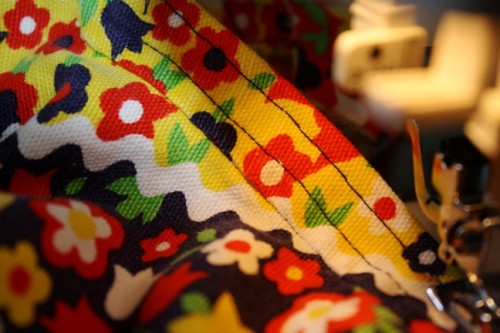
Pins in place, it's time to sew down!!
It was cool to see the new, matching black stitches that I made to match what was there already after taking the piece in at the neck! Paired with my gray jeans and some flip flops, I had my outfit ready for a little birthday celebration!
A celebration that included these pals...
It makes total sense when the party is for a three-year-old! (The below pic was super space-y and ethereal thanks to the fab iPhone.)
I was in sugar overload!! I've been trying to take it easy on the sweets (I think I maxed out right after Easter) and was in a total sugar coma.
But, I must say...Big Bird and Oscar tasted mighty delicious. (PS, the flash didn't end up working on the first after shot and it wasn't noticed until blog time, so a new shot will be taken tomorrow and posted underneath! I want you to all see the detail a bit clearer :)

