Copycat: Prada Jeweled Purse

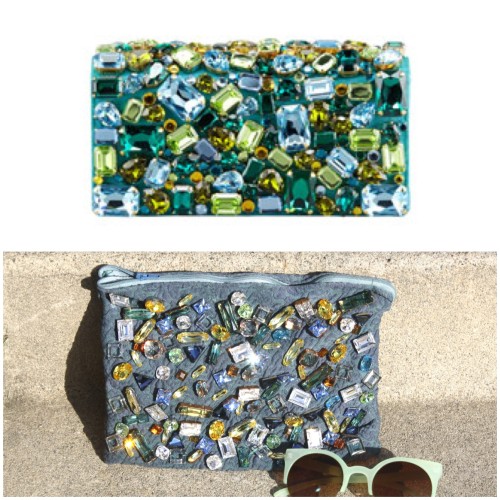
I absolutely fell in love with this Prada clutch when I first laid eyes on it. New Dress A Day - DIY pouch - Prada Copycat

I just wasn't as in love with the $2580 price tag. Using this gorg purse as inspiration, I was determined to create my own gemtastic masterpiece!

With all the leftovers that I've accumulated from the thousands of dresses I've remade, I knew I could stitch up a pouch in no time. I thought that this lovely piece would make the perfect base because...

New Dress A Day - vintage purple polyester dress

...after I trimmed it up...

New Dress A Day - vintage purple polyester dress

...and turned it into this...

New Dress A Day - vintage purple polyester dress

...I had tons of leftovers to play with! Nothing that a little dyeing can't fix to make this the perfect base!

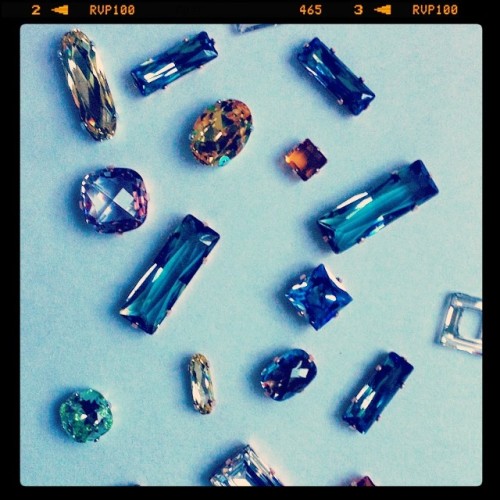
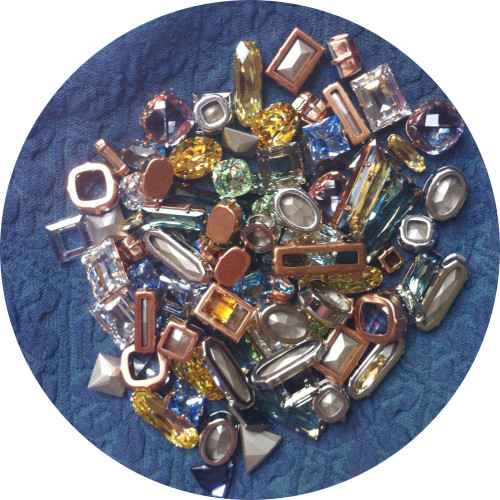
With my pouch plans in place, Swarovski gems procured in the matching colors on the Prada purse (emeralds, yellows, golds, blues, clear)...

New Dress A Day - Swarovski

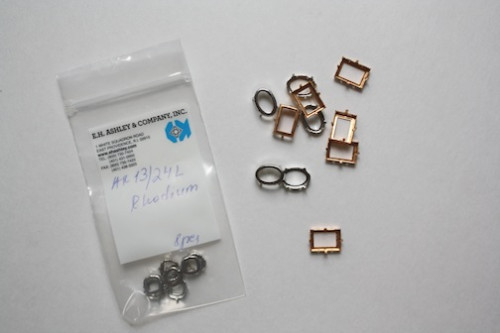
...and backings from EH Ashley in hand...

New Dress A Day - Backings

...it was time to get my bedazzle on!

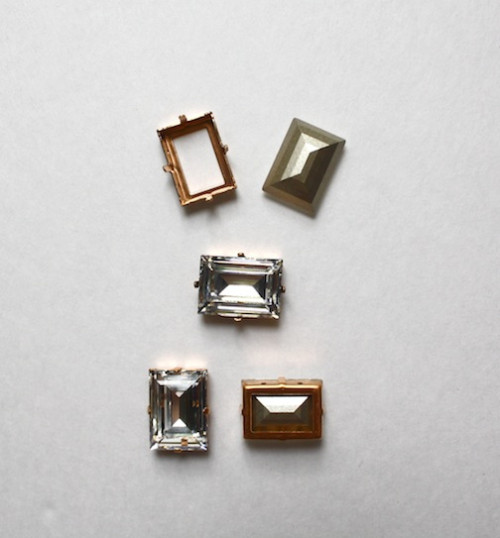
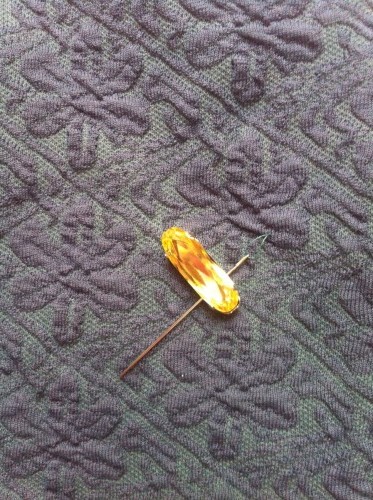
I started off by putting all the backings on the rhinestones. You place the bottom of the gem into the backing and then pinch down the prongs on top to keep the gem in place. You can use jewelry pliers or just press them down yourself. (I even did a few by pressing them into a magazine I had on my floor - easy way to complete if you're sans pliers!

New Dress A Day - Backings and Swarovski crystals

The crystal backing game began! I started little by little until I had my assortment of different Swarovski shapes and sizes complete!

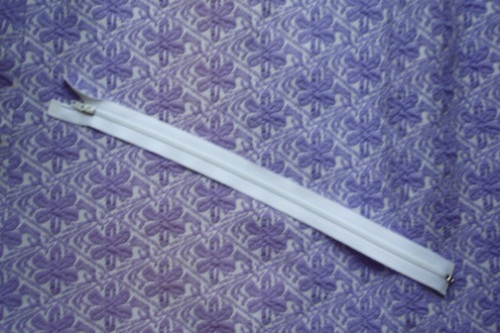
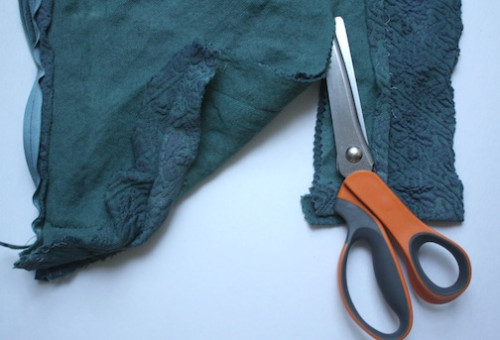
With the gem front handled, it was time to get the purse portion created. Using the excess polyester fabric from that fab upcycled dress above as well as a white zipper...

New Dress A Day - DIY pouch

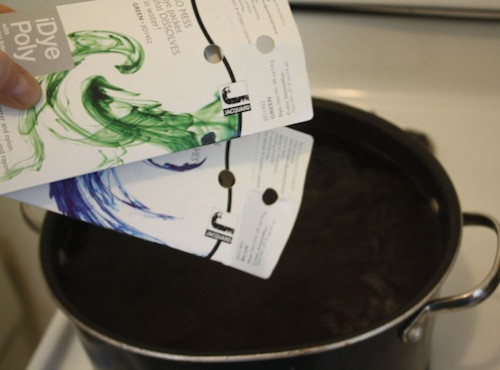
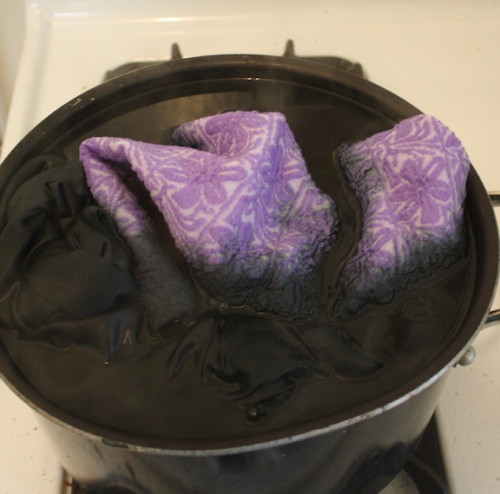
I dyed both pieces using iDye Poly...

New Dress A Day - DIY pouch - iDye Poly

...into a gorgeous shade of emerald.

New Dress A Day - DIY pouch - iDye Poly

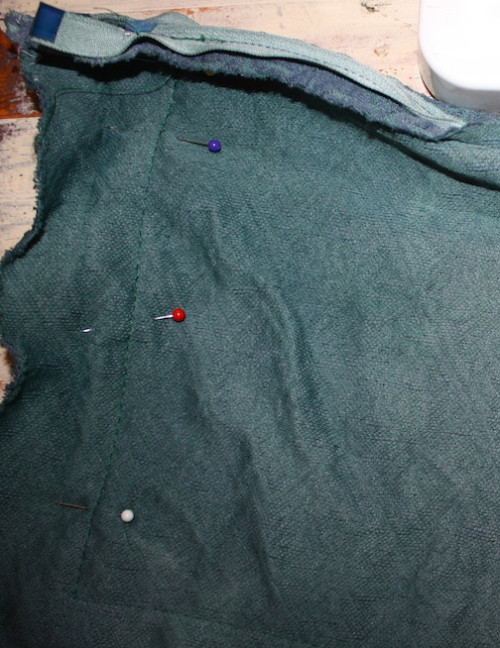
I measured the fabric to match the size of the zipper, turning it into a lovely little rectangular shape...

New Dress A Day - DIY pouch - iDye Poly

...and stitched everything in place.

New Dress A Day - DIY pouch - iDye Poly

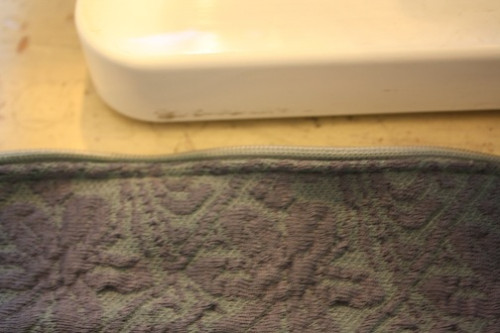
I cut the excess material around the edges of where I stitched...

New Dress A Day - DIY pouch - iDye Poly

...and turned the pouch inside out to begin my gem affixing!

New Dress A Day - DIY pouch - iDye Poly

Look at all the gems!!

New Dress A Day - Swarovski

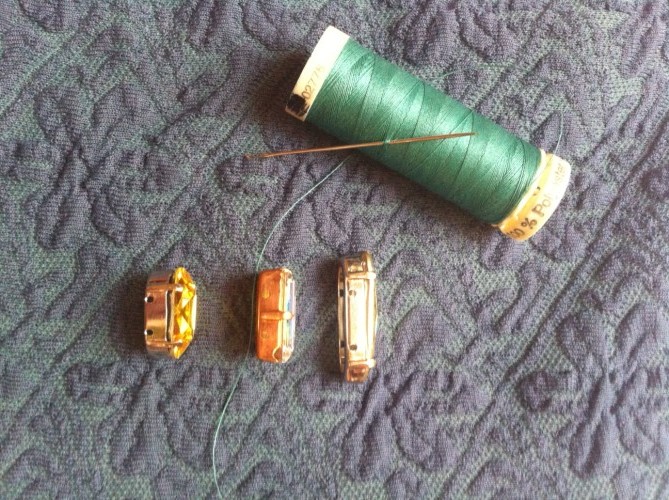
I had sew on backings for the rhinestones (see, you can see the holes in them!) to hand stitch to the purse. You can use flat backs and just glue directly to your piece or even just glue the stones themselves. Whatever makes the most sense for you is the most important element!

New Dress A Day - Backings and Swarovski crystals

I started my stitching process and stayed on the slow and steady train until I was finished.

New Dress A Day - Backings and Swarovski crystals

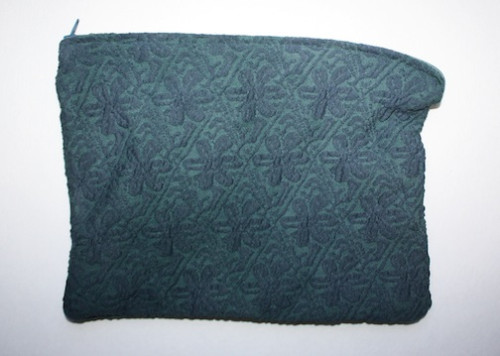
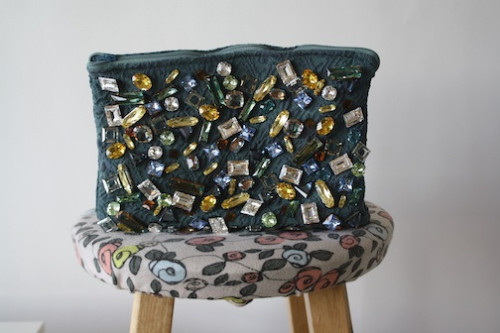
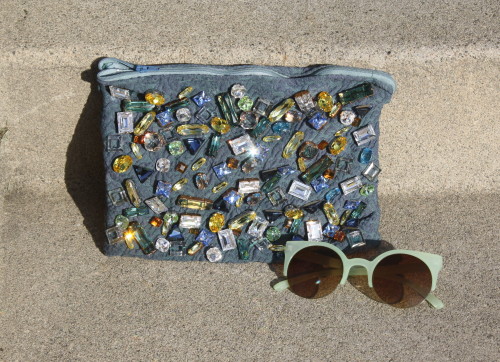
Voila!! My new Prada-inspired purse!!

New Dress A Day - DIY pouch - Prada Copycat

I just love the different shapes of the stones and the color palette works like a gem! (Hey, pun!!)

New Dress A Day - DIY pouch - Prada Copycat

It's the perfect going out, wedding, or everyday purse to glam up a basic ensemble.

New Dress A Day - DIY pouch - Prada Copycat

And if you don't want to sew anything, grab a thrifted clutch or old makeup case and use that as your base!

New Dress A Day - DIY pouch - Prada Copycat

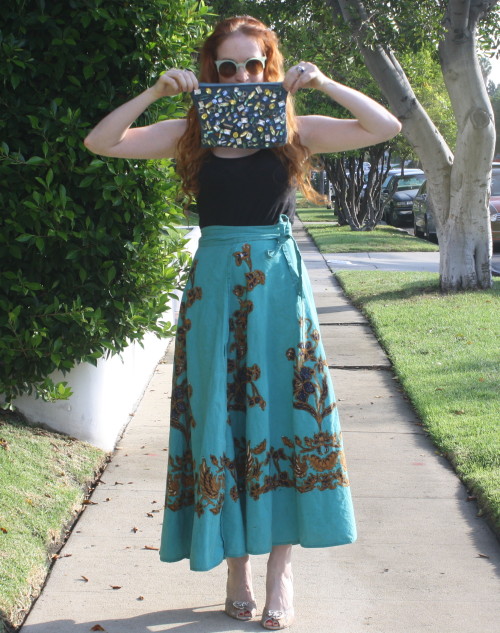
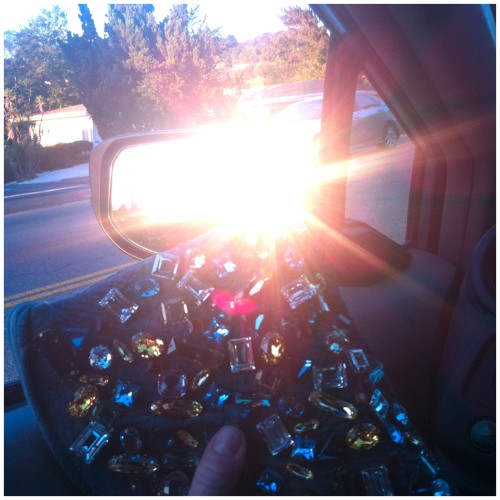
I already started the weekend a bit early with my bag. You know, taking some shots with the sun in the background while sitting in standstill traffic!

New Dress A Day - DIY pouch - Prada Copycat

Totally obsessed with how this came out!

New Dress A Day - DIY pouch - Prada Copycat

Nothing like a little bling to kick off the weekend!

DIY: Upcycled Kitchen Towel

This project was a first for me! I love dyeing anything and everything, but I hadn't ever played with a resist of sorts (outside of rubber bands while tie dyeing) until today. And who knew...Elmer's Blue Gel was going to be MVP?! New Dress A Day - Rit Dye Washing Machine

Not sure about you, but most (er, 98%) of my kitchen hand towels are spotty and stained. I thought this would be a practical and cute way to upcycle those old towels into something a little fresher instead of going out and grabbing new ones. The most fun part of this is that you not only get to become creative with your color choices, but you can personalize the towels! You can pick a word, children's initials, the family surname, etc. to be what gets stenciled onto the towel. I worked with Rit Dye on this project, so the color options were going to be on point as well~

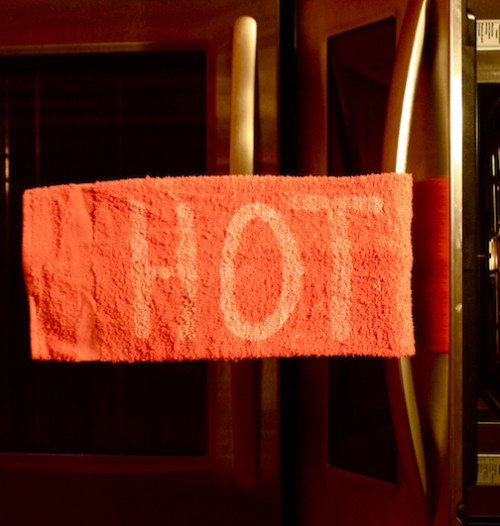
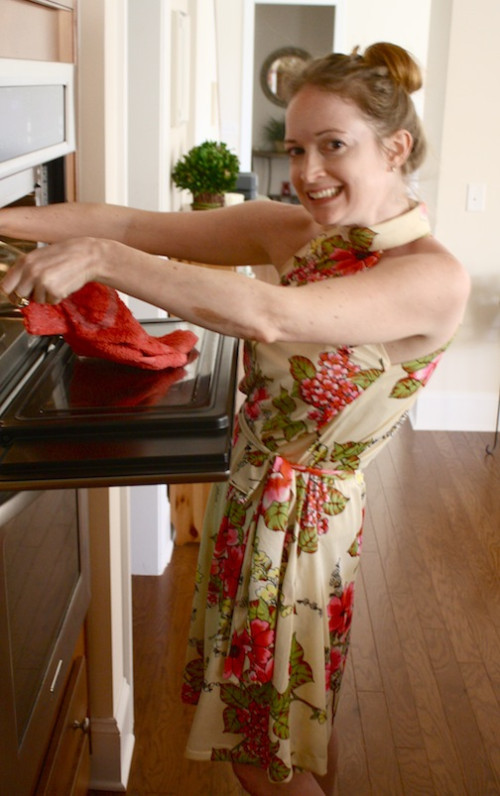
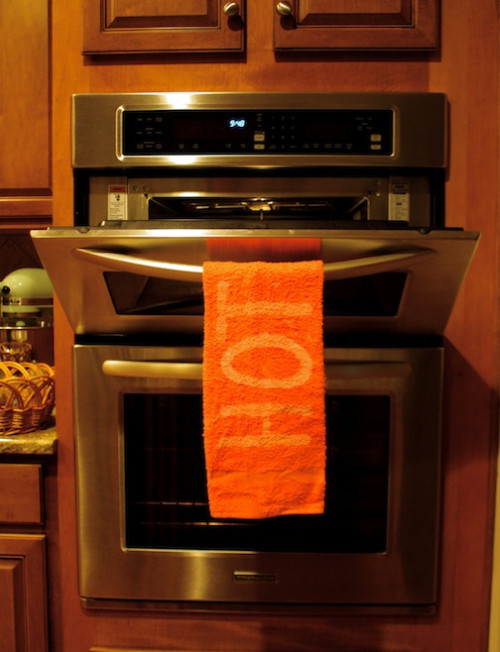
I chose the word "HOT", knowing that this towel would be hanging from the stove. Yeah, just had to go literal on this one!

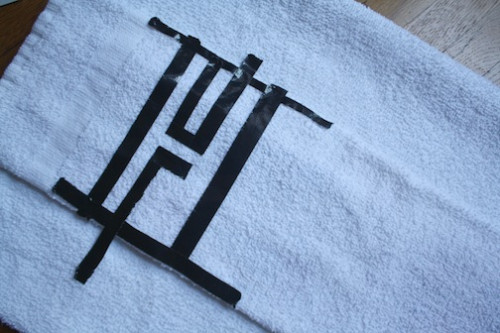
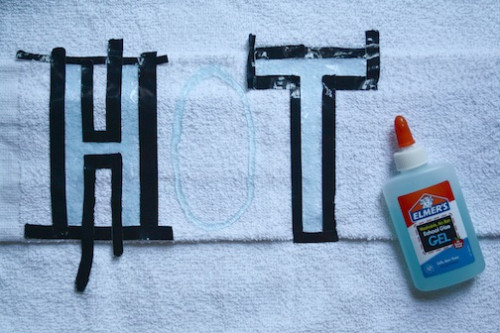
Using painter's tape or duct tape, create letter stencils (like I did), use ready-made iron-on or adhesive stencils, or even print out on a sheet of paper to put underneath the towel to trace, for alternate stencil options.

New Dress A Day - Stenciled Letters

Once the stencils are affixed to the towels...

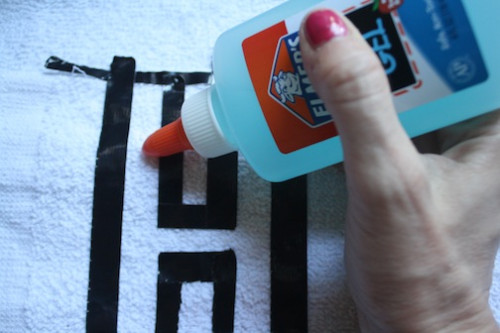
...begin to add the Elmer's Blue Gel to the inner areas. Go wild and squeeze plenty of Blue Gel to fill in the open spaces.

New Dress A Day - Stenciled Letters

Let the Blue Gel dry. (I let the towel sit overnight to make sure it got completely dry.)

New Dress A Day - Stenciled Letters

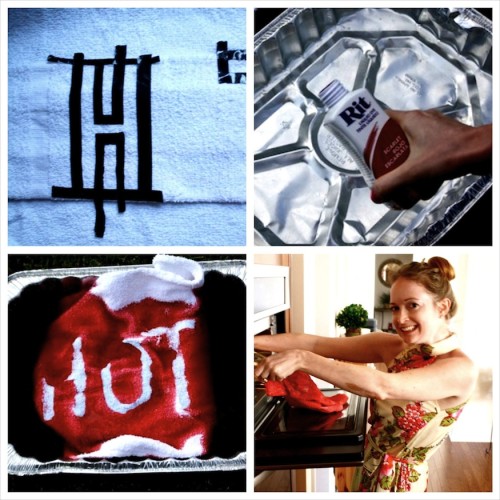
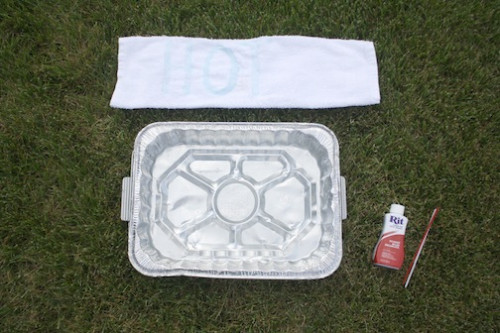
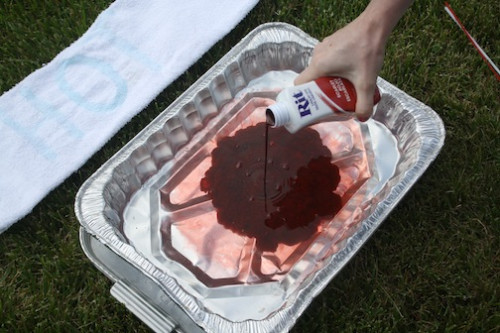
Begin to set up your dye bath. I used an aluminum baking tin, but a bucket or big pot will work wonders as well!

New Dress A Day - Rit Dye Bath

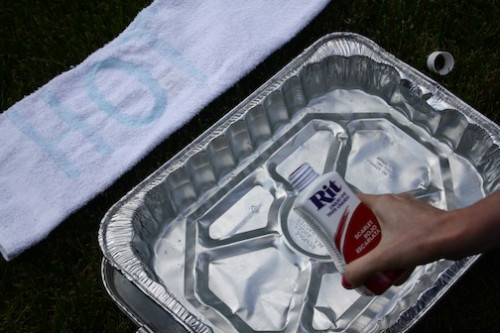
To prevent the Blue Gel from completely melting off, I used non-boiling (yet still hot) water to create my bath...

New Dress A Day - Rit Dye Bath

...adding in about half of the bottle of dye along with a tablespoon of salt.

New Dress A Day - Rit Dye Bath

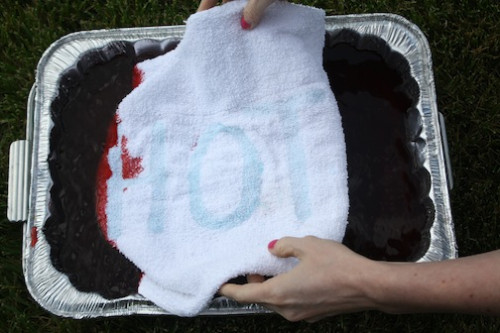
Mix the dye and salt into the water until the salt dissolves - I mixed my ingredients with a popsicle stick - and then add your piece.

New Dress A Day - Rit Dye Bath

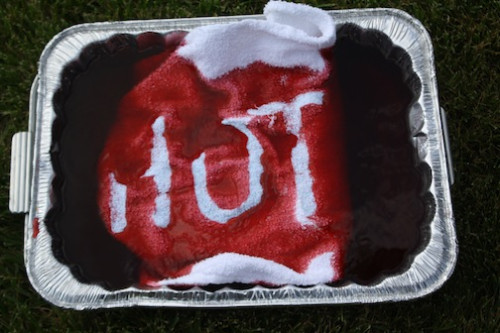
To get a really bold color, let your piece sit in the dye for at least 15-20 minutes.

New Dress A Day - Rit Dye Bath

After 20 minutes, remove your piece from the dye bath and rinse it with cold water until the dye runs clear.

New Dress A Day - Rit Dye Bath

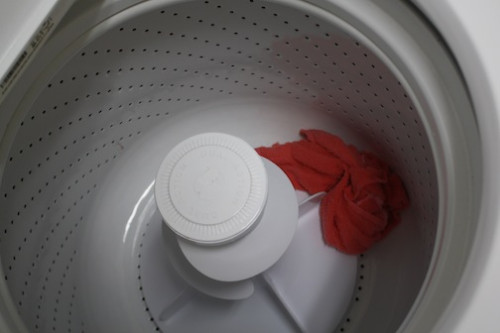
You want to make sure that all the Blue Gel gets removed from the piece, so if hand washing doesn't work, you can add it to the washing machine (solo) and run a warm or hot water wash to get rid of it all. After removing all the Blue Gel, add the piece to the dryer to dry it out. (If you do use your washing machine, make sure to run a wash right after with some bleach and detergent just to make sure it's free and clear from excess dye.)

New Dress A Day - Rit Dye Washing Machine

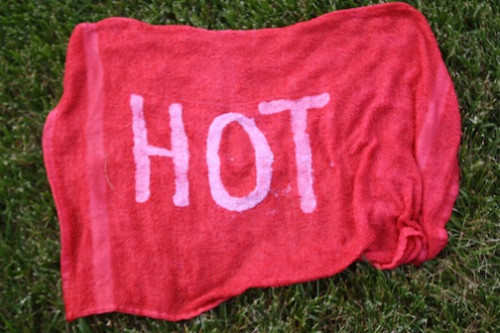
I love that this was a not-so-white-anymore dish towel that was upcycled into a new piece of flair for the kitchen!

New Dress A Day - Rit Dye Washing Machine

Such a cool way to teach kids words and letters too! My first word was "HOT" however I didn't have a kitchen towel to teach me. (I just hope that it wasn't because I touched something a bit too warm for my little fingers instead...)

New Dress A Day - Rit Dye Washing Machine

I think there will have to be a sister towel with "COLD" stenciled on it to hang from the freezer, next go!

New Dress A Day - Rit Dye Washing Machine

Let's get cookin'!