7 Days to Go: $1 Remake

I don't know if there are really any words for this one... New Dress A Day - DIY - Vintage Dress - Too Big Dress
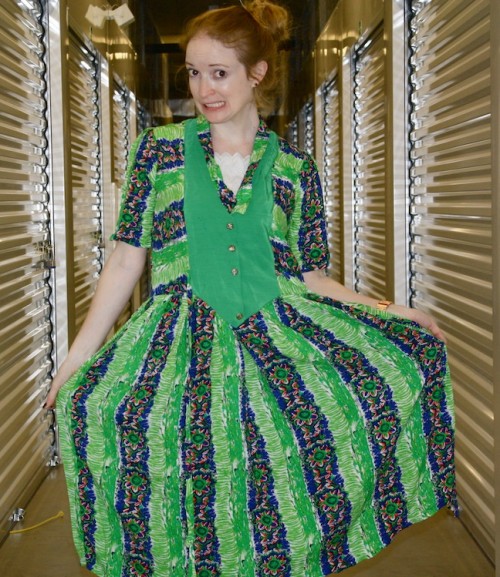
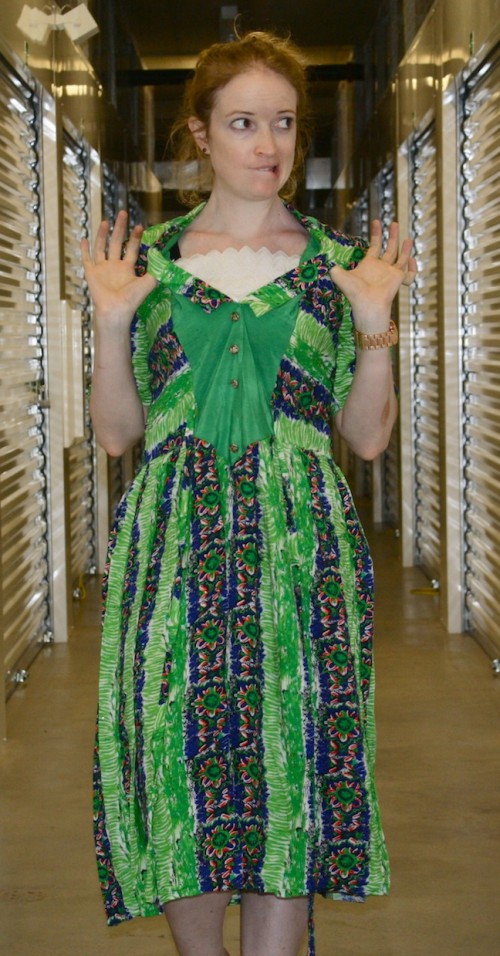
Long skirt, an eyelet bib, a big collar - a mini-disaster trifecta!!

New Dress A Day - DIY - Vintage Dress

I had to put my thinking cap on and try to figure out how to really make it work!!

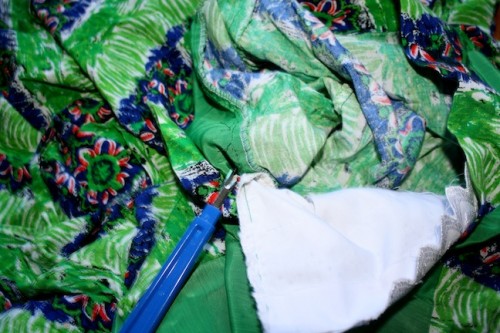
I began with taking out that eyelet!!  That was a no-brainer.

New Dress A Day - DIY - Vintage Dress - Hanky Removal

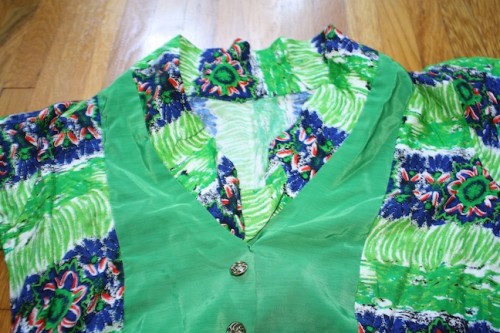
With the bib removed...

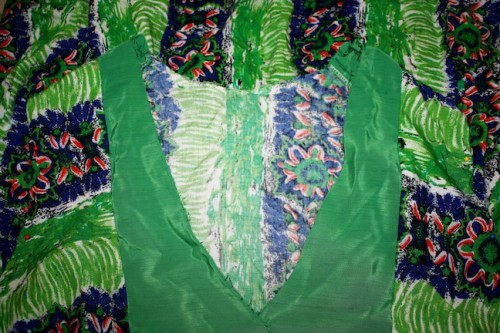
New Dress A Day - DIY - Vintage Dress - New Neckline

The collar got taken off next (woo!) and then the sleeves followed suit!

New Dress A Day - DIY - Vintage Dress - Later Sleeve!

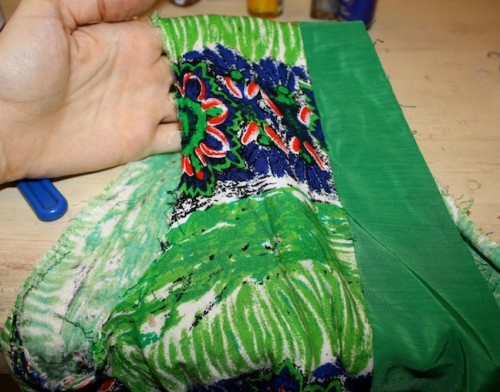
The raw and open edges got pinned down...

New Dress A Day - DIY - Vintage Dress - Ready to Sew

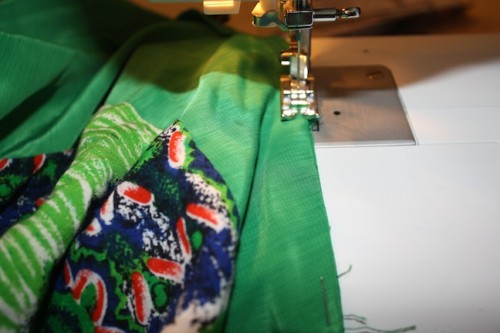
...and stitched in place!!

New Dress A Day - DIY - Vintage Dress - Sewing Machine

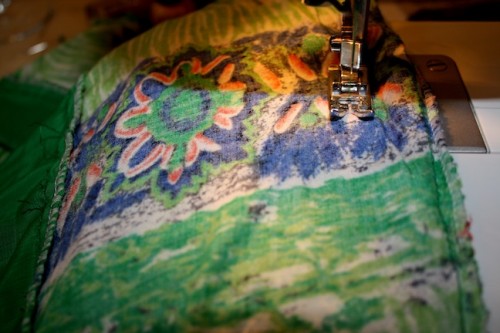
We're getting closer!  I had to adjust the sizing, so I took in the sides and hiked up the skirt!

New Dress A Day - DIY - Vintage Dress - Tighten Up!

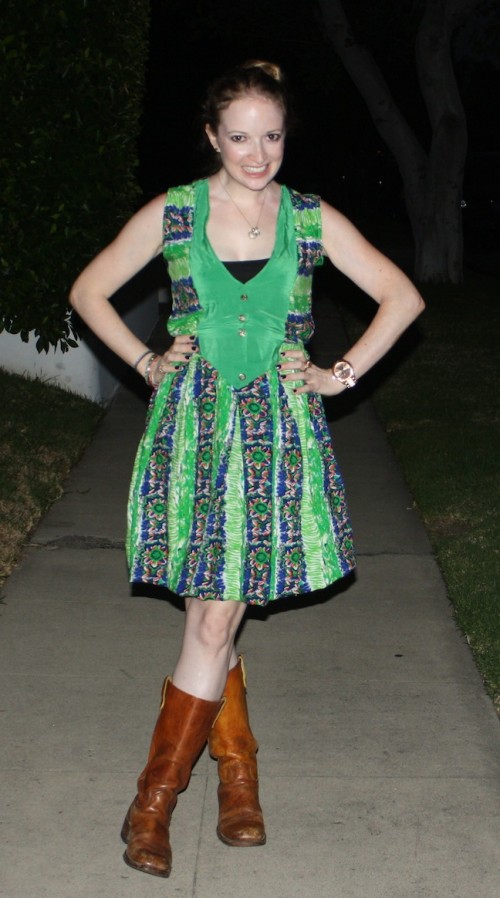
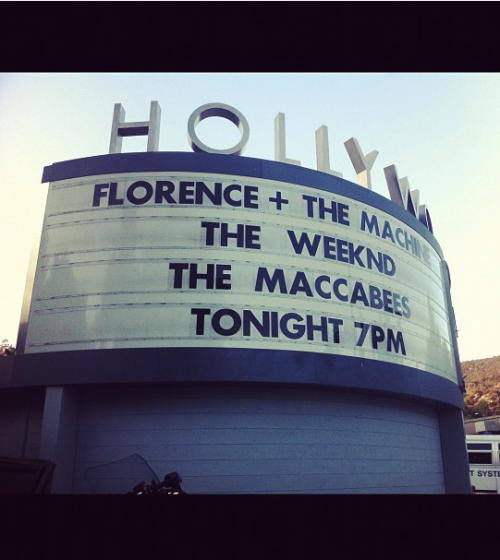
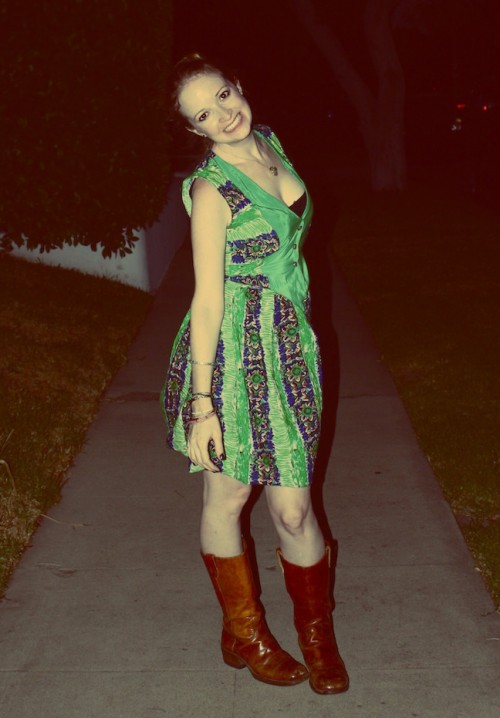
Post-sew, my dress was complete!  Off to see Florence + The Machine at the Hollywood Bowl...my last show of the summer.  OK, technically it's not summer anymore, however the hot weather has been fooling me and I'm just not really ready to say goodbye yet!

New Dress A Day - DIY - Vintage Dress - New Dress

I got to wear my boots again!!   It did get chillier later on, so I brought my denim jacket and a little sweater along with, but the lack of sleeves worked wonders until the sun set!

New Dress A Day - DIY - Vintage Dress - Florence + The Machine

With my new dress, I gave my nails a vampy coat of polish that was totally Florence-worthy.

New Dress A Day - DIY - Vintage Dress - Nails for Flo!

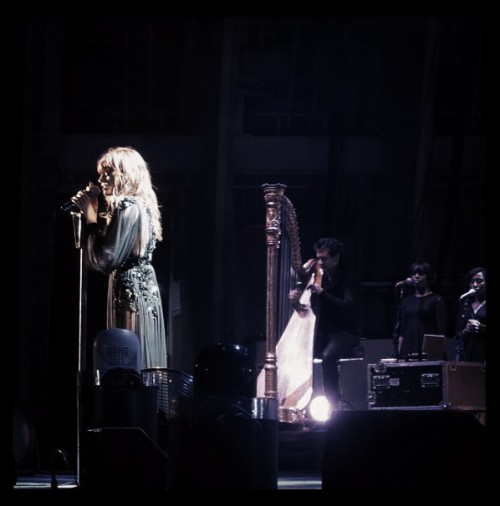
I couldn't have been more obsessed with her ridiculous black dress.  Two words.  In. Love.

New Dress A Day - DIY - Vintage Dress - Florence Welch's amazing dress

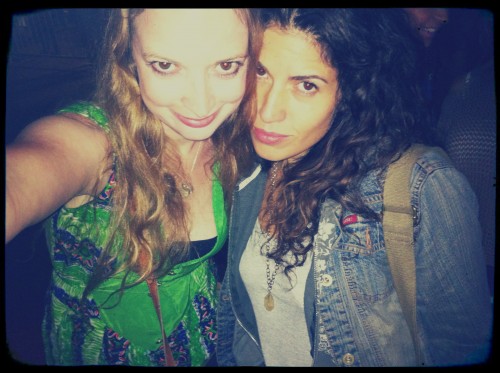
I got to hang with friends, snack on sea salt chocolate and carné asada burritos (great combo, eh?)...

New Dress A Day - DIY - Vintage Dress - Florence BFFs

...and rock out.  Florence was running all over the stage and spinning around in circles that as soon as I got home I started pirouetting.  Not even joking.  I spun when I got home from the comforts of my living room.

New Dress A Day - DIY - Vintage Dress - Shadow Times!

The perfect night to just chill out, during a super hectic time.  (PS, how is the book coming out in just a week?? PPS, you still have time to pre-order and get goodies!)

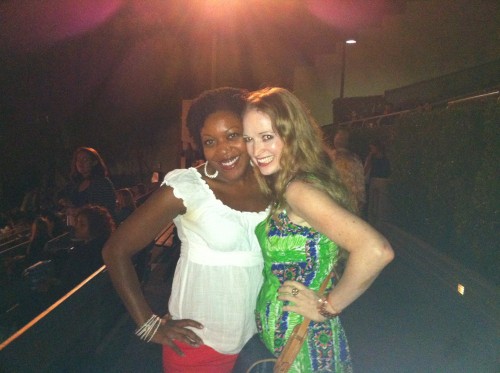
I ran into more friends and took more pictures, which made for a most fantastic way to start the week.

New Dress A Day - DIY - Vintage Dress - Friend Meetups!

I just loved the green/navy mix and felt like a good pat on the back was due for this one.  I got complimented waiting on line in the bathroom which is always a seal of approval.  The commenting, I mean...not necessarily the bathroom line waiting :)

New Dress A Day - DIY - Vintage Dress - After

8 Days to Go: Vintage/Rustic Table Setting Pieces

Hope everyone had a great weekend!  What was on all of your agendas? I spent some time garage sale-ing and Goodwill-ing, found awesome tabletop goodies to remake, and got crafty to create a fun, fall, vintage-rustic tablescape.  Recycled goods-turned-chic-tabletop

Here's a brief look at the table after all the hand-craftiness...

New Dress A Day - DIY - Vintage Tablescaping!

...and I'm going to show three fun items from the table that are super easy to recreate.  Ready??

1. Napkin Rings

I started with some basic wooden napkin rings and some ribbon from my collection...

New Dress A Day - DIY - napkin rings

...and got out my friend, the hot glue gun!!  I dabbed a bit of glue in the center of the ring...

New Dress A Day - DIY - Hot Glue Gun

...and started to wrap the ribbon around the ring.  I went around 11 times (I had to count to make each ring uniform) and then glued the ends to the inside of the ring.

New Dress A Day - DIY - Napkin Rings - Wrapping Ribbon

2. Napkins

Next came the napkins!  I found some beige cotton ones to use because I wanted to dye them a new shade!

New Dress A Day - DIY - Ombre Napkins

After seeing tons of ombré dye tutorials, I was inspired to create some on my own!  I began a dye bath of Scarlet RIT Dye on my stove top...

New Dress A Day - DIY - RIT Dye Bath

...and started to drop in my napkins!

New Dress A Day - DIY - Napkin Dip

I dipped the six napkins (all at once) into the pot a little less than their middle point, and held them in place for about five minutes.

New Dress A Day - DIY - Soaky Soaky Now

Once I let the bottom half soak for those few minutes, I brought the napkins out of the bath another halfway point.  I wanted to let the bottom chunk be the darkest area, so I left this part submersed for about a half hour to really show the gradient.

New Dress A Day - DIY - Dip & Soak

3. Vase

I have to say that before I moved I had accumulated many, many, many vases from floral deliveries to take-homes from weddings. I held onto a few favorites but ended up donating about 90% of them.  When I walked back into Goodwill this weekend, I was probably re-purchasing the vases I had given away!

I loved the shape of this vase and wanted to give it some texture, so I found some lovely yellow Bakers Twine (yes, it totally made me crave pastries)...

New Dress A Day - DIY - Goodwill Vase & Baker's Twine

...and began to wrap it around the neck of the vase using Mod Podge to keep it in place!  After finding a good end place (aka, the location on the vase where I was, after spending about a half hour wrapping and adhering) I let the vase dry overnight.

New Dress A Day - DIY - Mod Podgin'

Here's what I ended up with post project-ing!

Hello chic napkins!

New Dress A Day - DIY - Finished Napkins

I loved that each one looked a bit different depending on where they were in the pile when I was dyeing.

New Dress A Day - DIY - All Dyed!

The napkin rings looked lovely against the napkins!

New Dress A Day - DIY - Napkin & Napkin Ring Combo

With some ribbon and a little glue, these rings are looking Anthropologie-esque!!  I loved how these turned out!!

New Dress A Day - DIY - Napkin Rings!

And the Mod Podge/Bakers Twine vase...

New Dress A Day - DIY - New Vase!

...looking super sharp with the yellow lilies too!

New Dress A Day - DIY - New Table!!

All the table making fun got me really ready for a fun night of dinner party-ing with friends.  Hello butternut squash mac & cheese (with turkey bacon!!) and bruschetta.  (PS, the dee-lish recipe came from Better Homes & Gardens)

New Dress A Day - DIY - Dinner Party Time!

Nothing like yummy eats to close out the weekend!!

The rest of the tabletop pieces are to follow...stay tuned!!

9 Days to Go: Kerry's NDAD Creation

My birthday is coming up, so when I saw this submission I not only thought it was a fun birthday ensemble, but got me thinking about what I'm going to wear! Here's Kerry's message...

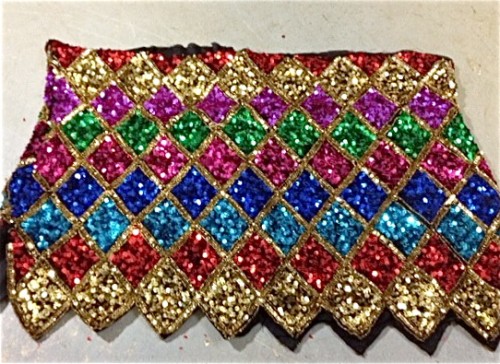
My daughter had her 16th birthday a few weeks ago and her friends "gifted" her with this delightful, plus-sized sequin and beaded top.  She liked the funkiness and quality of the fabric but a top was not something she would wear.

New Dress A Day - DIY - Vintage Sequin Top - Kerry

I think I need that top for my birthday!  Let's see what Kerry did...

I cut off the top right below the sleeve (maybe a bolero can come out of this half later?)...

cut-New Dress A Day - DIY - Vintage Sequin Top - Trim in half

...and leaving the zipper and hem in place, re-cut the sides to contour the hips. I added a few darts to the front and back, restitched the sides and used an old satin sash that was lying around to make a waistband.  I used the rest of the satin to bind the inside seams so that the beading and sequins won't rub.

cut-New Dress A Day - DIY - Vintage Sequin Top - Kerry's Daughter After

Now she just needs and occasion to wear it - Homecoming maybe?

Kerry!!  You did such a fabulous job with those sequins!  I'm addicted to those vintage sequined pieces and just loved what you did!  Your daughter looks fantastic and hope she has fun wearing to Homecoming!  Would love to see what you do with the rest of the top - a bolero would be just fab!!  Thank you for sharing!