I first became obsessed with today's DIY after seeing them being worn by Mindy Kaling on The Mindy Project. (For those The Mindy Project-obsessed, you can head over here to HelloGiggles to read the post with the full TV tie in!) The third season premieres tonight and I can't wait! I love sunglasses and have more (cheap) pairs in my collection than I should, however my track record with keeping them from getting scratched/falling off my head and cracking/stretching them out from wearing them on my head all day long is equivalent to me batting a .100. Pretty not-so-hot. So, I felt that there's always room for one more pair!
Mindy rocked out these Tarina Tarantino shades...

...and I fell in love.

Super blingy, super floral, super DIY candidate!
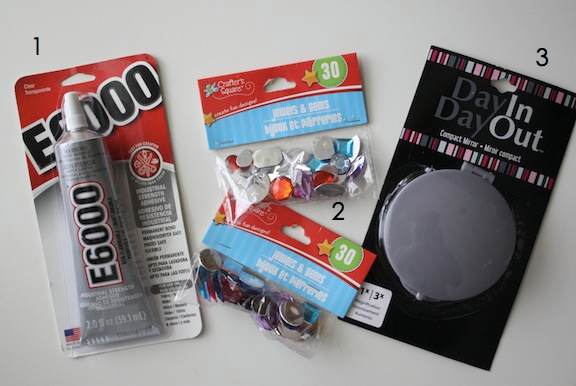
Here’s a rundown of the supplies needed for the sunglasses:

1. Black Sunglasses – (these are flea market finds, but Wet Seal and Forever 21 have some cheap options, or you can even scope out a local Dollar Tree to see if they carry.) 2. Rhinestone trim (I used Darice's Bling on a Roll.) 3. Jewelry Glue (I used Aleene's jewelry and metal glue, but you can use a glue gun as well.) 4. Mod Podge Melts and Molds - (the Mod Podge Mold with Flowers is what I used as well as Mod Podge Melts in green/white.) 5. Paint (if you use clear Melts pink or green paint does the trick. Just add a coat to match the color of the frames.) 6. Glue Gun (this is used with the Mod Podge Melts - put them in as you would glue sticks.)
To recreate the flowers on the original Tarina Tarantino sunnies, we'll need four flowers/leaves to put in the center and at the sides of the glasses.
The Mod Podge Melts and Molds were used for this step. Fill the flower and leaf molds with the melts (top L), paint the hardened pieces (if a color melt wasn't used - I used green for the leaves and clear for the flowers, so the leaves were fine) the matching shade of pink (top R), dab glue on the backs of the flowers and leaves (bottom R), and affix to the sunglasses (bottom L).

I went with one leaf in the center, just because it fit nicely in-between the flowers, and then added a strip of rhinestones to the top portion of the glasses.

I added flowers and leaves to the edges of the glasses next and then let the frames dry!
Hey new sunnies!
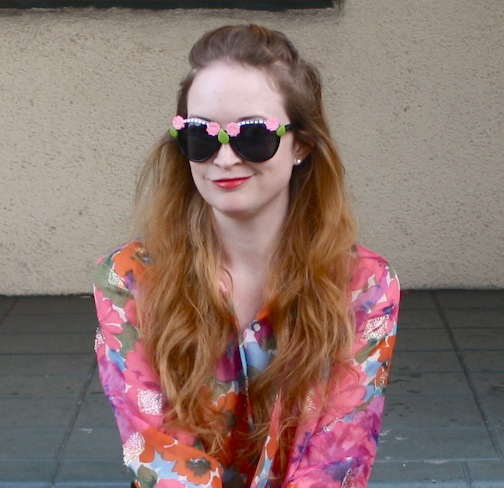
We look like twins!

Easy to make, super chic, and totally budge friendly.

I love the Tarina pair and I love my pair!

I might have to get on a few more DIYs for the sunnies this summer.

Good thing I bought extra pairs at the flea market. Stay tuned!