

I was asked by eHow to contribute a Valentine's Day article on how to make heart friendship bracelets and I couldn't wait to finish so I could post here! I made a slew of them for my wrists and will be wearing them loud and proud, not just on V-Day but all the time.

If you would like to see the project steps in slideshow mode, head on over HERE to eHow to check it out with clickable slides!
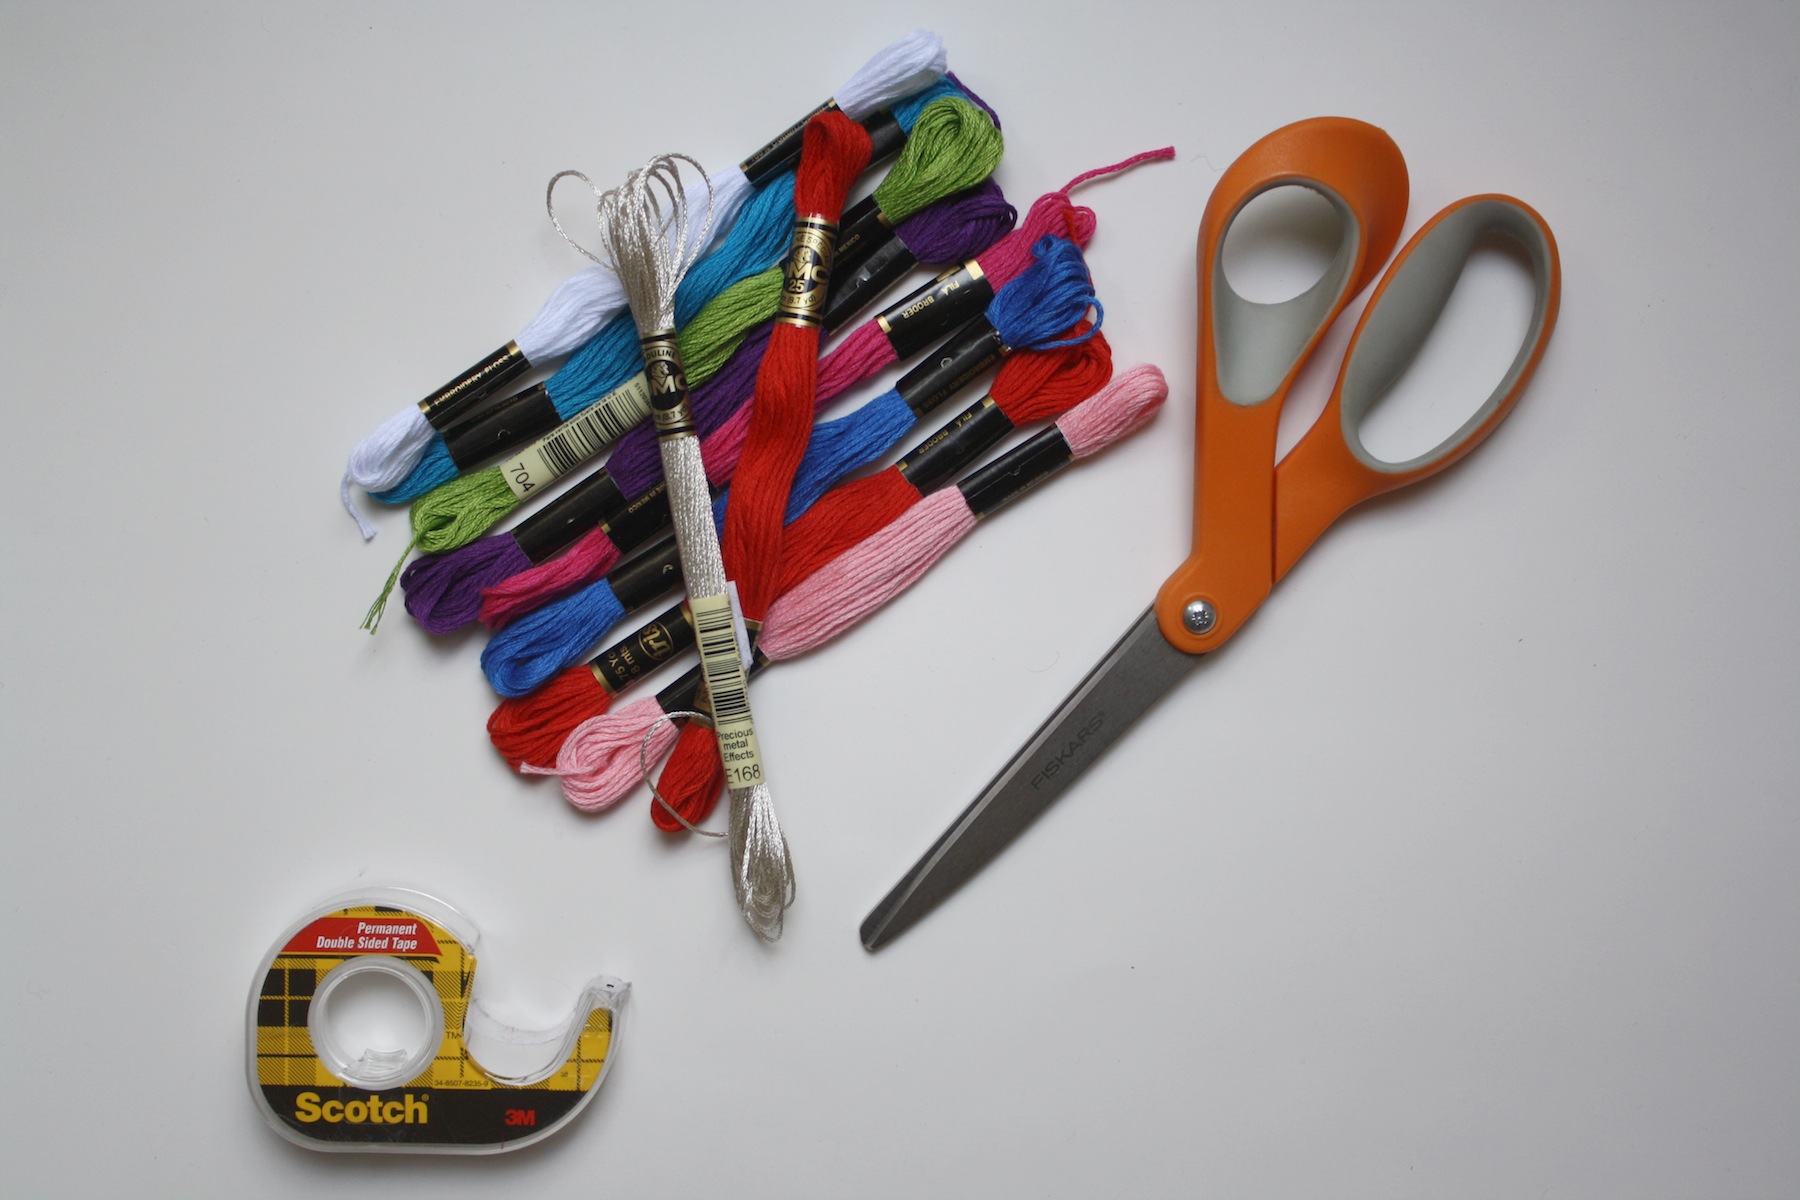
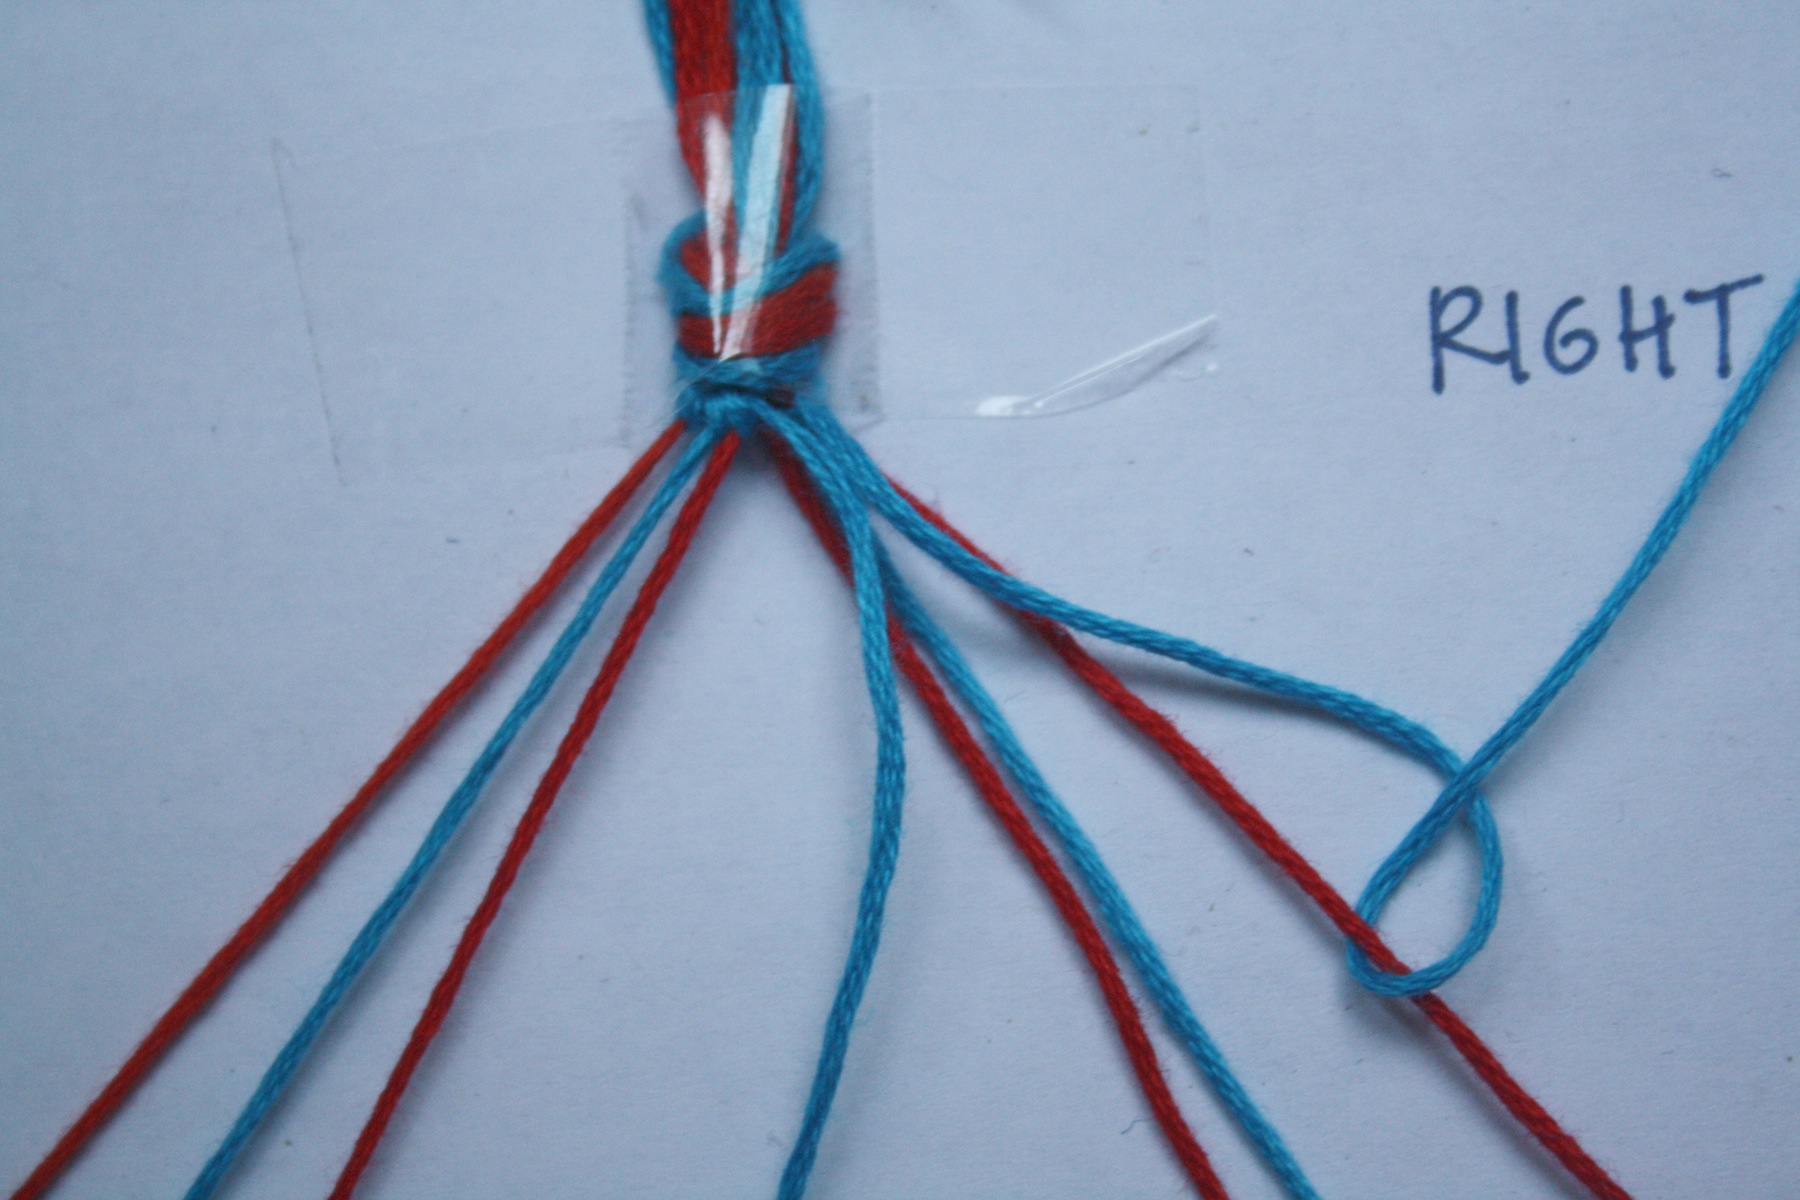
In order to create your heart friendship bracelet, you'll need: 2 skeins of embroidery floss, 4 30" strands per color, a pair of scissors, and a clipboard or tape to hold the bracelet in place while working.
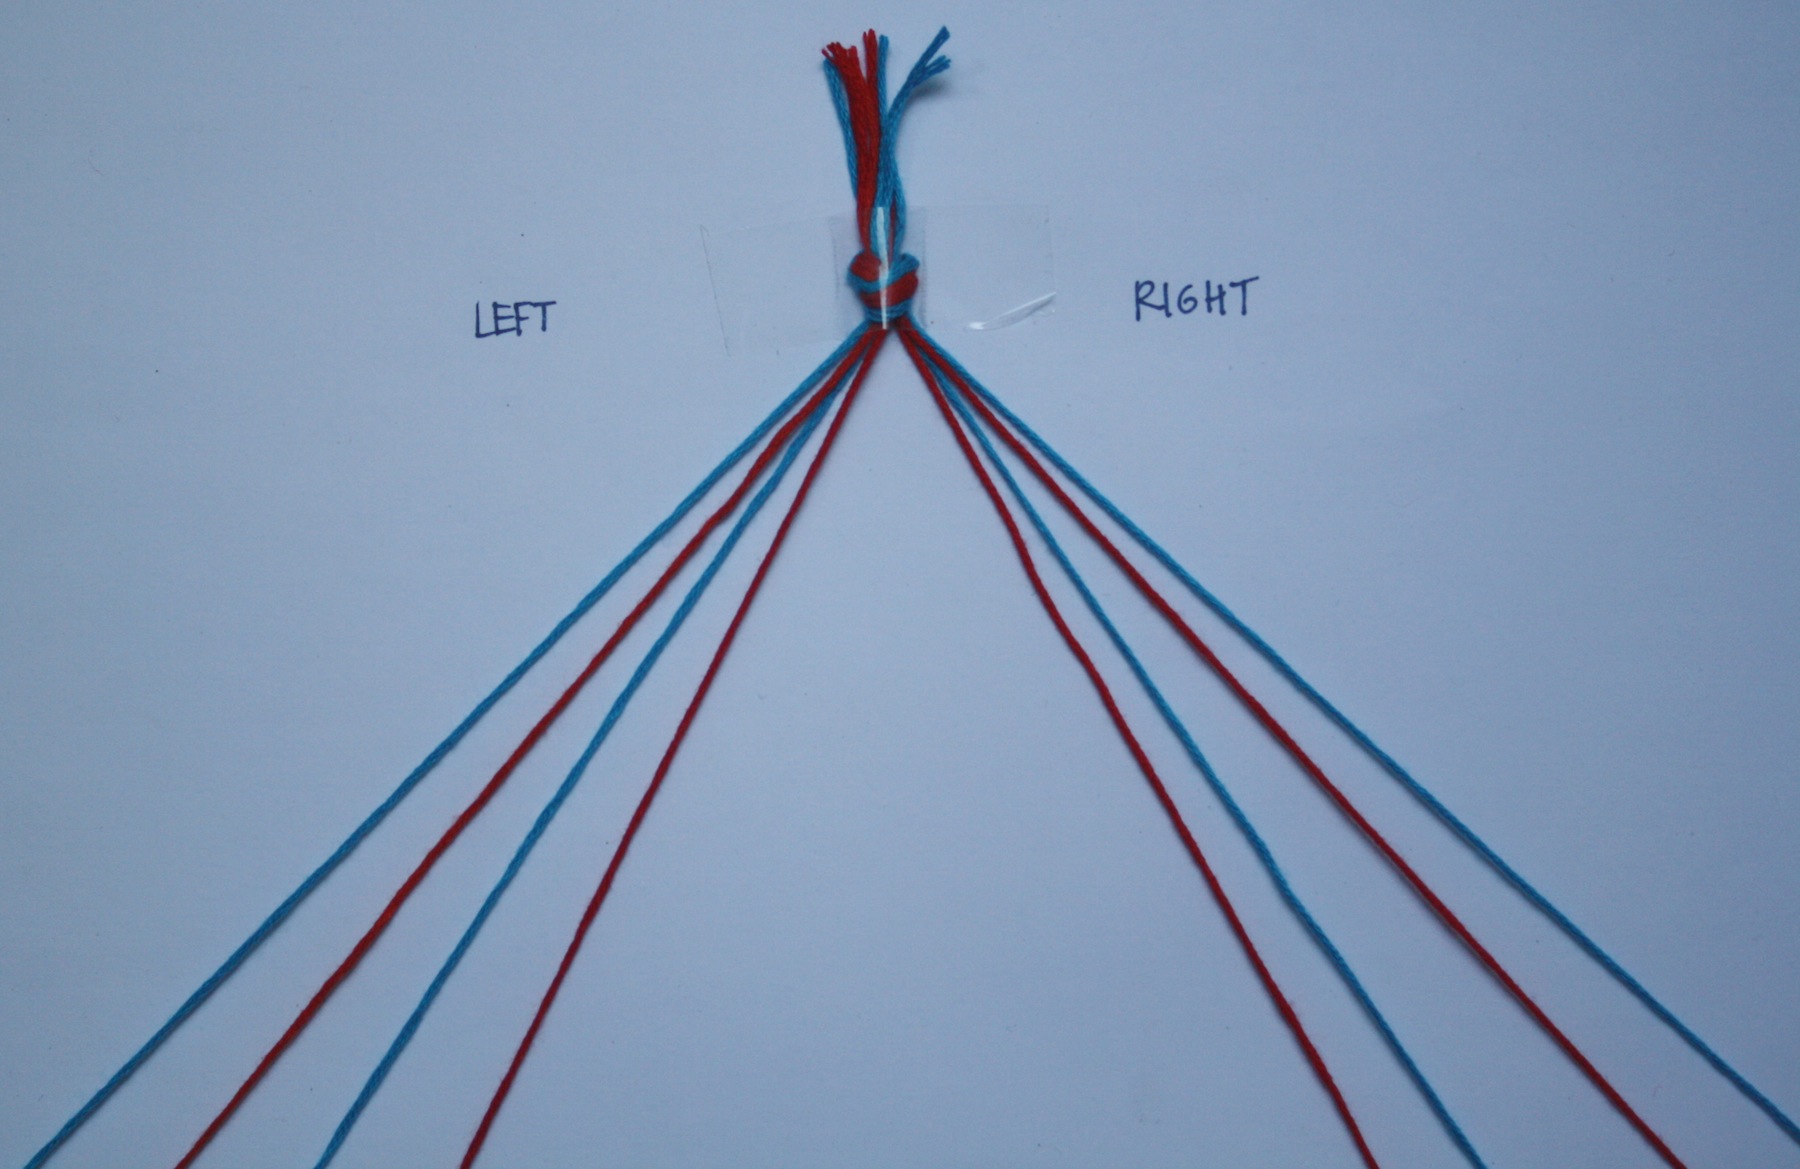
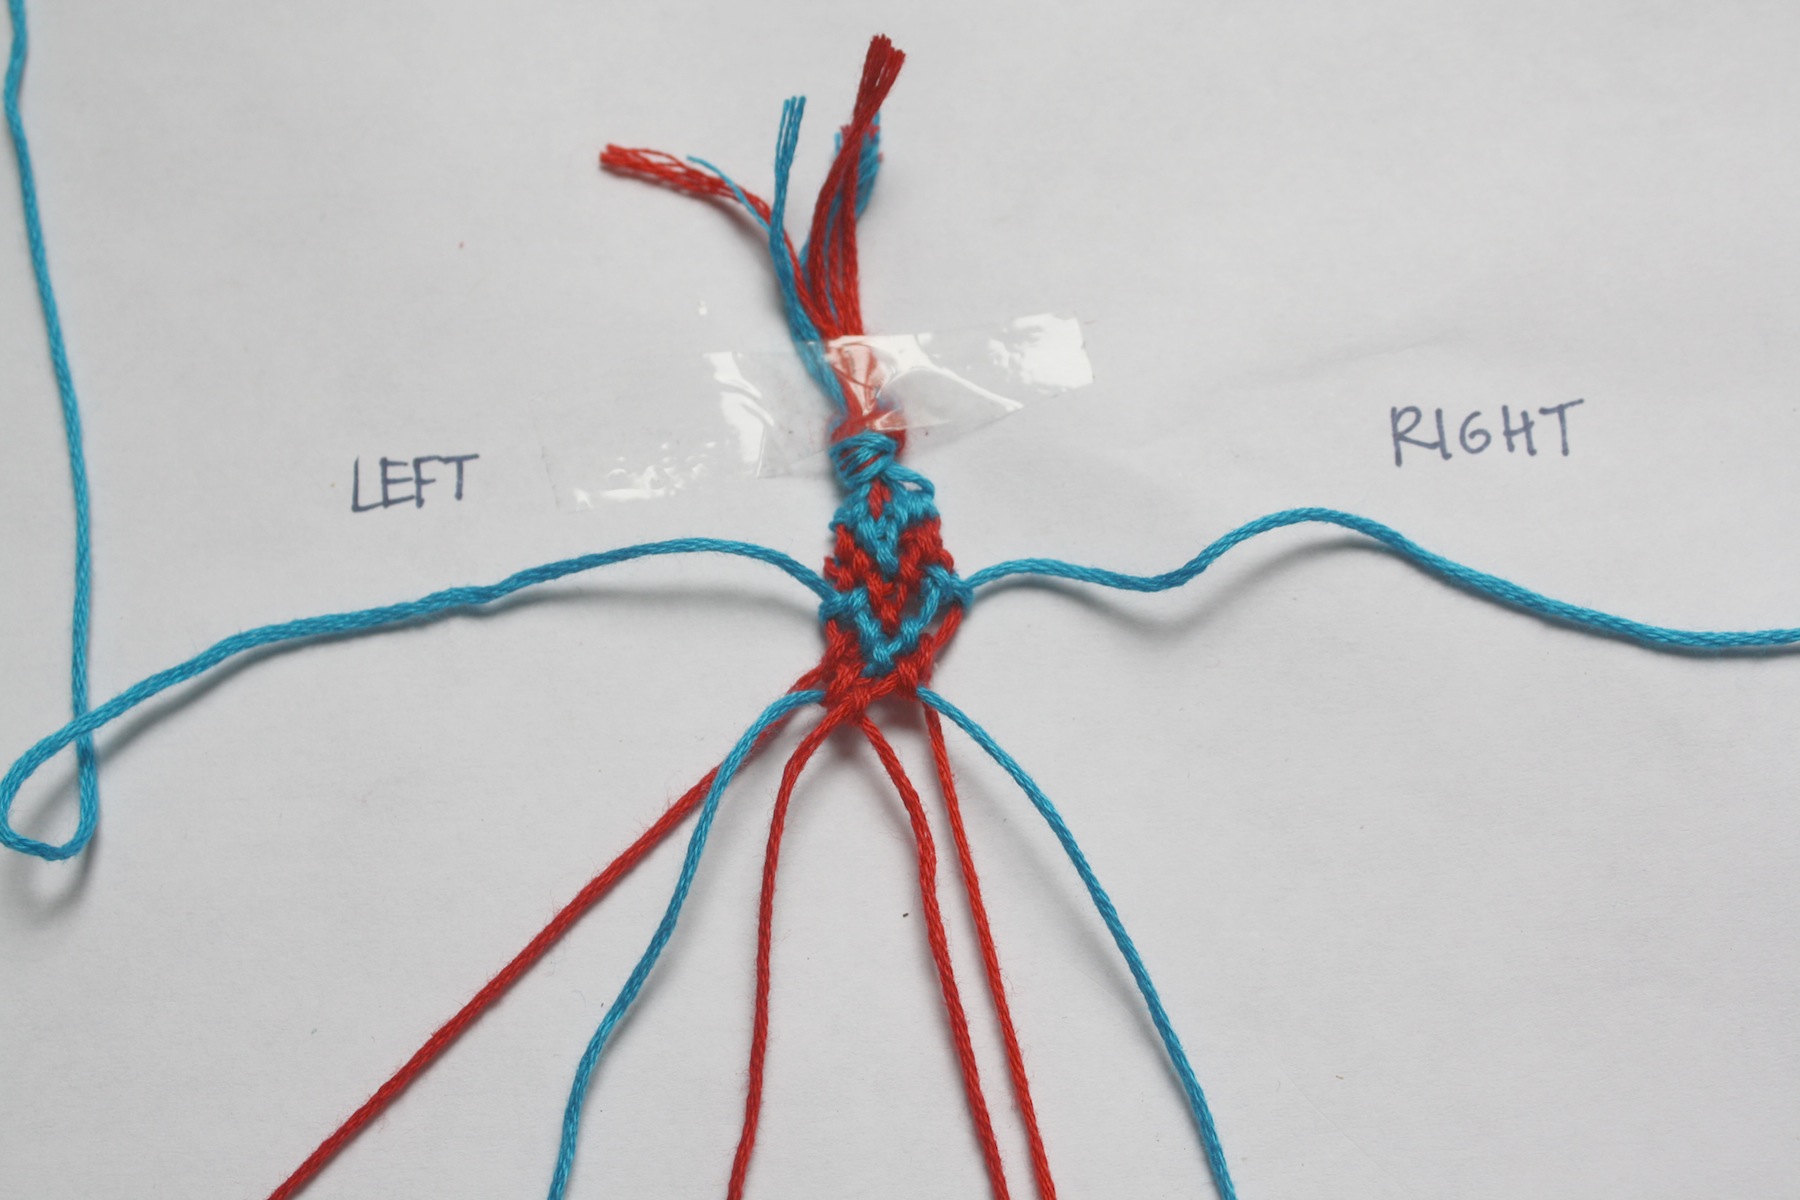
Take the eight strands of embroidery floss and tie them together in a knot leaving about an inch and a half of floss above the knot. (This will be used to tie the bracelet together at the end.) Lay out the eight strands and split them up (four and four) onto the right side and left side of the workspace. Alternate colors (in this case - blue, red, blue, red) on the left side and then mirror these four on the right side (in this case - red, blue, red, blue).
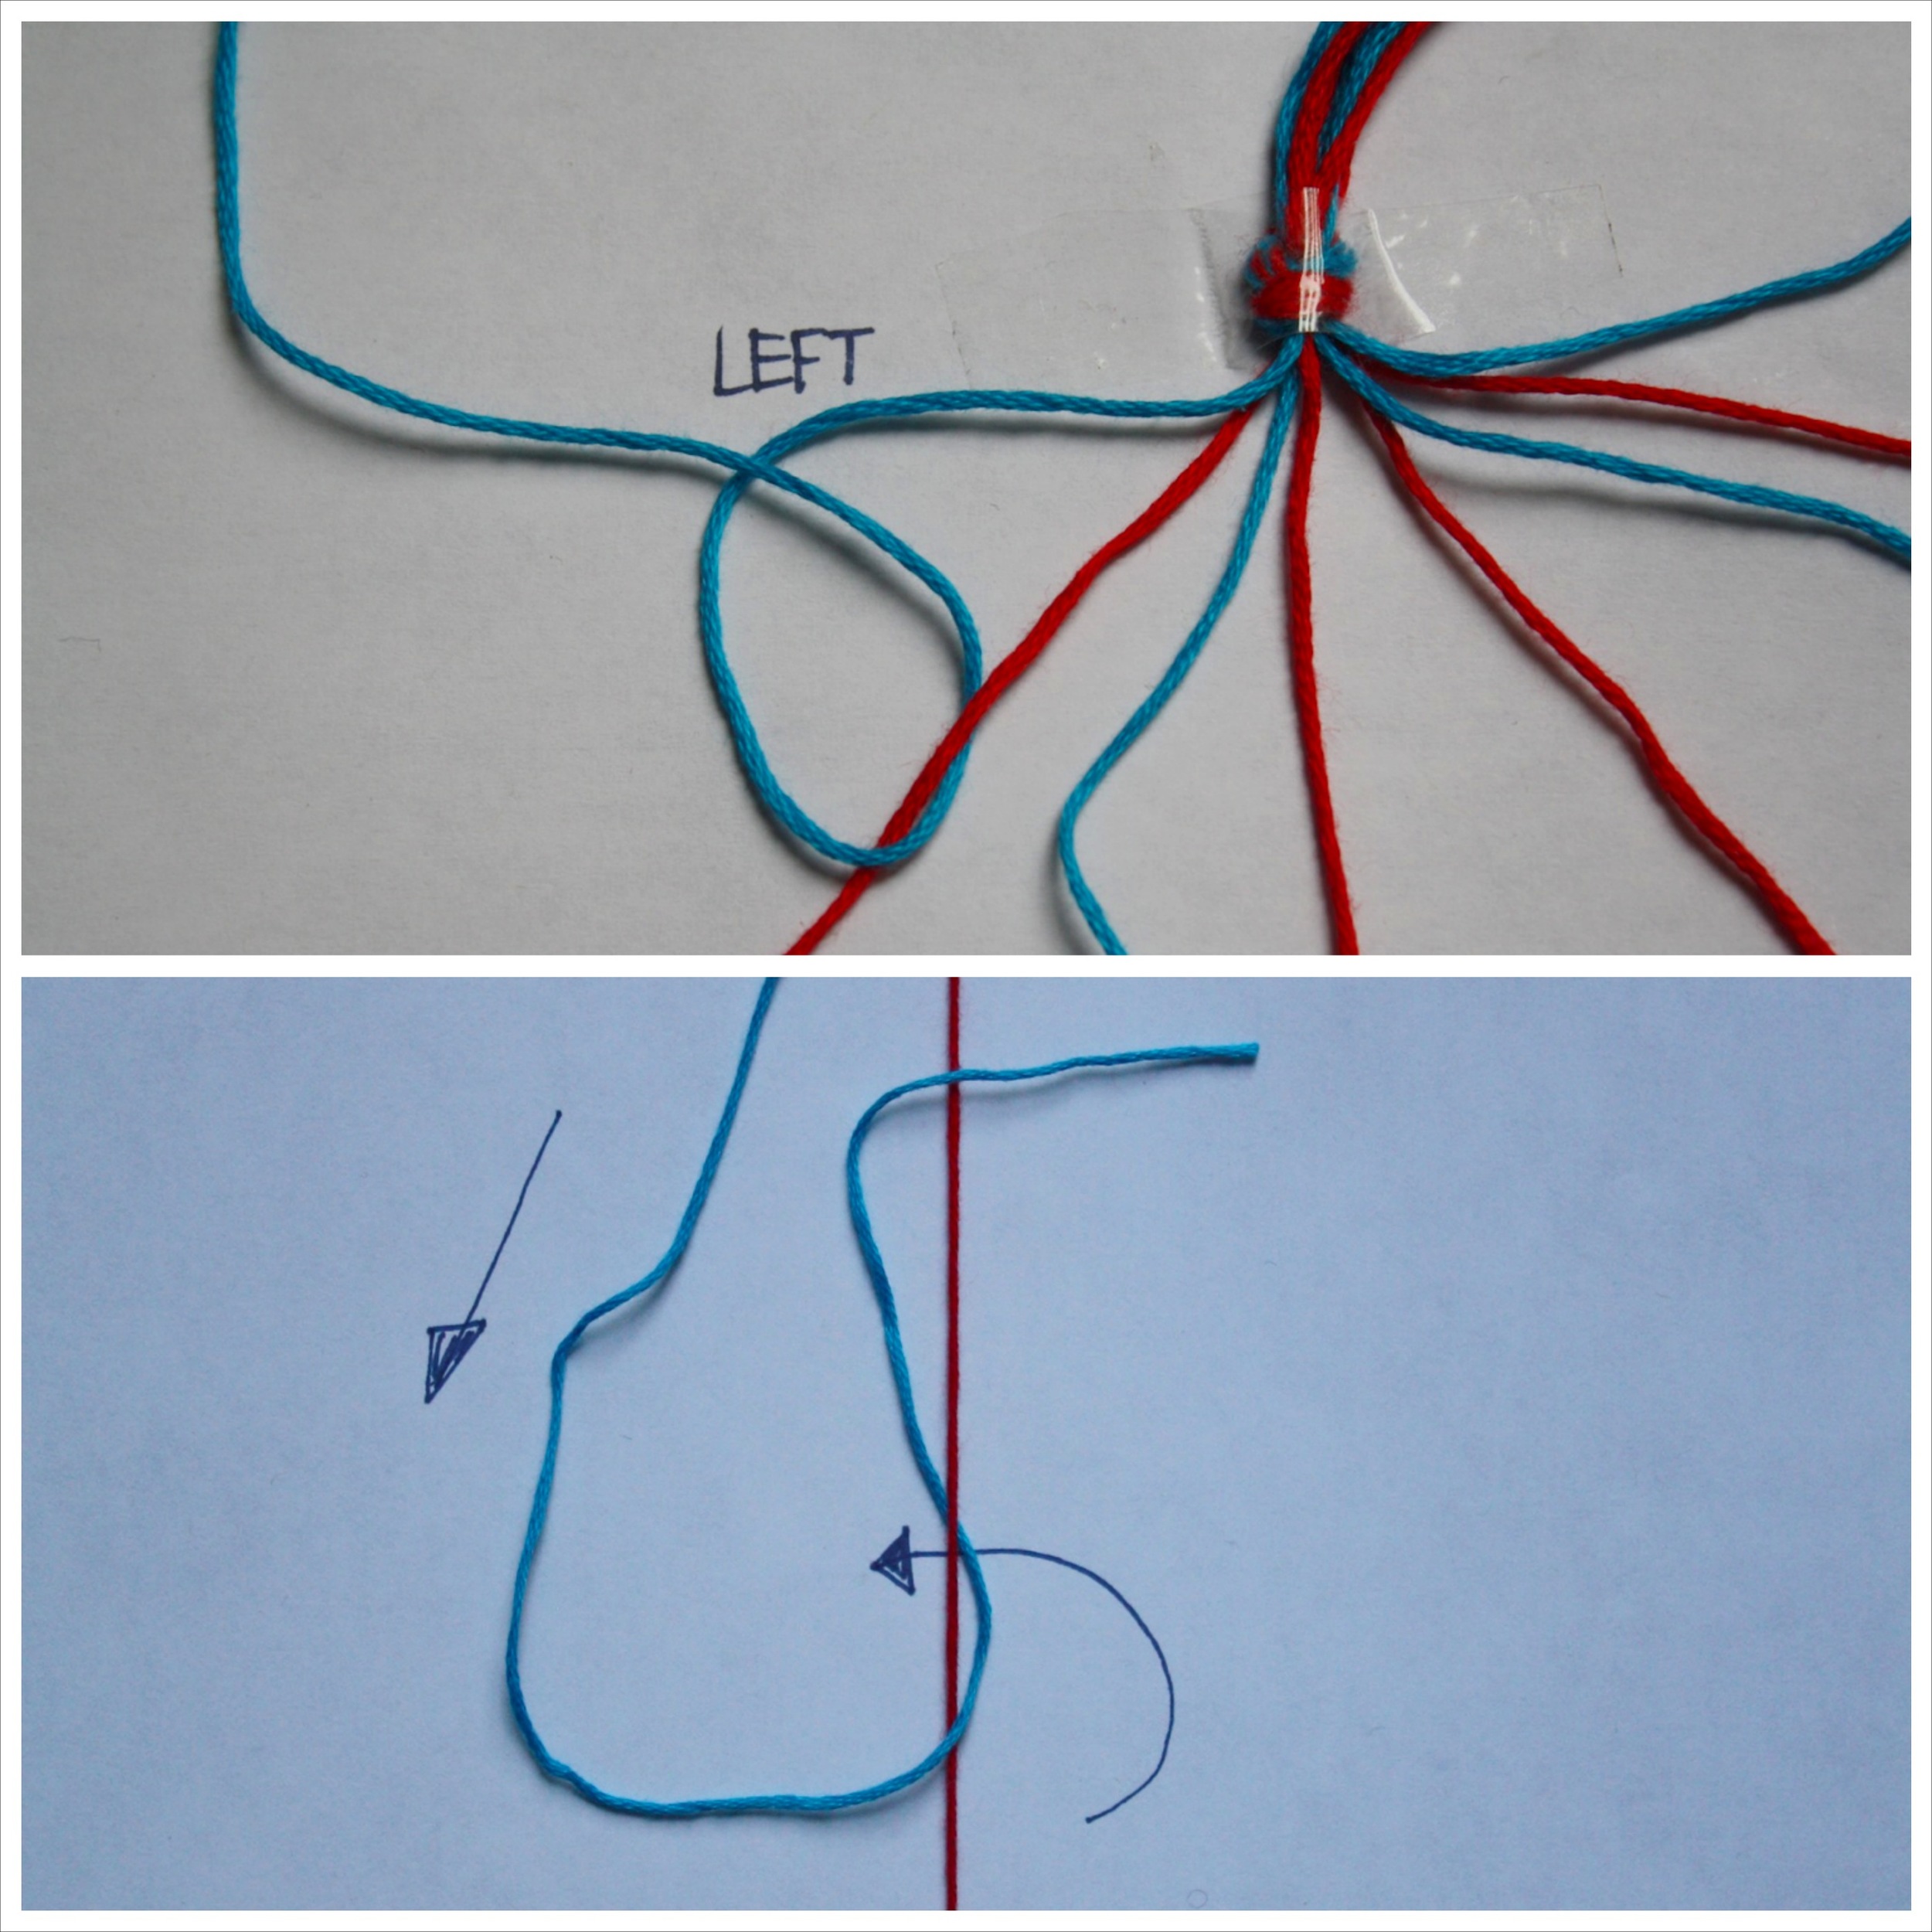
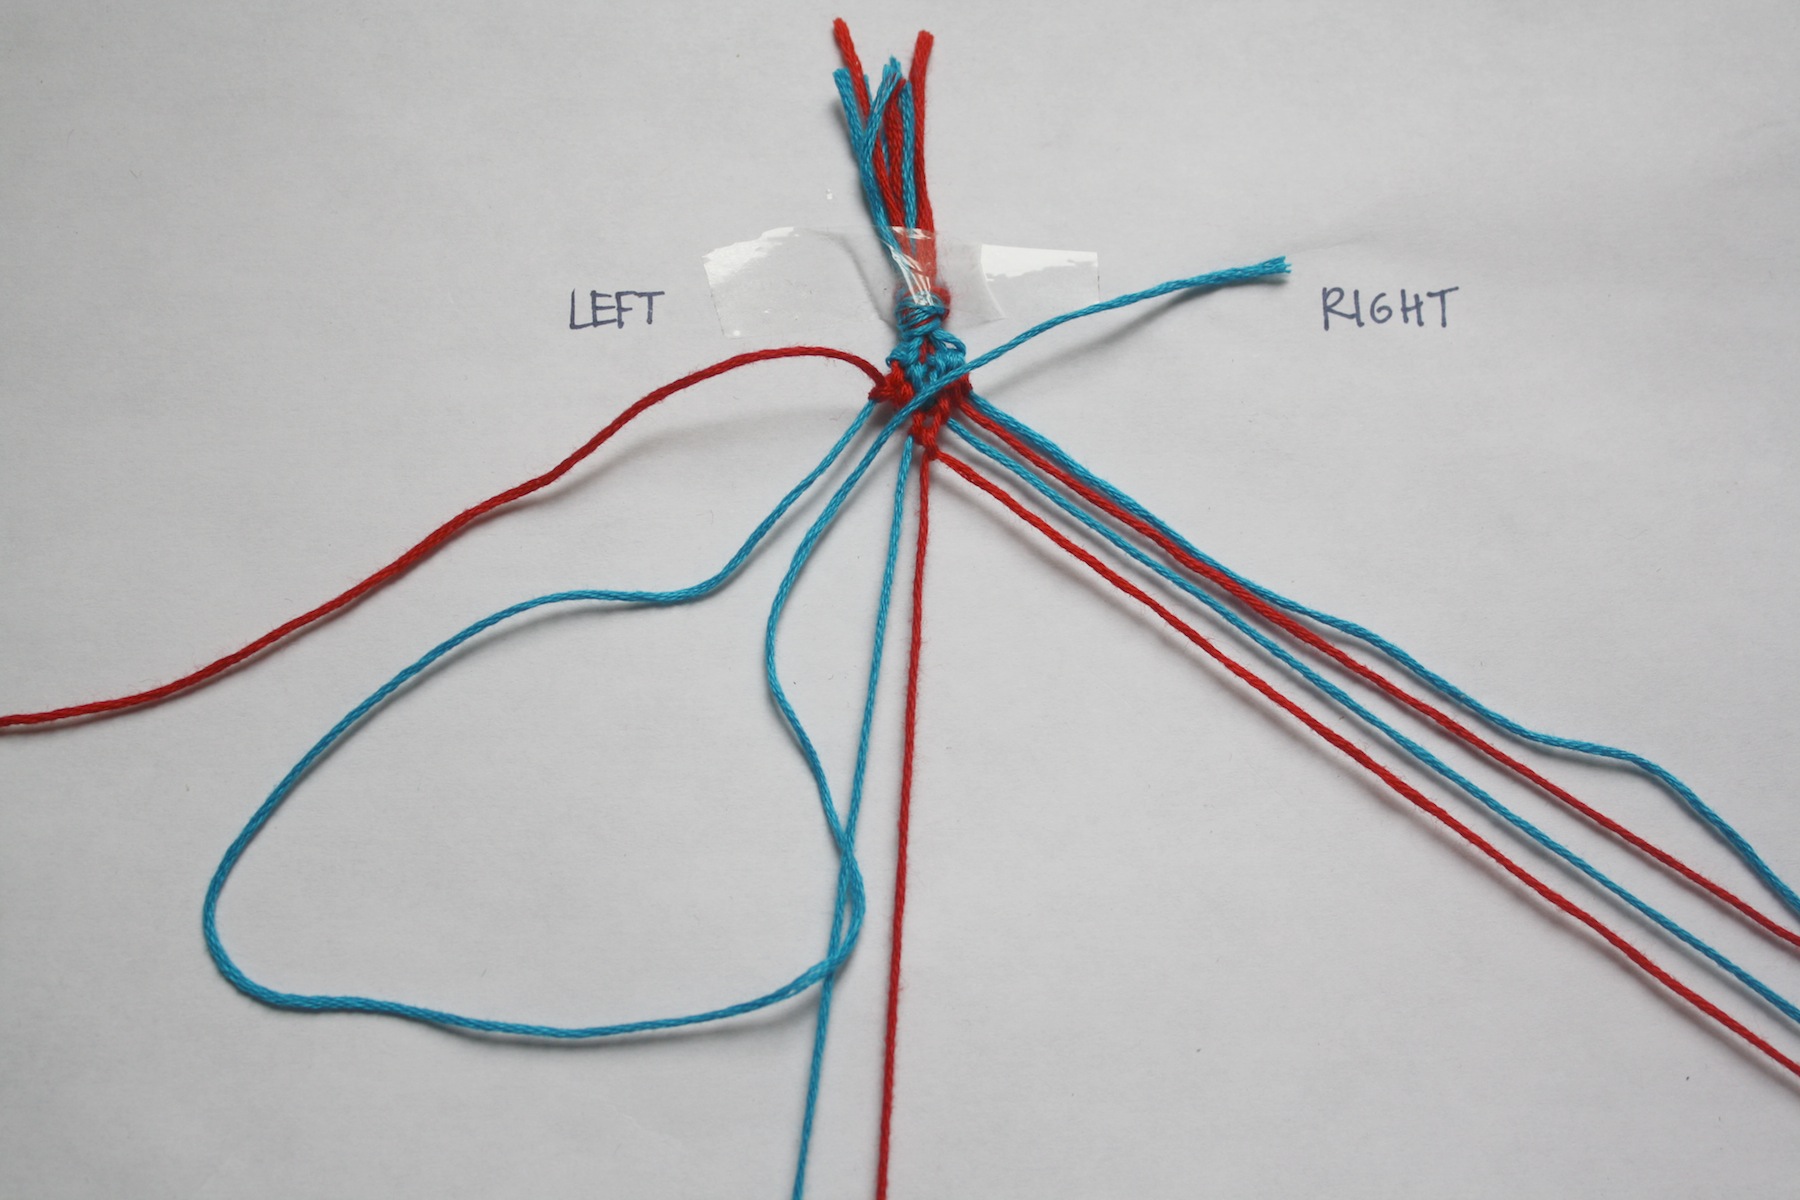
Begin the bracelet on the left side by making a forward knot using the strand all the way on the left outer end (blue) and the second strand right next to it (red).
(*To create a forward knot, make a 4 with the working string, loop it under the other string, pull it through the opening and bring it to the top of the bracelet. Do this two times to create one forward knot.)
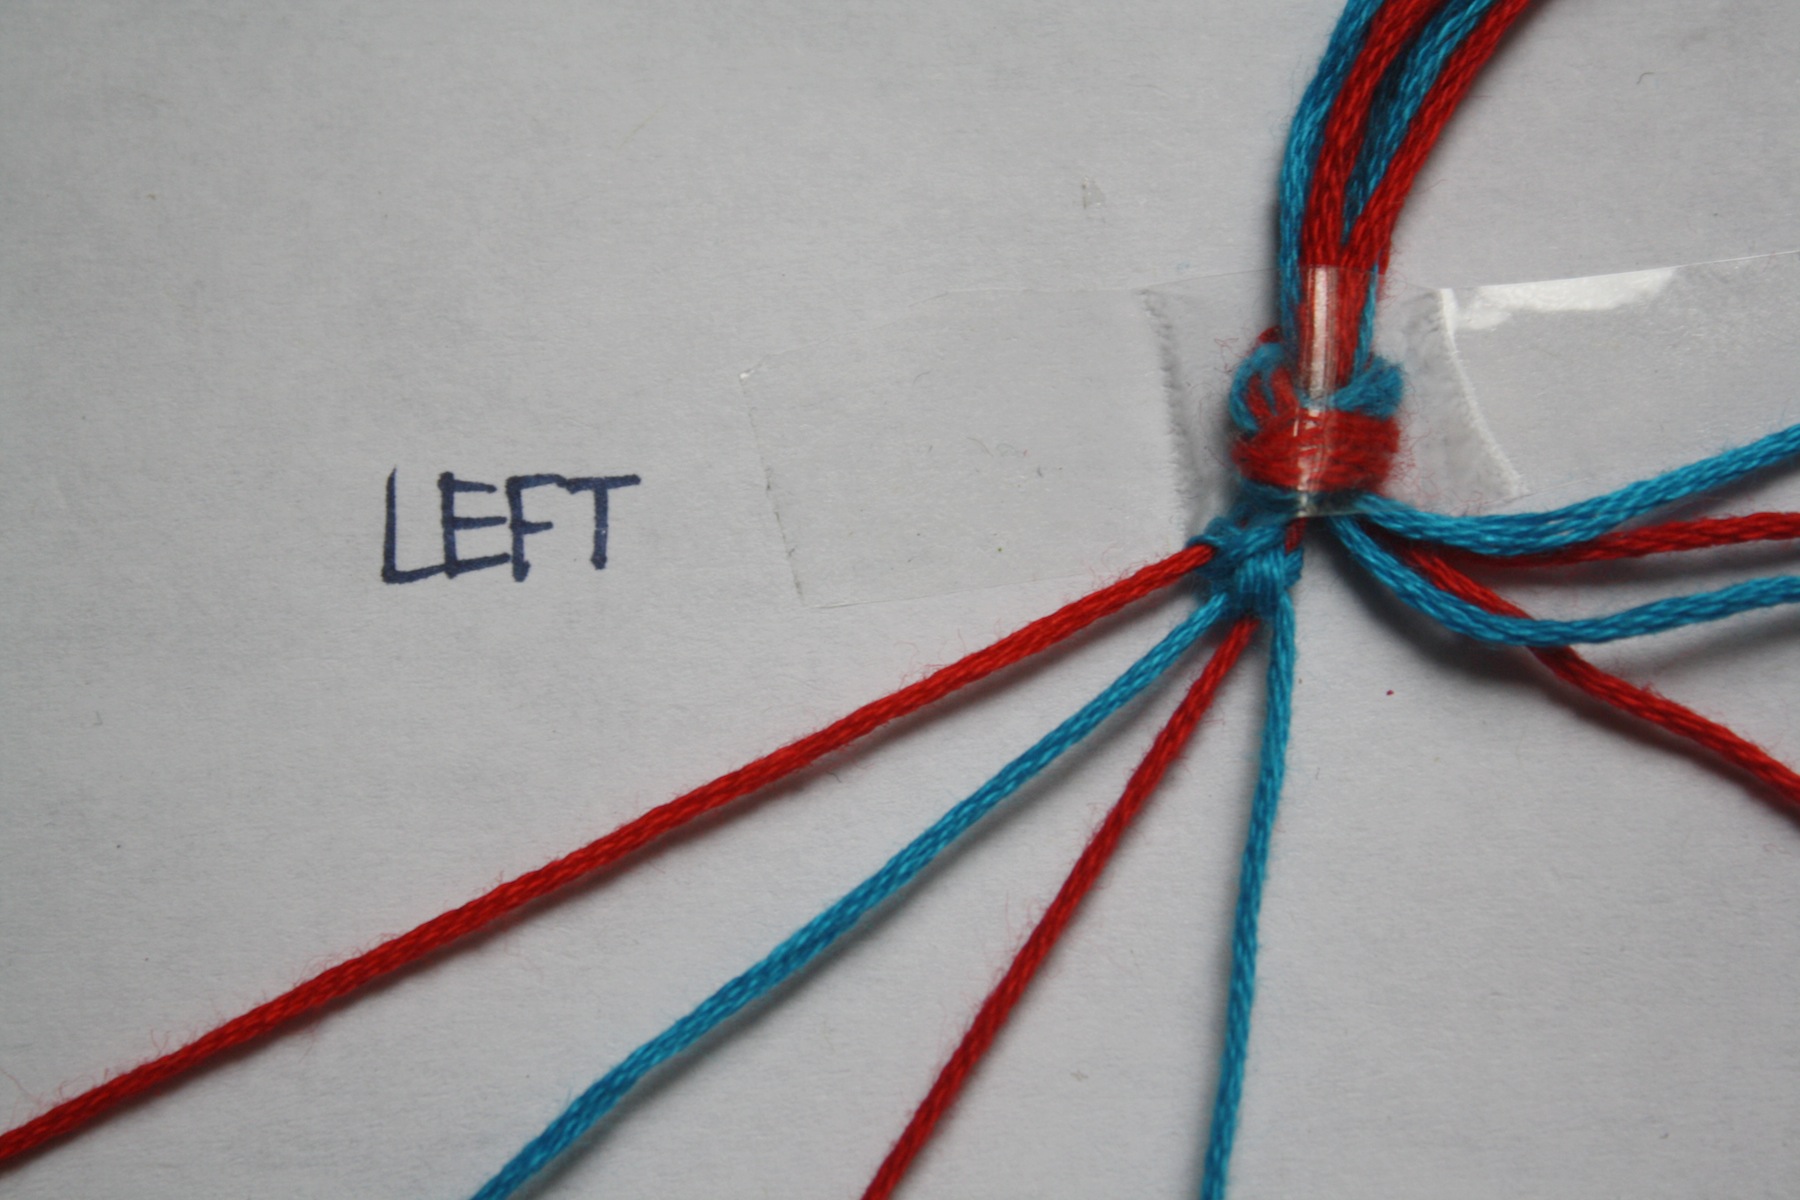
Repeat this step with the next two strands (third and fourth threads, corresponding blue and red colors) and stop at the center.
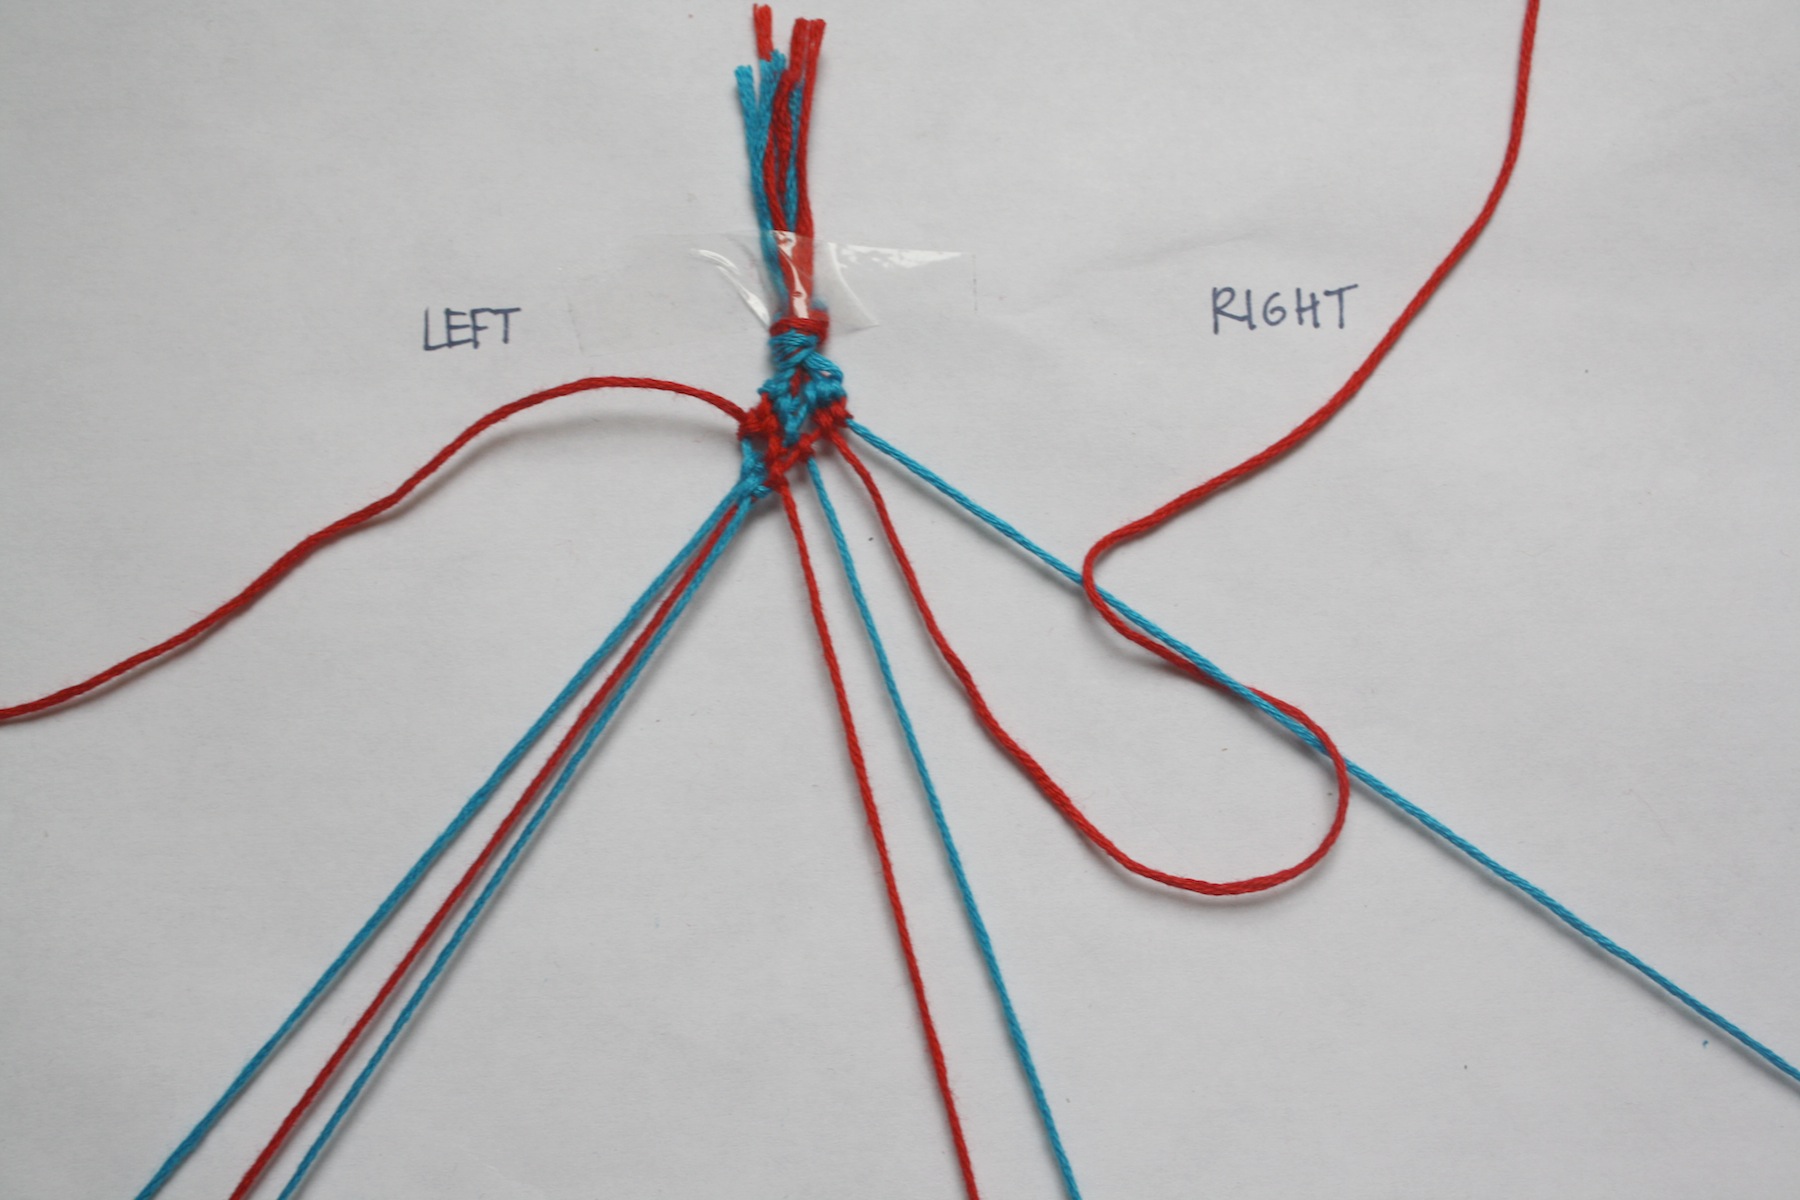
Now that the left side has been completed, these same steps will be mirrored on the right side of the bracelet. Instead of a forward knot that was used on the left side, a backward knot will be made using the strand all the way on the right outer end (blue) and the second strand right next to it (red).
(*To create a backward knot, which is virtually a mirror of the forward knot on the right side, make a backwards 4 with the working string, loop it under the other string, pull it through the opening, and bring it to the top of the bracelet. Do this two times to create one backward knot.)

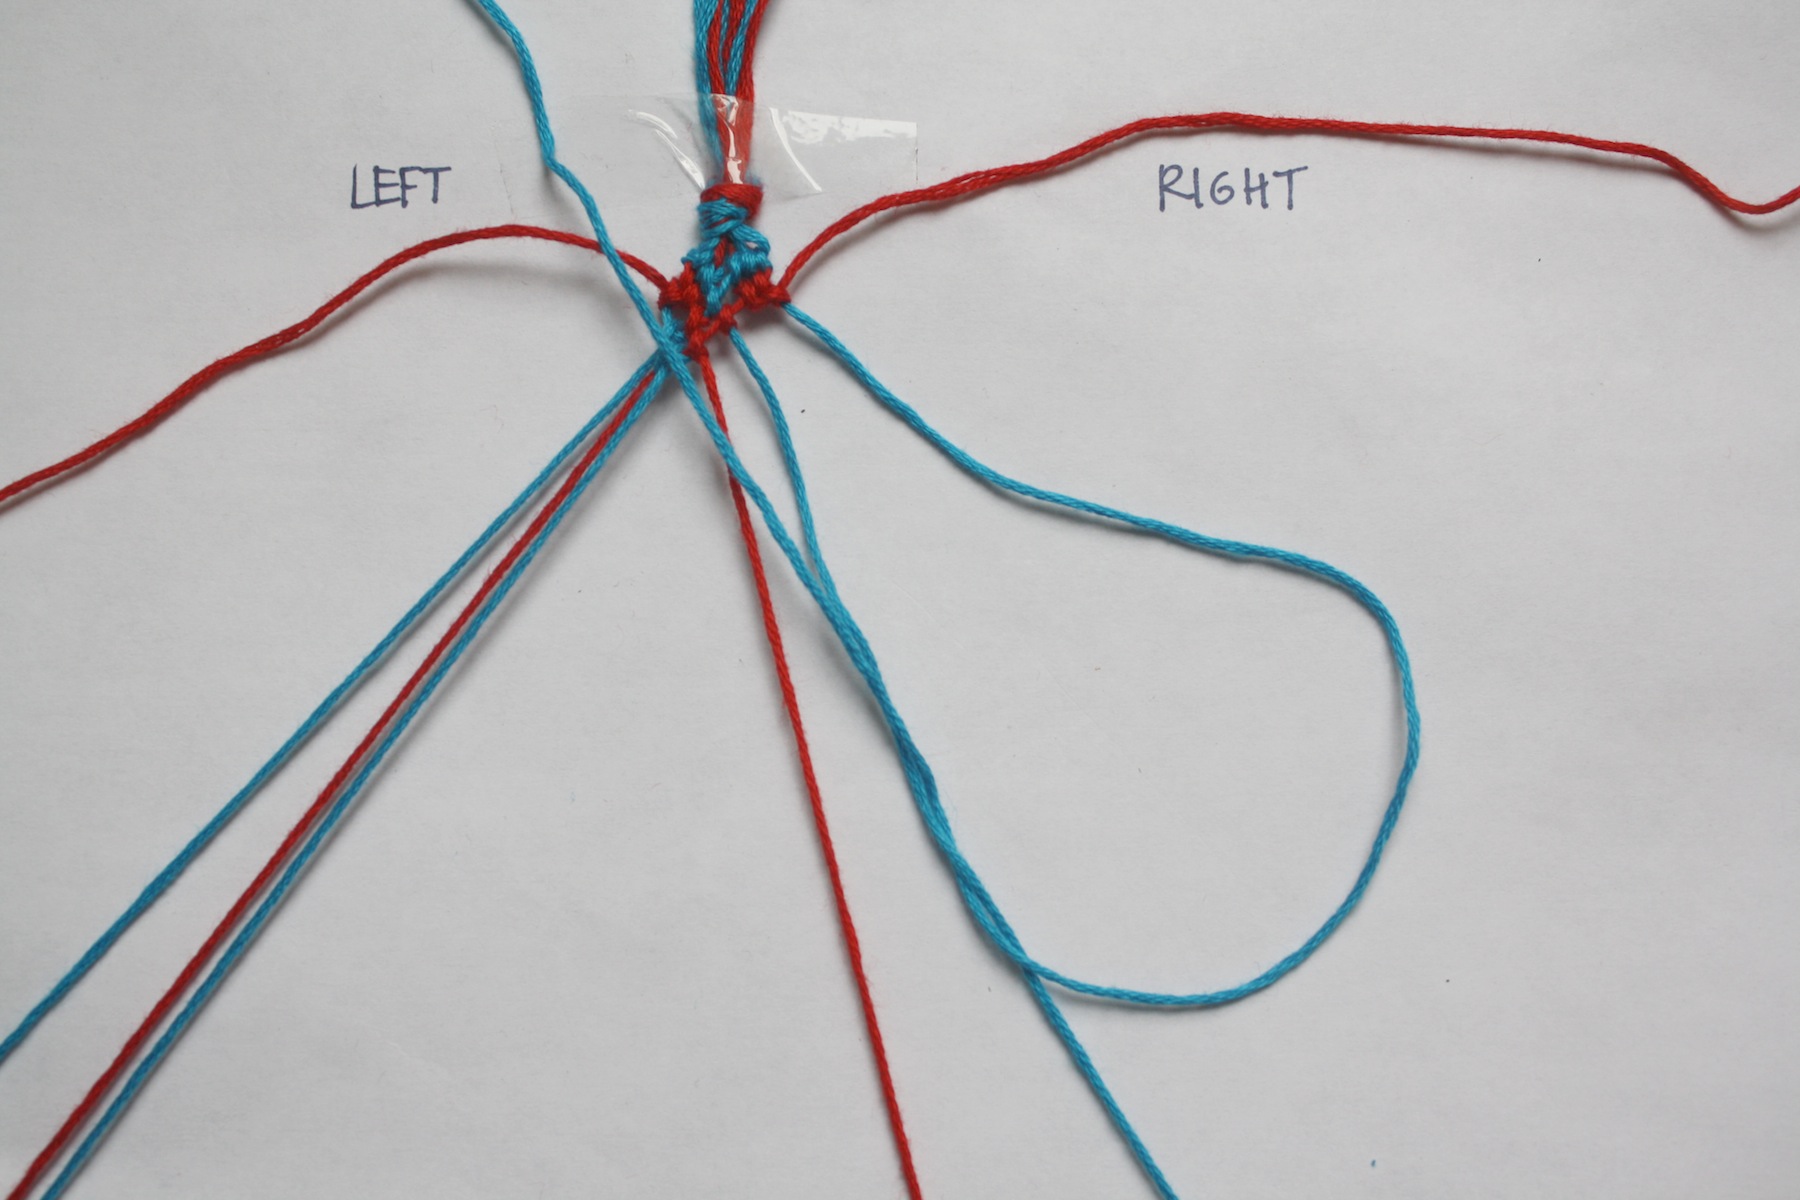
Repeat this step with the next two strands (third and fourth threads, corresponding blue and red colors) and stop at the center.
Connect the two middle strands by creating a backward knot using the strand on the right (the last one used). This brings both sides together as one.

Repeat the above steps and create one more row in the exact same way, using the outermost string on each side.

Now that the second row is completed (we’ll call these the REGULAR rows as they will look like a traditional chevron styled friendship bracelet), the third row is going to be done a little differently (we’ll call these the NEW rows). Take the second string on the left side (red) and make a backward knot on the first string (blue).

After the backward knot is completed, move the string that was used (second string in red) to the top left side and create two more forward knots using the first string (blue) on the third and fourth strings and stop at the center. This is where the heart shape begins to take form.
This same step will be mirrored for the right side. Take the second string on the right side (red) and make a forward knot on the first string (blue).
After the forward knot is completed, move the string that was used (second string in red) to the top right side and create two more backward knots using the first string (blue) on the third and fourth strings and stop at the center.
Connect the two middle strands by creating a backward knot using the strand on the right (the last one used). This brings both sides together as one.

Repeat the above steps for making a NEW row and create one more NEW row in the exact same way, using the second string on each side.
The bracelet pattern is now set. Two REGULAR rows of the basic forward knots on the left side and backward knots on the right side followed by two NEW rows of the backward/forward knots on the left side and forward/backward knots on the right side.

Repeat and continue these steps until enough bracelet has been made to fit your wrist.

This is such fun to make bracelets in school colors, fave sports teams, or just colors you heart. I just might make a few more before next week!


