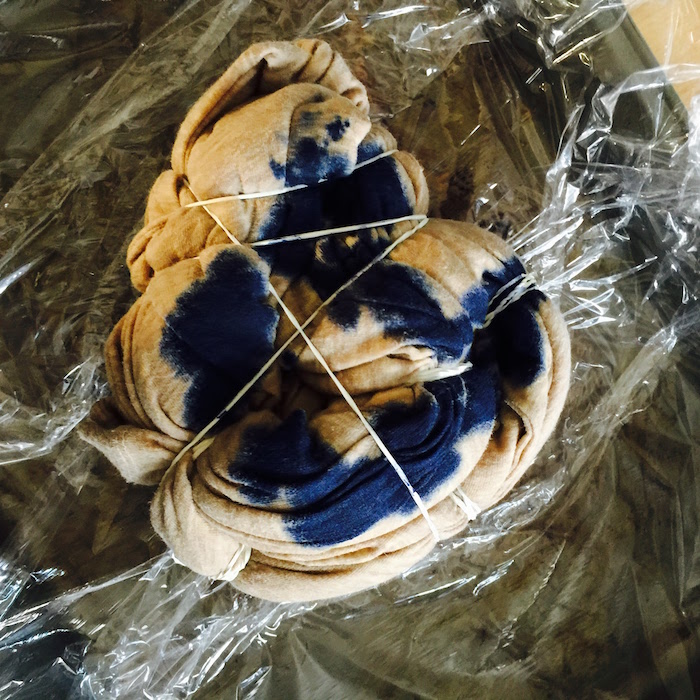
We might have found a new color palette pair fave!

A little vanilla mint action, you could say? (Yeah, I've ALWAYS got my mind on sweets!)

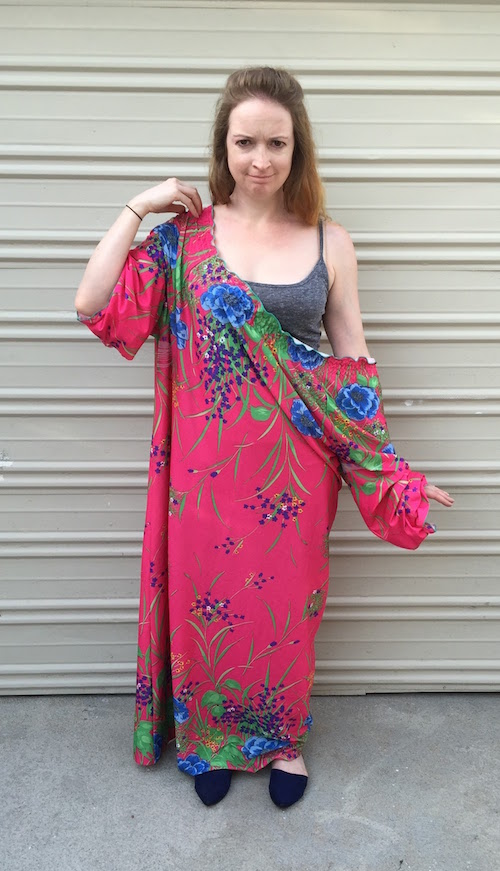
I loved the essence of this dress! There were a few things that needed some adjusting, but overall the structure was fab.

I could do without the ruffles on the sleeve's edge, but we'll get to that! :)
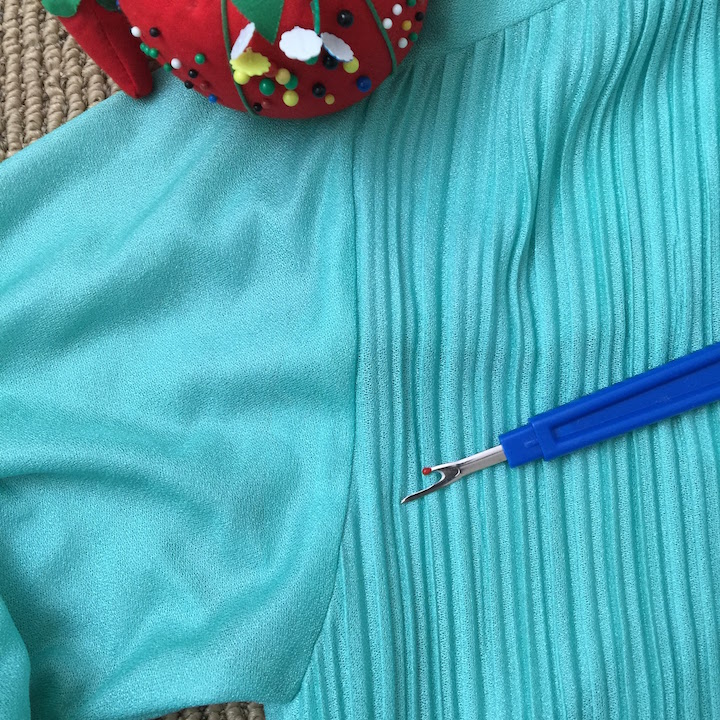
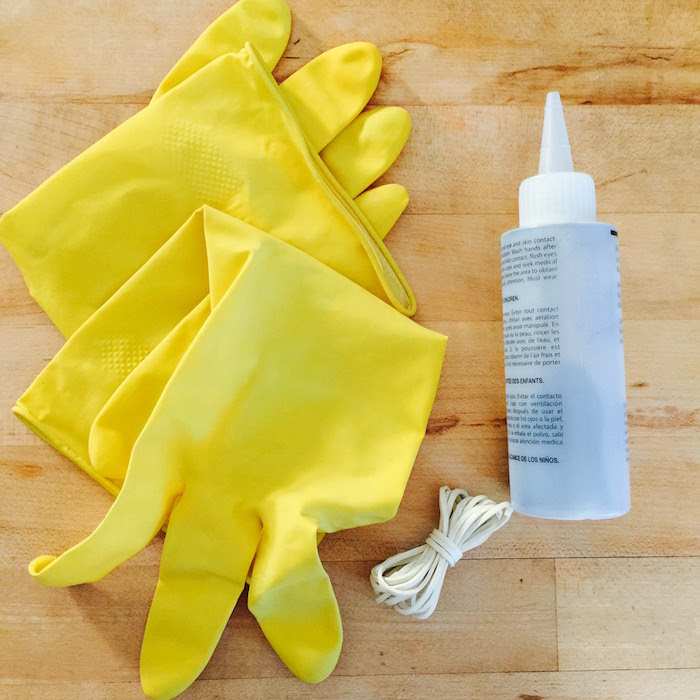
I got my tools ready to go!
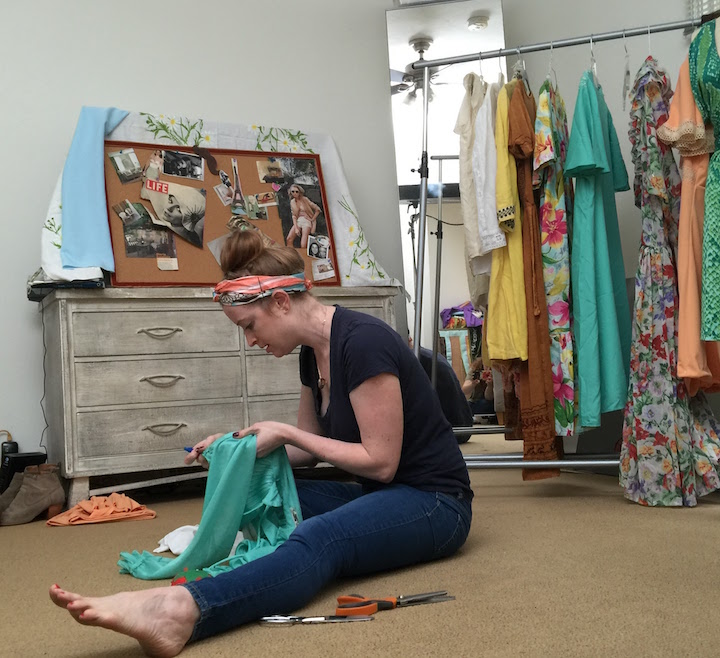
A little behind the scenes action!!
The more I thought about the sleeves, I just decided to take them completely off!

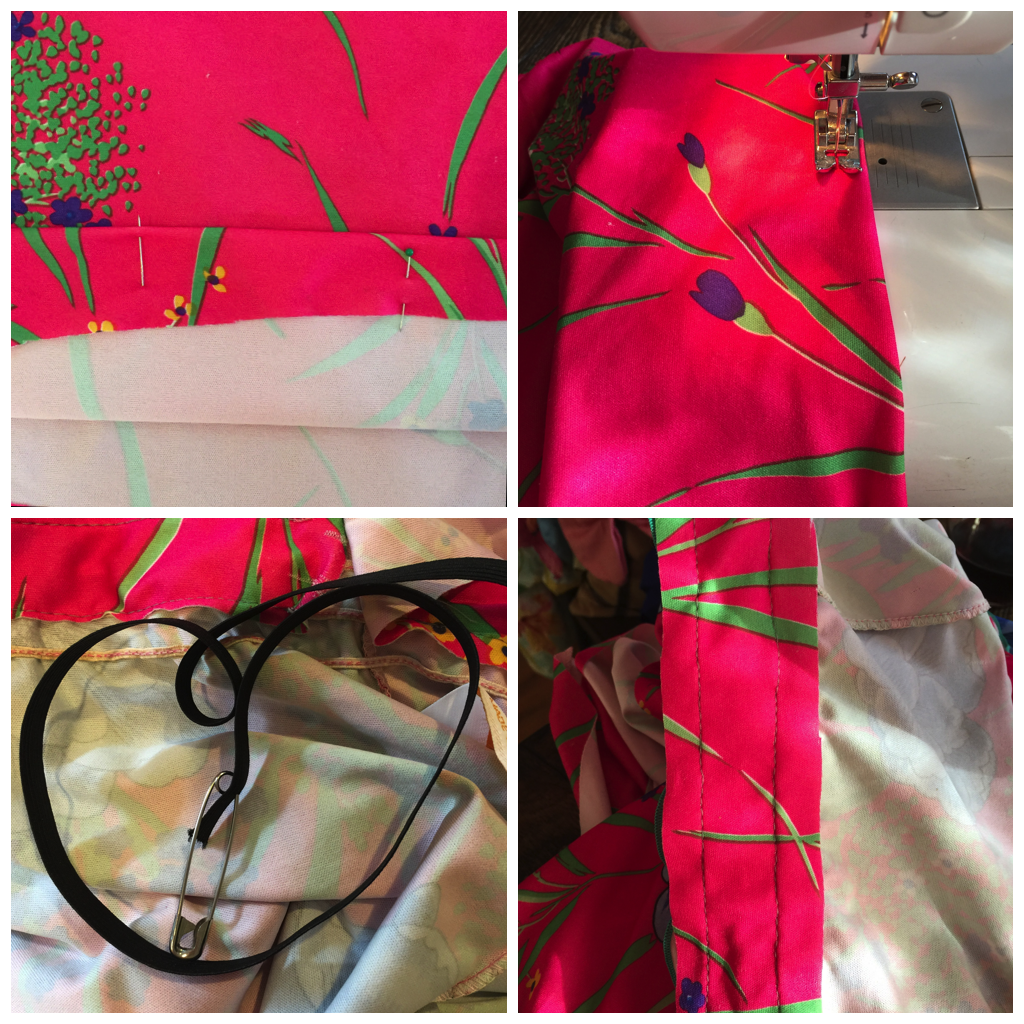
I used my seam ripper to take them both off and then pinned each new arm hole in prep for stitching.

Got the sewing machine threaded with mint thread and finished the edges!

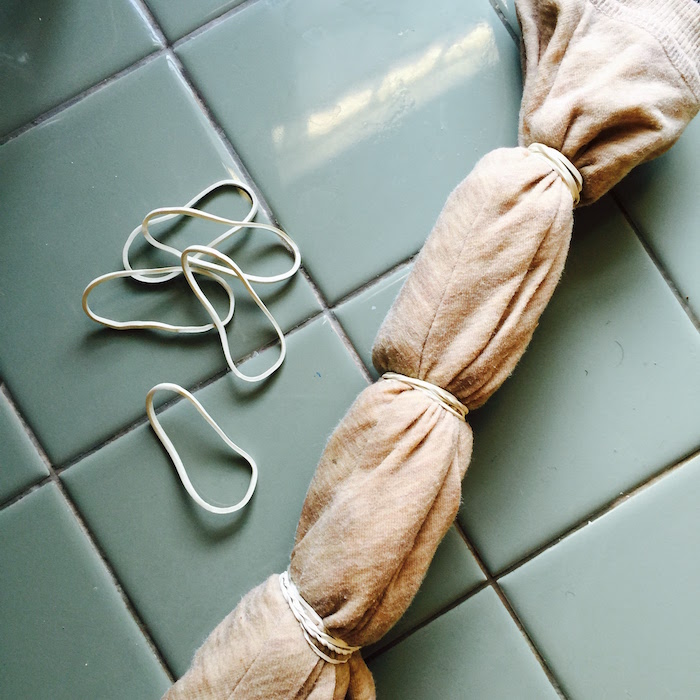
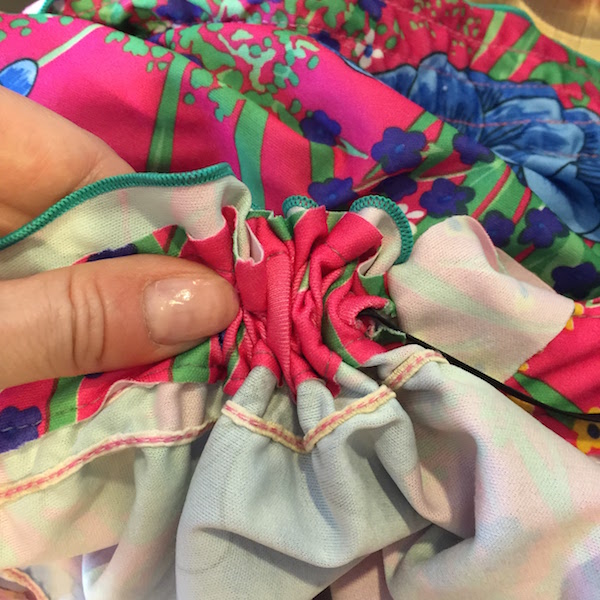
Next it was time to adjust the waistline. The elastic that was currently there basically turned into ribbon after being there so many years - there was just no stretch at all! I removed the old and replaced with the new!

I love when it cinches like this!!

A few small changes here and there and we've got a brand new dress!

I love the ribbed texture to the fabric and I think it stands out more with the sleeves gone!

I went neutral with shoes and paired the dress with my Aerosole heels to give it a fall-ish feel!

I love the idea of adding a patterned cardigan to go on top!

This one was all about fit and just simplifying what was already there.

I had a chemistry teacher in high school who was well versed in telling us to KISS - keep it simple, stupid. I'm not a fan of calling anyone stupid, so let's just keep it simple, stitchers :)